Fairing Repair / Missing Chunks of Bodywork
Posted: Tue Oct 26, 2010 8:11 pm
Here's a break down of the repair I've done on the bottom part of the upper fairing. I'm sure the basics can be used to repair / replace / modify most areas of bodywork - especially as they become older and rarer 
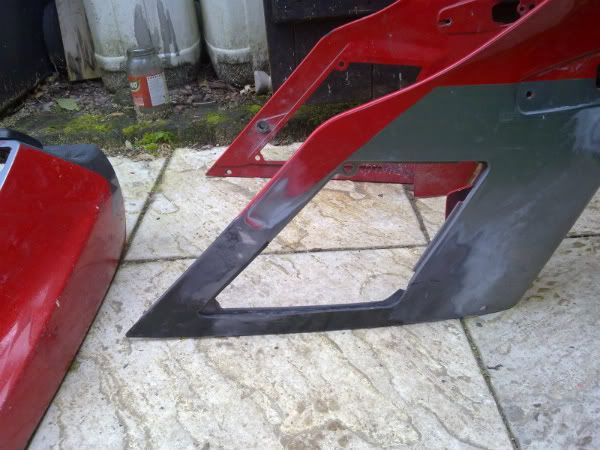
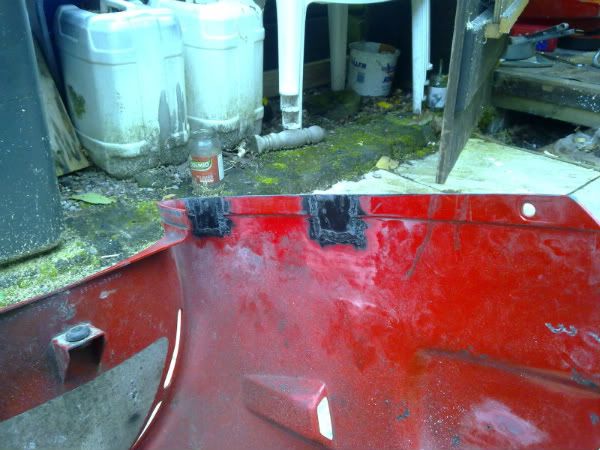
Offending corner with a pretty comprehensive (and very heavy) fibreglass repair.
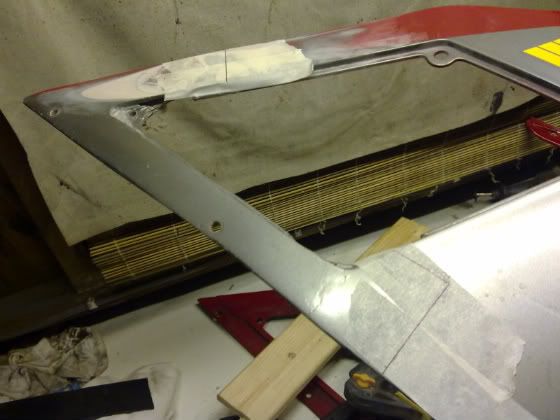
It's rougher than it looks in the photo, plus it constantly cracks at the junctions with the plastic, and the overlap onto the plastic makes a poor fit to lower section.
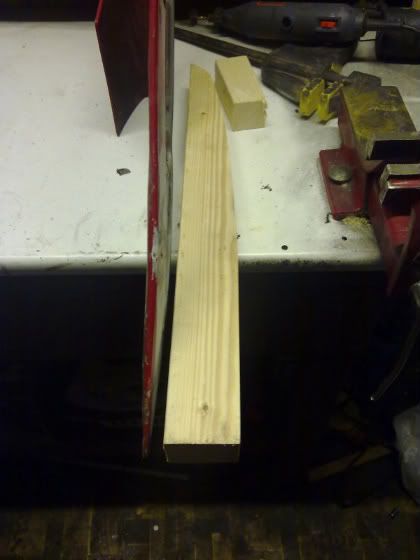
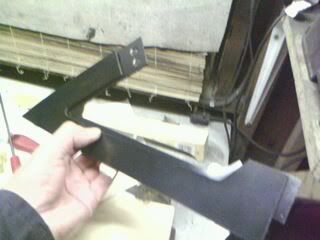
Template shape is marked onto a piece of cls timber, and cut. Note - taken from good original side !
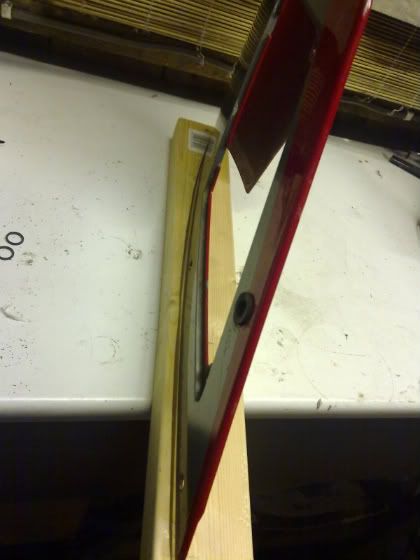
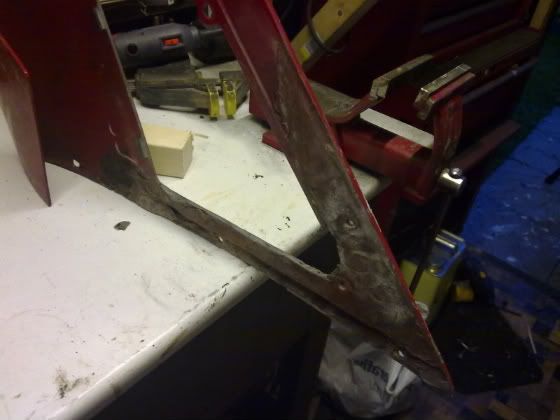
Shaped timber former next to portion to be repaired. See how out of shape the fibreglass is !!
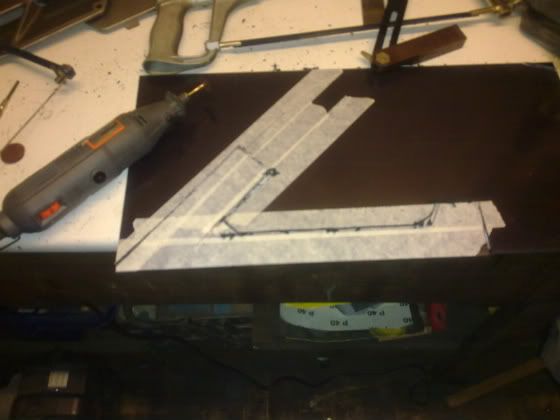
Required shape is cut from new sheet of ABS
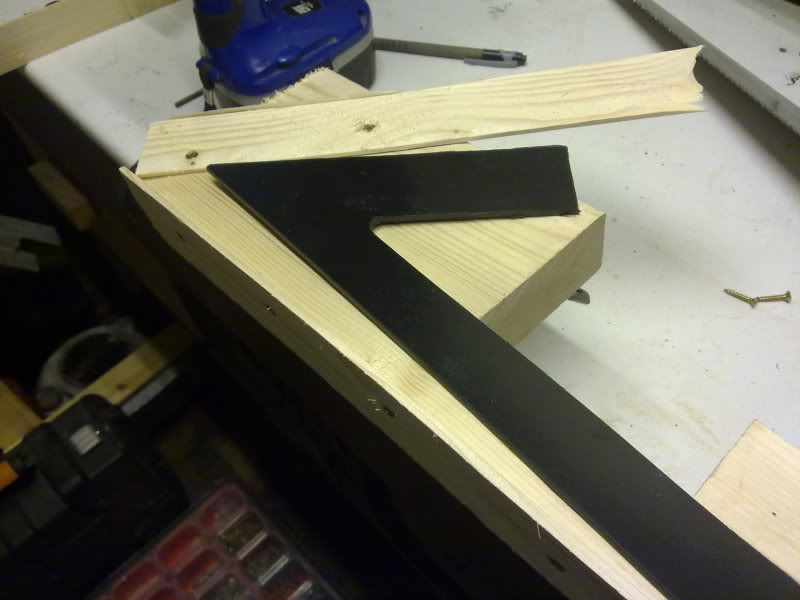
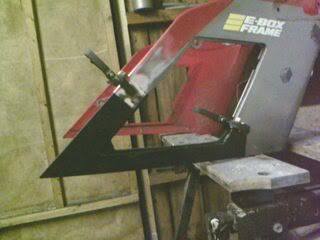
Dressed ABS is placed on curved timber former, and heated with hot air gun until it 'falls' into profile.
Similar smaller section if cut and shaped on former to give the inner lip, and overlap to fix to remaining fairing.
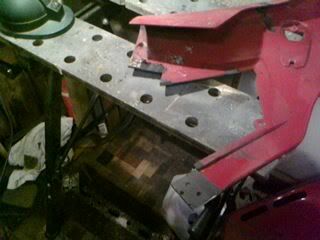
Inner section is glued to outer section using plumbing solvent, and plastic welded through holes when space allows.
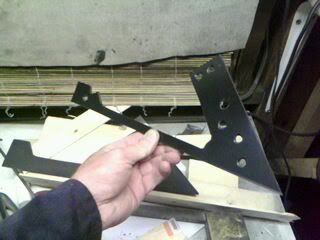
Ready for insertion !!
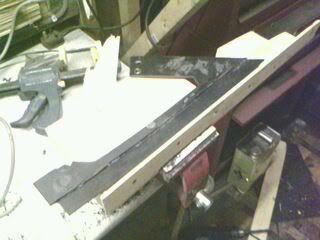
Offending portion of fairing removed, and overlap portions skimmed so that outer finish lines up well.
Patch glued in place, and plastic welded.
I've used the same process to replace burst holes on the lower portion of the fairing as well
Time consuming, but worth it
Some more photos of repairs
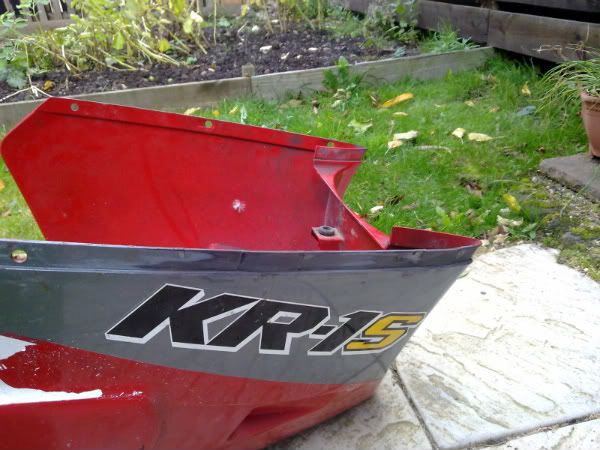
Just the paint to do now. Was going to try Bike Colours aerosols after speaking to them as Stafford - will let you know how it goes.
This is a good man to use for decals sales@signs-services.co.uk
Fast, well priced, and he'll do any combination you like. I've changed the yellow 's' in kr1-s to red
Offending corner with a pretty comprehensive (and very heavy) fibreglass repair.
It's rougher than it looks in the photo, plus it constantly cracks at the junctions with the plastic, and the overlap onto the plastic makes a poor fit to lower section.
Template shape is marked onto a piece of cls timber, and cut. Note - taken from good original side !
Shaped timber former next to portion to be repaired. See how out of shape the fibreglass is !!
Required shape is cut from new sheet of ABS
Dressed ABS is placed on curved timber former, and heated with hot air gun until it 'falls' into profile.
Similar smaller section if cut and shaped on former to give the inner lip, and overlap to fix to remaining fairing.
Inner section is glued to outer section using plumbing solvent, and plastic welded through holes when space allows.
Ready for insertion !!
Offending portion of fairing removed, and overlap portions skimmed so that outer finish lines up well.
Patch glued in place, and plastic welded.
I've used the same process to replace burst holes on the lower portion of the fairing as well
Time consuming, but worth it
Some more photos of repairs
Just the paint to do now. Was going to try Bike Colours aerosols after speaking to them as Stafford - will let you know how it goes.
This is a good man to use for decals sales@signs-services.co.uk
Fast, well priced, and he'll do any combination you like. I've changed the yellow 's' in kr1-s to red