Page 16 of 44
Re: At Last......Putting it back together
Posted: Fri Jan 10, 2014 1:05 pm
by 500bernie
Cheers Martin - You are a star =D> =D> =D>
I have a meeting booked in the Luton office for Wednesday, so I will give you a call.
Many Thanks

Re: At Last......Putting it back together
Posted: Fri Jan 10, 2014 5:27 pm
by Binetta Steve
martin wrote:next time you are down my way Bernie, heres a little something for you.
they are new old stock. but the only problem is they are not polished

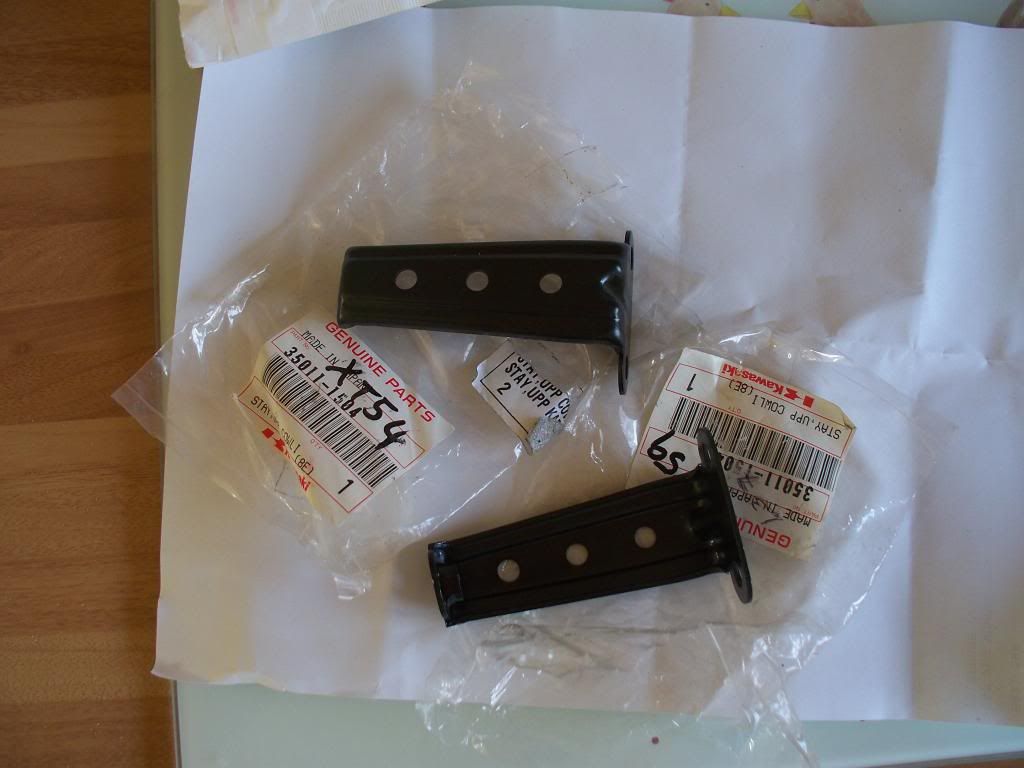
Dont worry Martin , after two nights with Lenny in a Premier in Bernie will have polished em with more Carnuba than you can shake a stick at!
Re: At Last......Putting it back together
Posted: Mon Jan 13, 2014 10:37 pm
by dandan0162
looking sweet bernie =D>
Re: At Last......Putting it back together
Posted: Mon Jan 13, 2014 11:36 pm
by 500bernie
Thanks Dan,
It has taken a lot longer than I thought it would, but nearly there now [-o<
Re: At Last......Putting it back together
Posted: Wed Jan 15, 2014 1:22 am
by dmac
Love the clip on's, Very nice =D>
Re: At Last......Putting it back together
Posted: Wed Jan 15, 2014 1:47 am
by 500bernie
They look even better in real life, the finish is top class (well done Rich) =D> =D> =D>
Re: At Last......Putting it back together
Posted: Wed Jan 15, 2014 7:38 pm
by boggy
Thanks Bernie,
They compliment your bike nicely.
Rich
Re: At Last......Putting it back together
Posted: Wed Jan 15, 2014 10:35 pm
by DougB
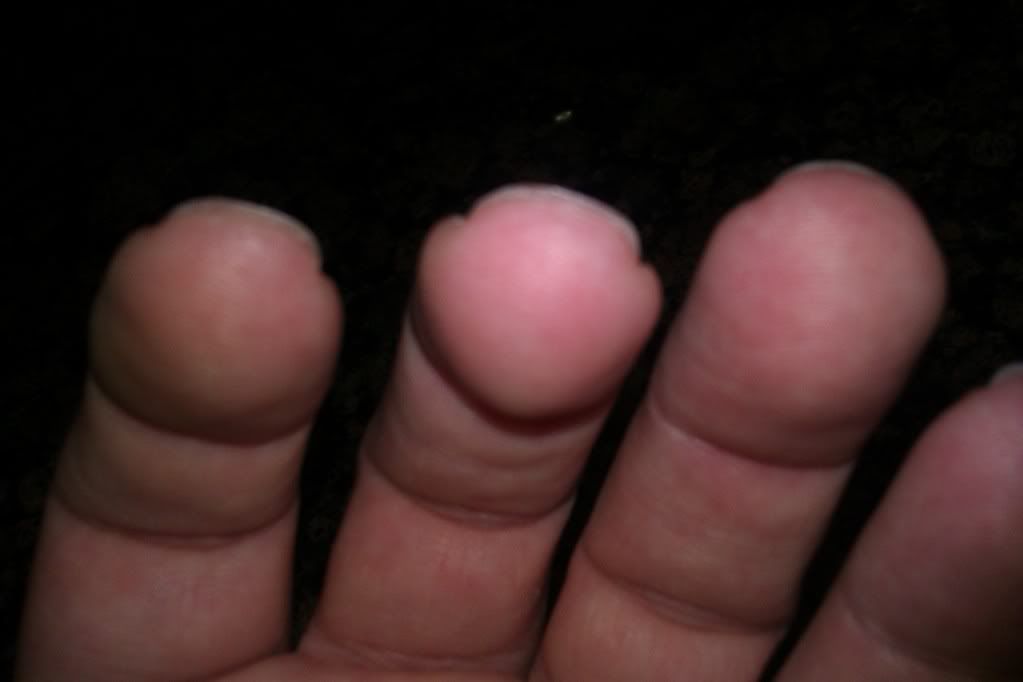
First chance I've had to look through this post at the pics, the bike looks fantastic! If all that was hand polishing I guess you've worn your fingers to stubs by now..
I'll keep an eye out for pics.
Re: At Last......Putting it back together
Posted: Wed Jan 15, 2014 10:55 pm
by 500bernie
bozbridge wrote:First chance I've had to look through this post at the pics, the bike looks fantastic! If all that was hand polishing I guess you've worn your fingers to stubs by now..
I'll keep an eye out for pics.
They were always a bit stubby, but now I have no fingerprints

Re: At Last......Putting it back together
Posted: Thu Jan 16, 2014 9:08 pm
by DougB
All for a good cause though =D>
Re: At Last......Putting it back together
Posted: Thu Jan 16, 2014 9:44 pm
by 500bernie
Can't agree more

Re: At Last......Putting it back together
Posted: Sat Jan 18, 2014 1:01 pm
by KR1Lee
Hi Bernie,
I've been watching your rebuild thread with interest and sunglasses! I've been promised a rather tatty looking KR1 for free (just need to get it out of the corner of the factory that it's been resident for the last few years). I live in School Aycliffe and have used this company for plating and chemical blackening old model car parts. The chemical blackening will give all the old bolts a new lease of life!
http://www.almitgroup.co.uk/
They do a really good job with a quick turnaround. When i do get the bike i'll post some pictures.
All the best
Lee
Re: At Last......Putting it back together
Posted: Sat Jan 18, 2014 4:31 pm
by KR1Lee
Hi Bernie,
I've been watching your rebuild with interest and sunglasses! I'm hopefully receiving a KR1 soon which needs a complete strip and rebuild. I live in School Aycliffe and have used Almit for metal restoration (plating, chemical, blacking etc). They are based in Newton Aycliffe and have a quick turn around.
http://www.almitgroup.co.uk/
Regards
Lee
Re: At Last......Putting it back together
Posted: Mon Jan 20, 2014 9:16 am
by 500bernie
Back again........
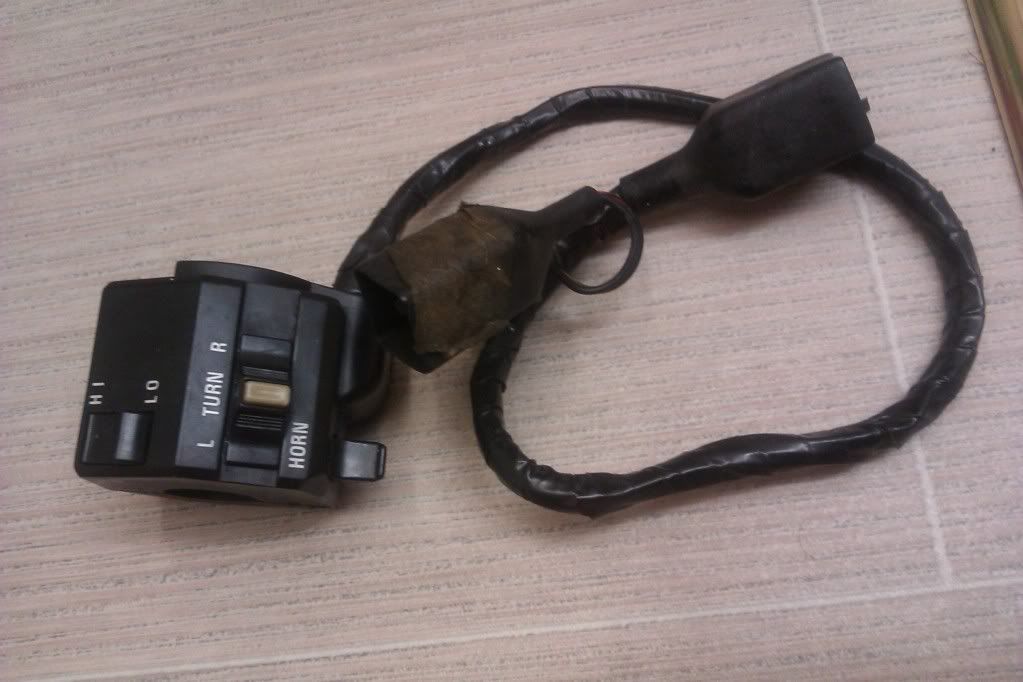
My left hand switch unit has seen better days
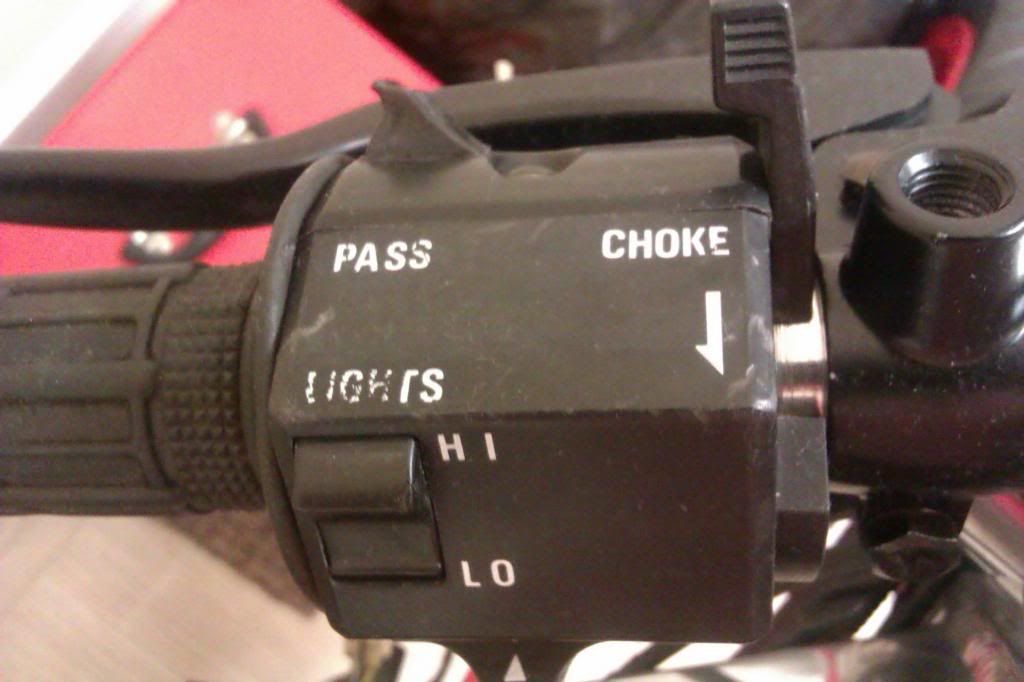
I had a new replacement unit, but I accidentally chuck it and a few other items in the bin while I was having a clean out
I have a couple of knackered spares, one with very bad road rash (but good switches and wiring except the pass switch which is totalled)
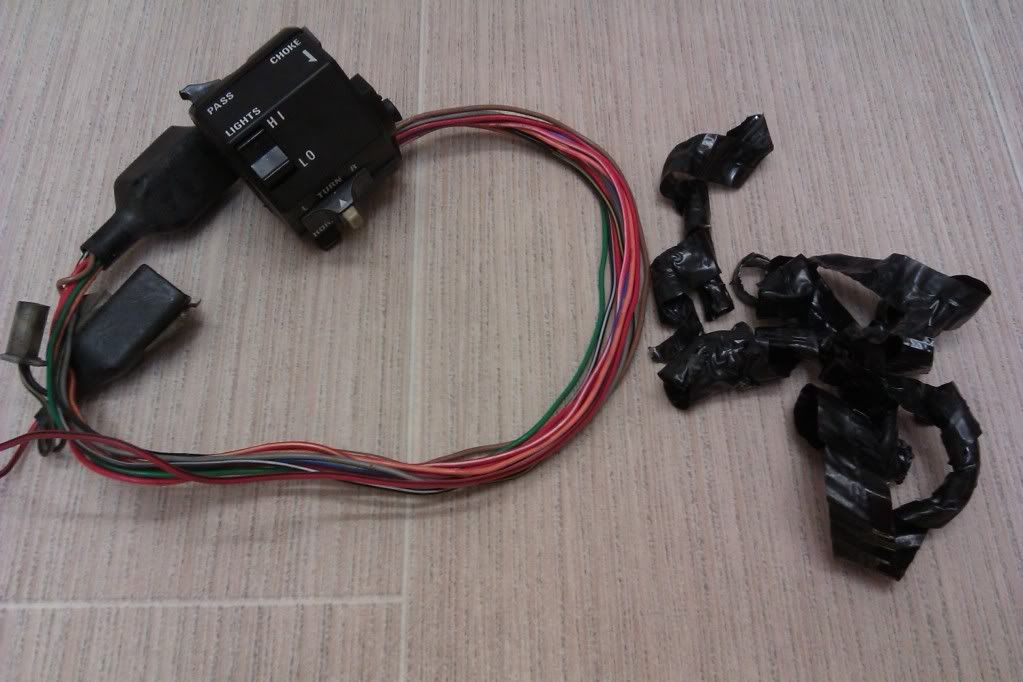
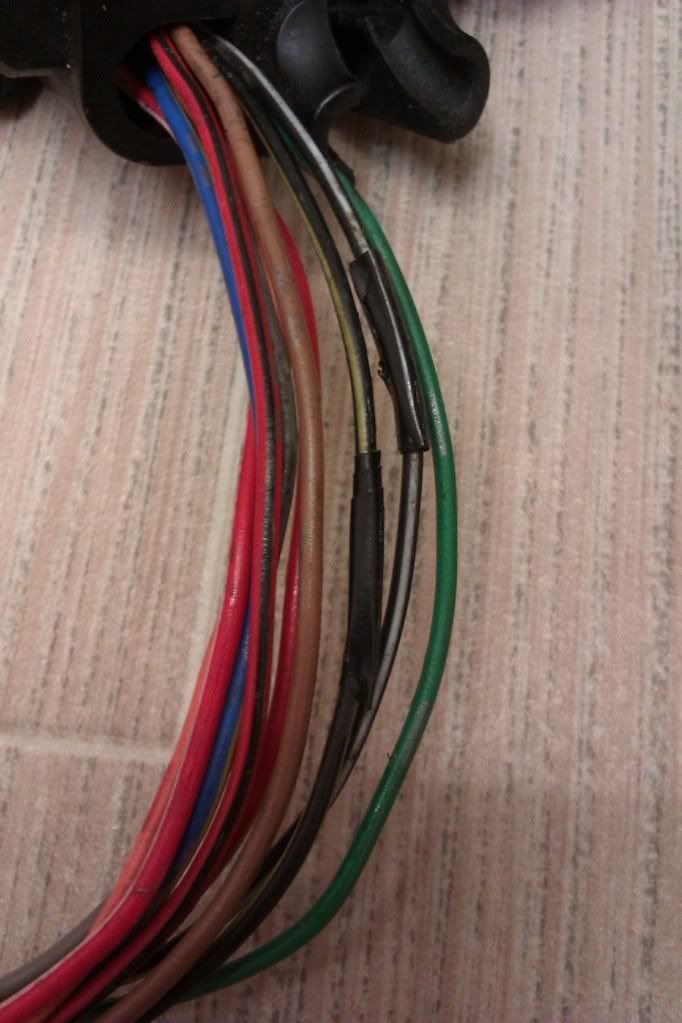
The other one has had the wiring tampered with, as it is wound in electrical tape, so I expect broken wires have been repaired.
Tape removed, repaired wiring found
I only need the body and the indicator switch.
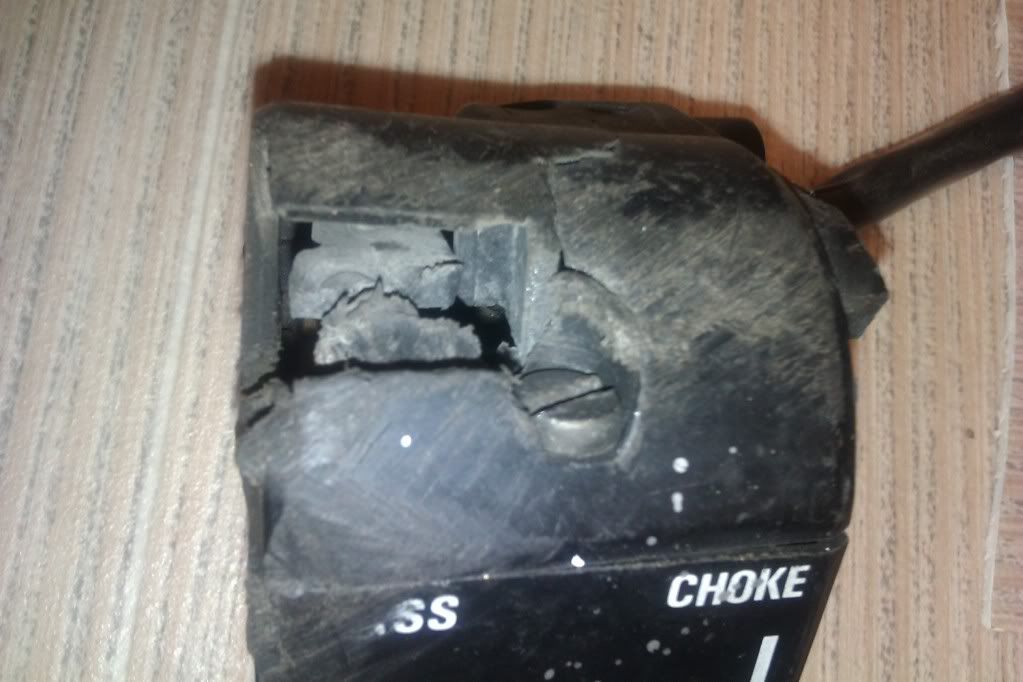
Good for me the come apart, the springs in the indicator switch are a bit fiddly...
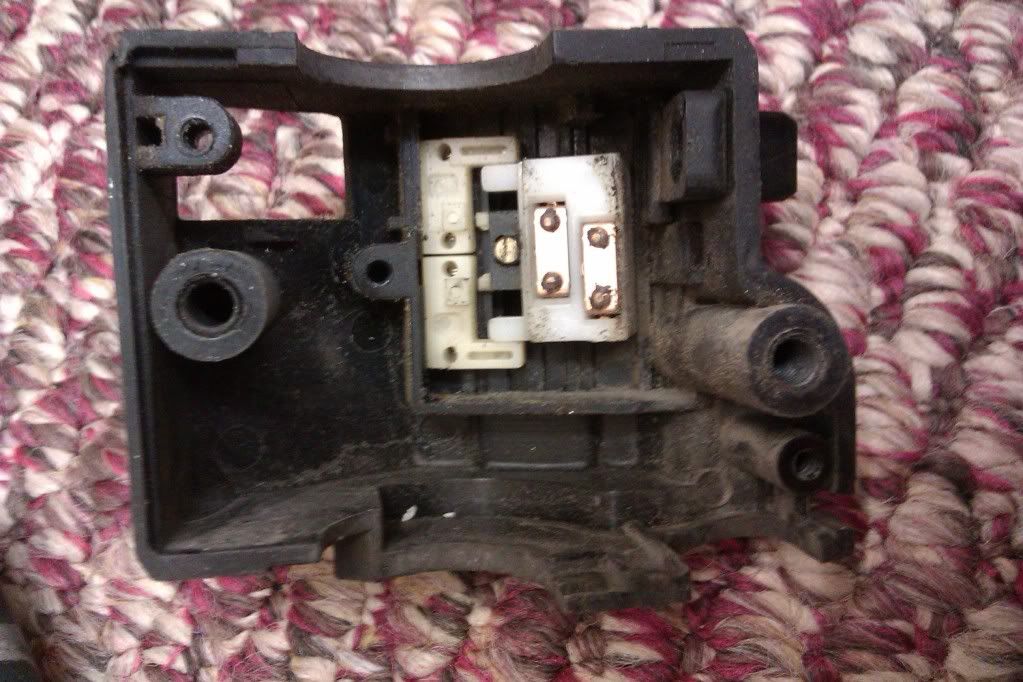
The two small white parts have a compressed spring on the underside that sits in a small groove.
If you remove both of them, plus the switch contact plate, you can then remove a retaining clip for the indicator switch.
More later
Re: At Last......Putting it back together
Posted: Mon Jan 20, 2014 11:10 am
by Luders
I may have a better looking one Bernie