Page 3 of 5
Re: KR-1s restoration... getting started.
Posted: Wed Jan 22, 2014 12:45 am
by 500bernie
Hi Rich,
Every night, equal measures of Solvol, Bushmills and Southern Comfort

Re: KR-1s restoration... getting started.
Posted: Wed Jan 22, 2014 8:37 am
by Kneewall49
Thanks for the ABS repair sequence, looks like another tool will be finding its way into the shed. Seems like it will have to be an ebay purchase, can't find anything online local in Oz?
I like the way you can add it on thick and work it back. Using a soldering iron and cable ties now seems so primitive!
And Bernie are you serious with the Solvo cleaning technique? I do remember it's fairly gritty
. So how is it applied, rag, drill and pad, ? Nice outcome.
Re: KR-1s restoration... getting started.
Posted: Wed Jan 22, 2014 8:43 am
by 500bernie
Hi
I drink the Bushmills and Southern Comfort while applying the solvol with a rag (after careful preparation with wet&dry).
Re: KR-1s restoration... getting started.
Posted: Wed Feb 12, 2014 10:26 pm
by carlsburg
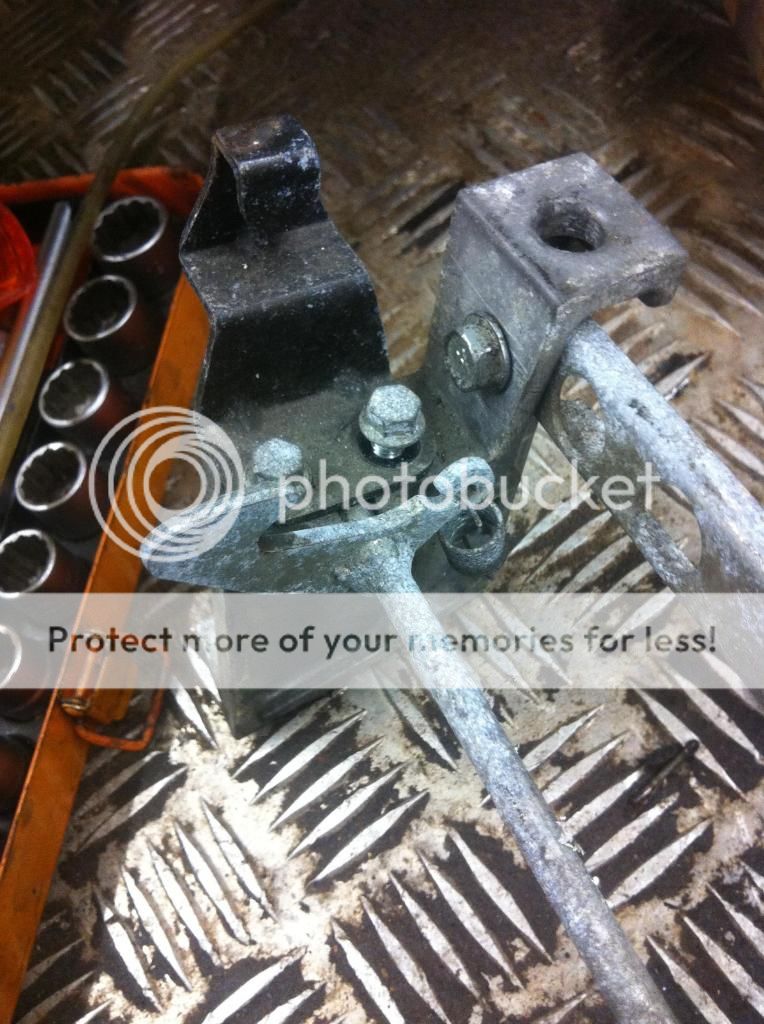
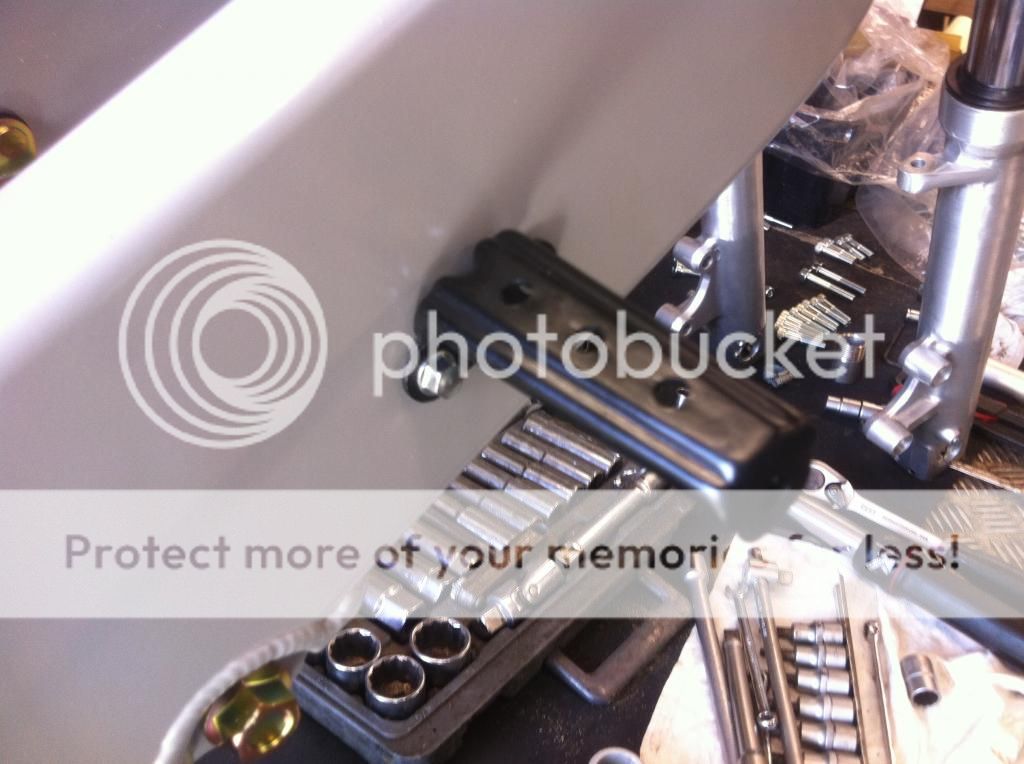
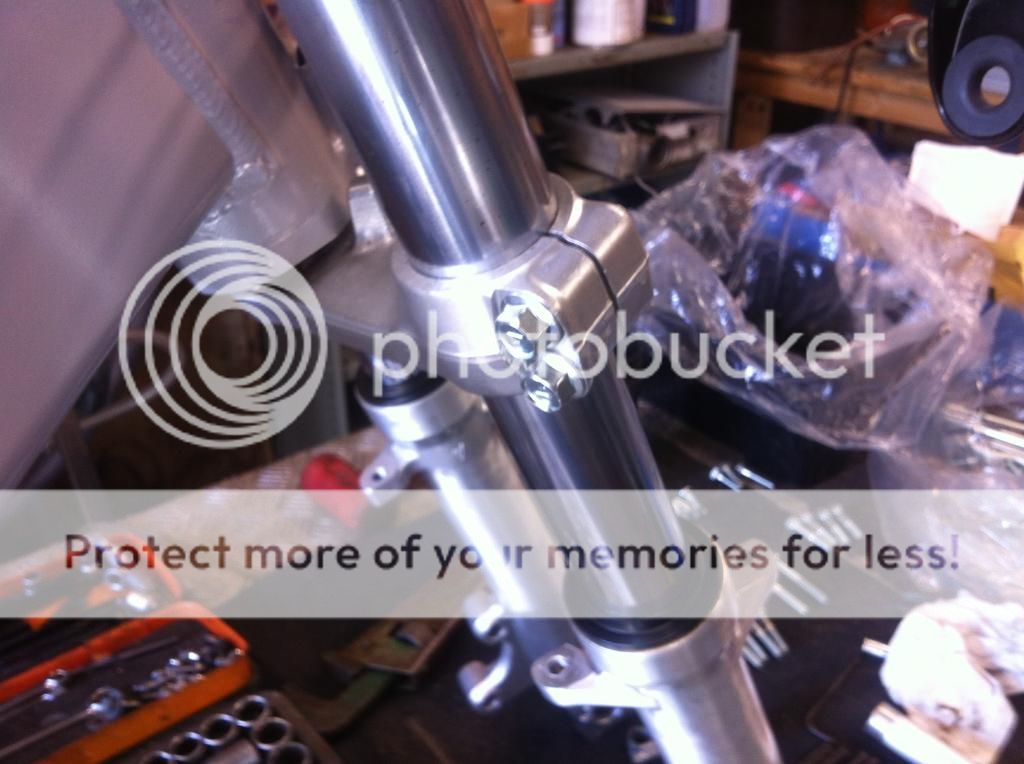
It's been a couple of weeks so here is a update on progress..
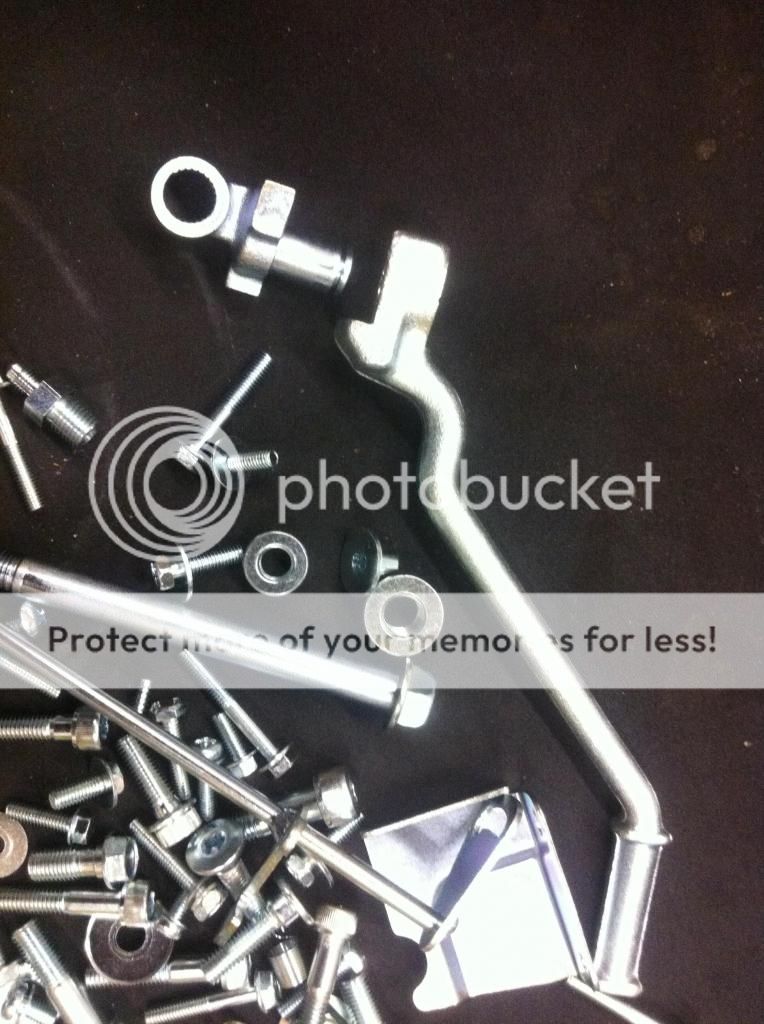
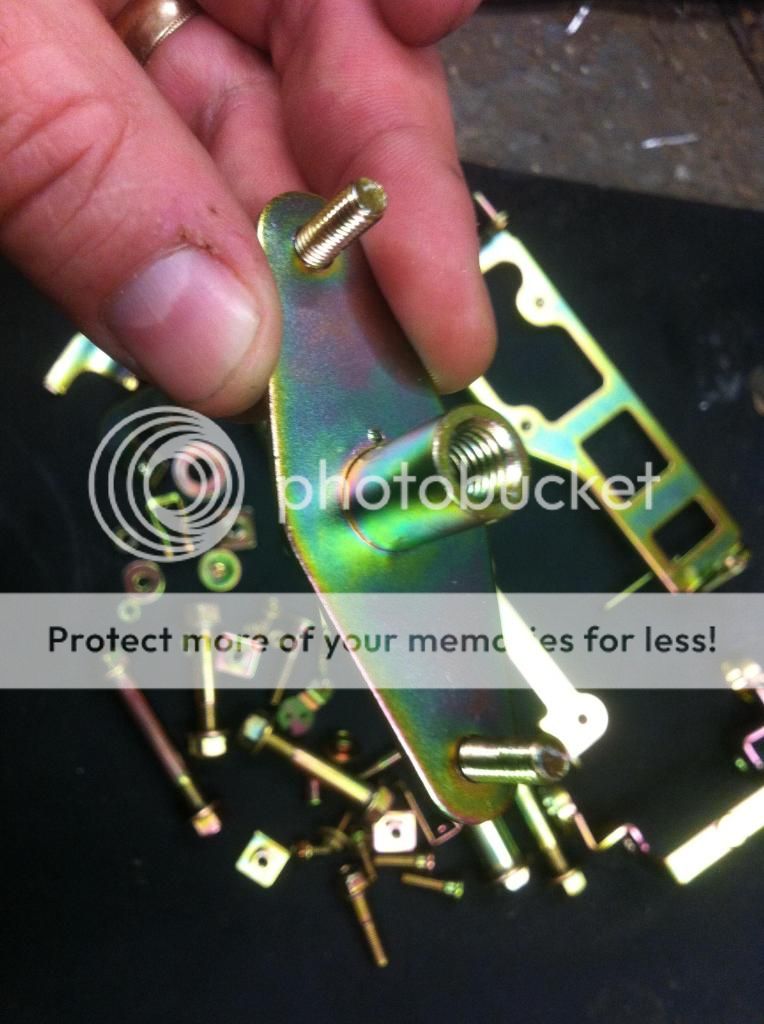
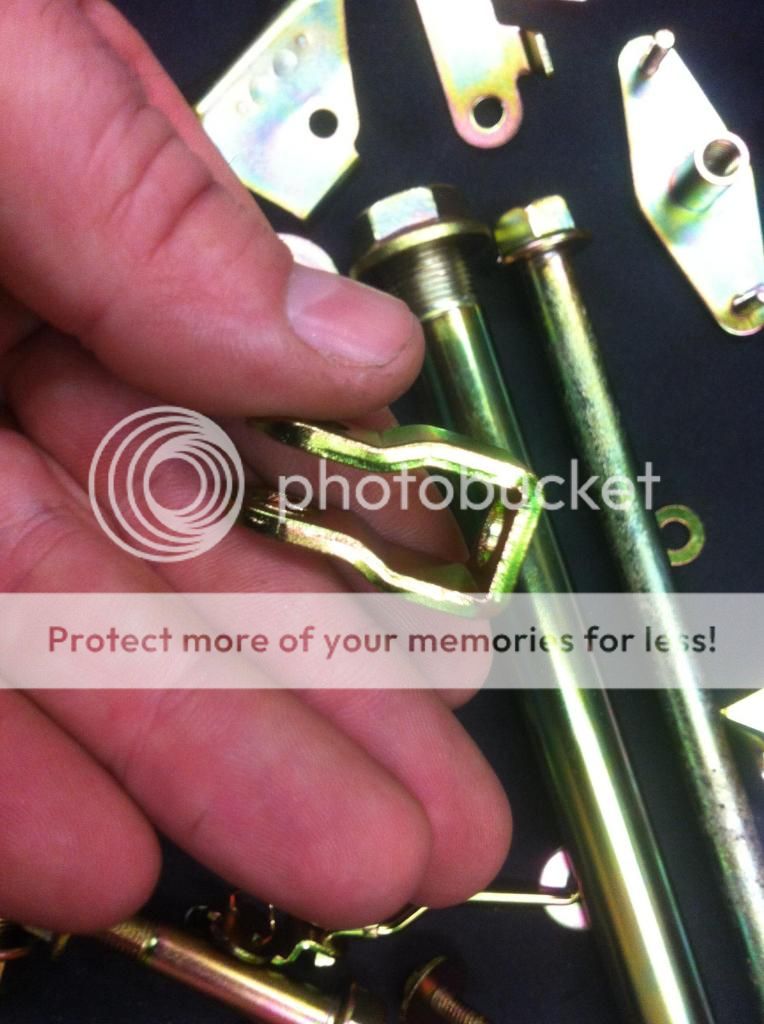
I am getting all the nuts, bolts, bits and bobs re-plated in zinc with the relevant passivated colour, clear (silver), dark green and yellow. To prep these I first de-greased everything, then to strip them back to base metal I pickled them in hydrochloric acid, (brick cleaner) this removes zinc very well but is best done outside....
when the bubbles stop then its done.
The acid dip....

Then I put them through the vapour blaster to clean them up..
I should pick them up this week so i can start putting things back together..
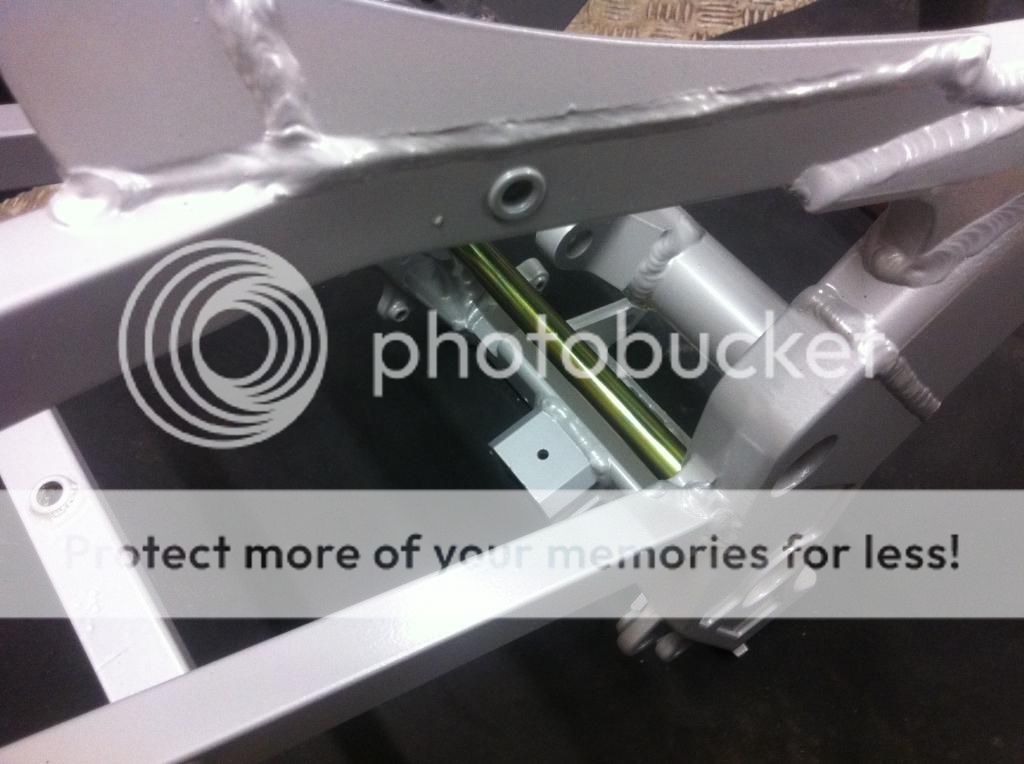
So while i'm waiting I made a start on the fork lower tubes, firstly I vapour blasted the tubes to get then clean, this gives a very nice finish but this does not look like the original brushed tubes..
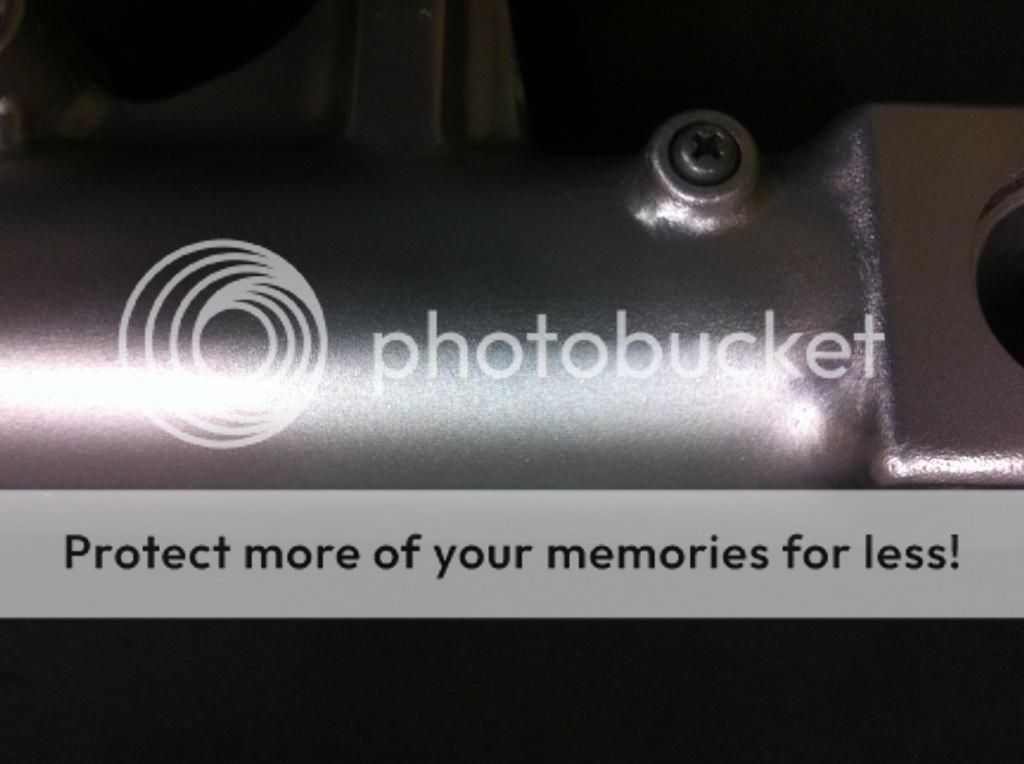
So to give them a more original finish I re-brushed the tubes with 200 grit emery cloth,

I will lacquer these to protect them from the elements....

I will post some more bits when I have made some more progress...
Re: KR-1s restoration... getting started.
Posted: Thu Feb 13, 2014 3:35 am
by philfingers
do I take it you're sending the ferrous bits away for plating?
I'm thinking of buying one of these kits for doing my own. Either way so nice prep there.
Forks, looks good, would scotchbrite pads be better? I have a feeling the original finish was sort sort of scotchbrite/lightly sanded and then anodised. 2k clear should work ok, I restored the top yoke like that, came out ok
keep up the interesting work! it's a good read
Re: KR-1s restoration... getting started.
Posted: Thu Feb 13, 2014 10:21 pm
by carlsburg
Re: KR-1s restoration... getting started.
Posted: Thu Feb 13, 2014 10:45 pm
by philfingers
some nice work there!
out of interest what did the plating cost you, I like the idea of plating my own stuff but I can see having it down professionally being more cost/time effective, even if it's not so rewarding!
keep it coming!
Re: KR-1s restoration... getting started.
Posted: Thu Feb 13, 2014 10:59 pm
by carlsburg
The Plating was done by a local company. I have used them before with great results, the lot cost me £75 + vat (£90) for around 6kg of parts. I consider that a bargain as the cost of setting up a simple zinc plating bath can be that, plus you have to add a passivate coating to the zinc (colour) to protect the zinc, this is where the pro's know what they are doing. I have looked around the plating company and to get good consistent results you need large tanks and a good deal of experience. My advice would be prep them as good as you can and hand them to someone that will make them look like new....
Re: KR-1s restoration... getting started.
Posted: Fri Feb 14, 2014 9:30 am
by Hawk
Impressive results - they look better than new
Re: KR-1s restoration... getting started.
Posted: Fri Feb 14, 2014 11:49 pm
by dmac
Slow down there, your making the rest of us look bad

The plating really gives a restoration the professional look, Keep up the good work

Re: KR-1s restoration... getting started.
Posted: Sat Feb 15, 2014 12:57 pm
by 500bernie
Looking good

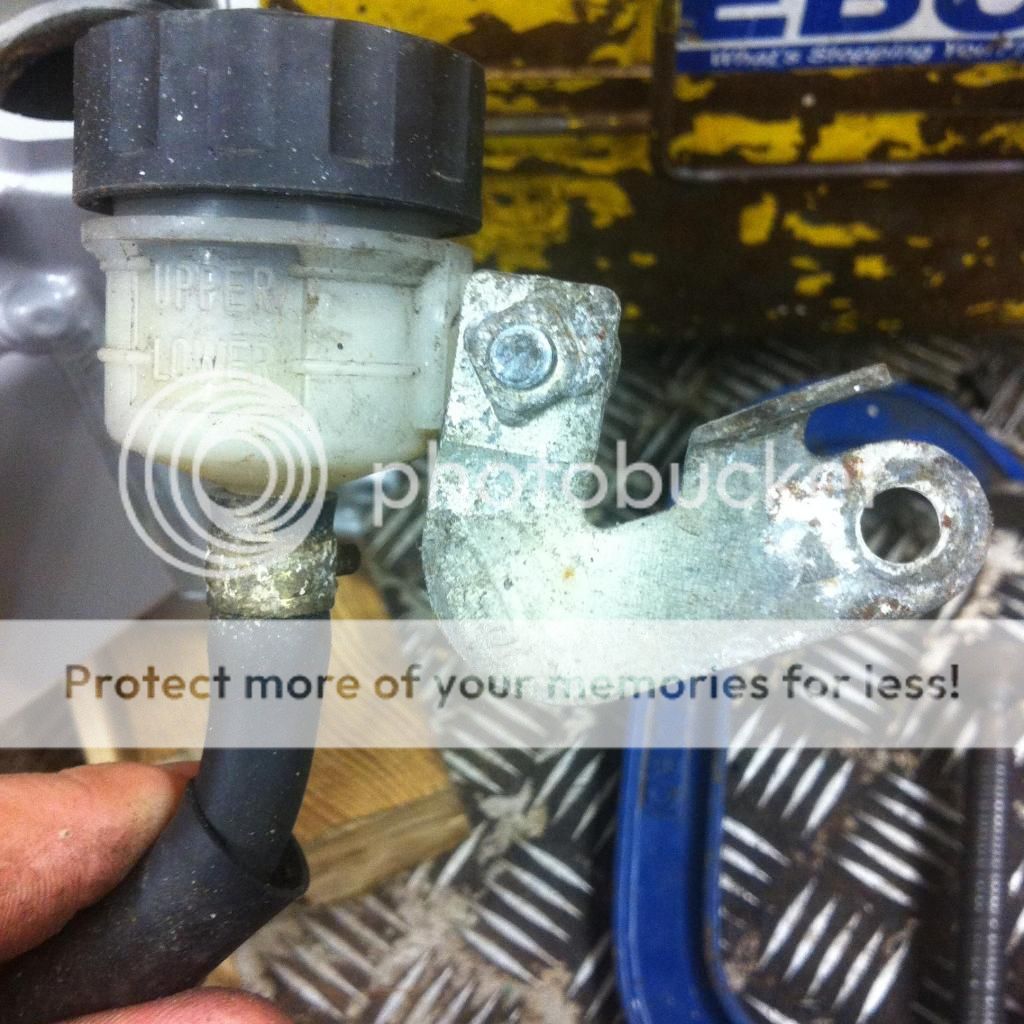
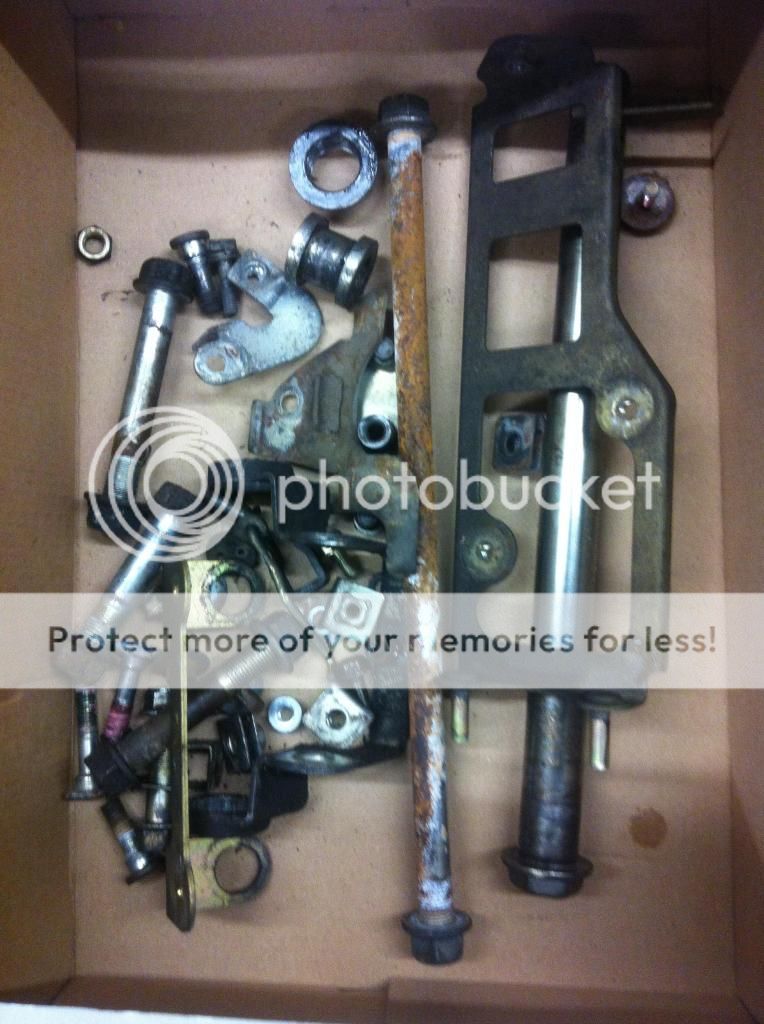
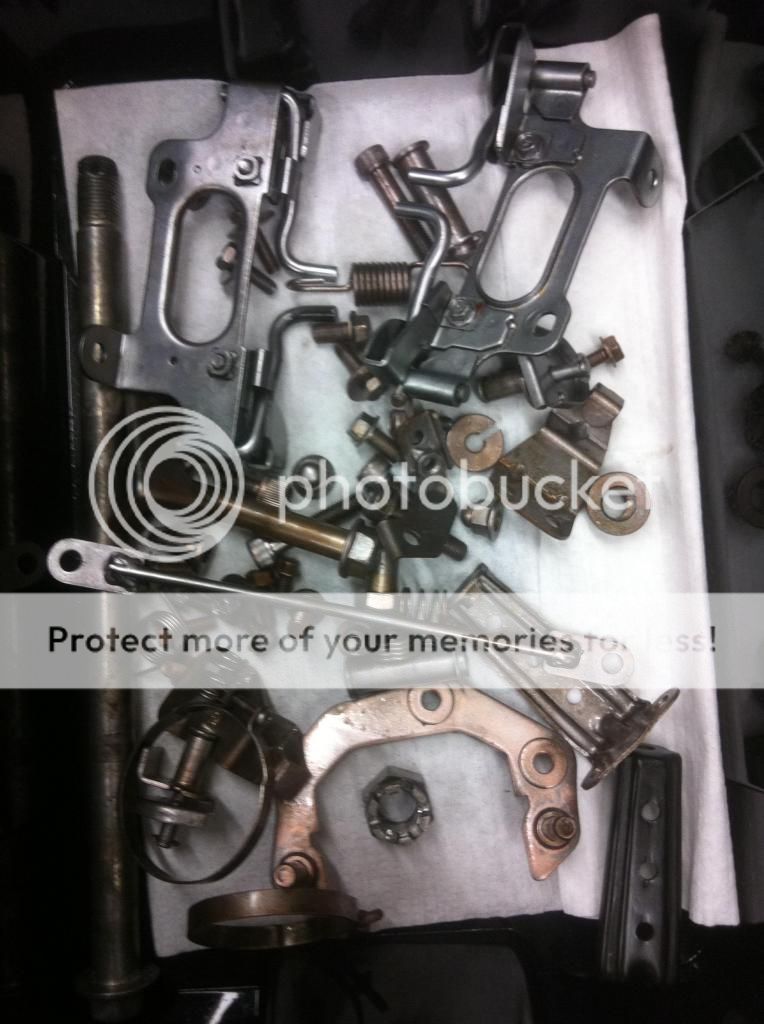
On the images of the plated items, what is the square flat plate? I don't recognise that (not something else I have lost

)
Re: KR-1s restoration... getting started.
Posted: Sat Feb 15, 2014 9:16 pm
by Kneewall49
As you appear highly organised and detailed, can you let me know what system you use to ensure you get the right fitting , bolts, etc back in the right component?
I have stripped and plated fasteners then I have trouble identifying exactly where they came from?
Do you photograph each in place or half in place?
Thanks
Re: KR-1s restoration... getting started.
Posted: Sat Feb 15, 2014 10:25 pm
by carlsburg
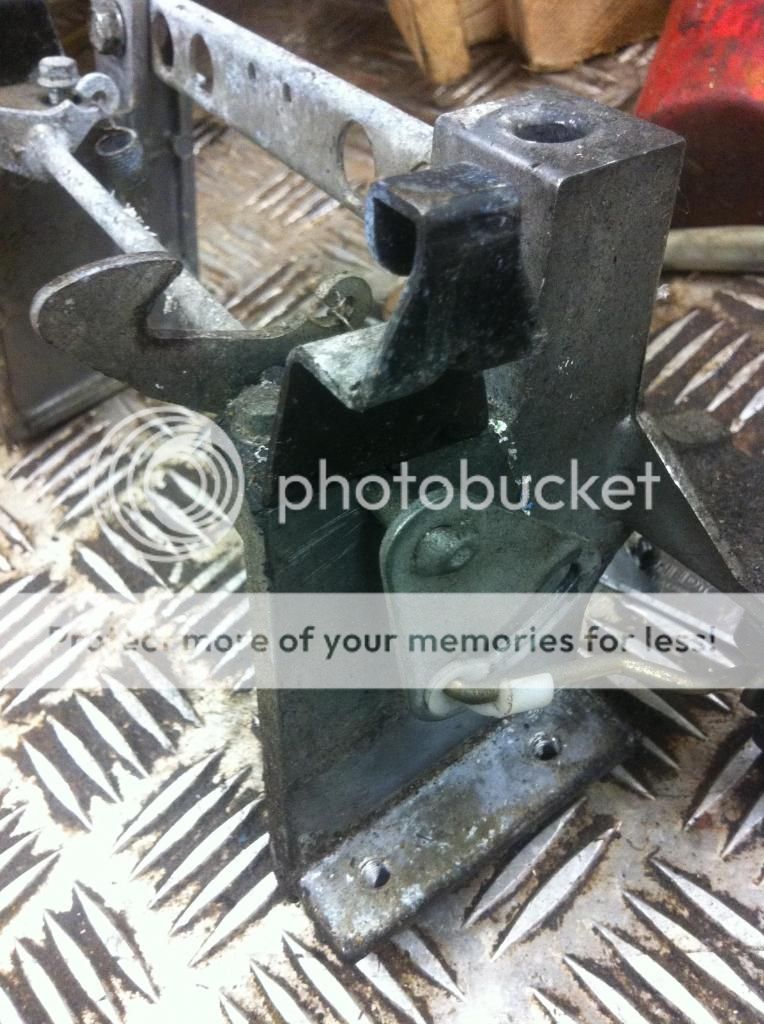
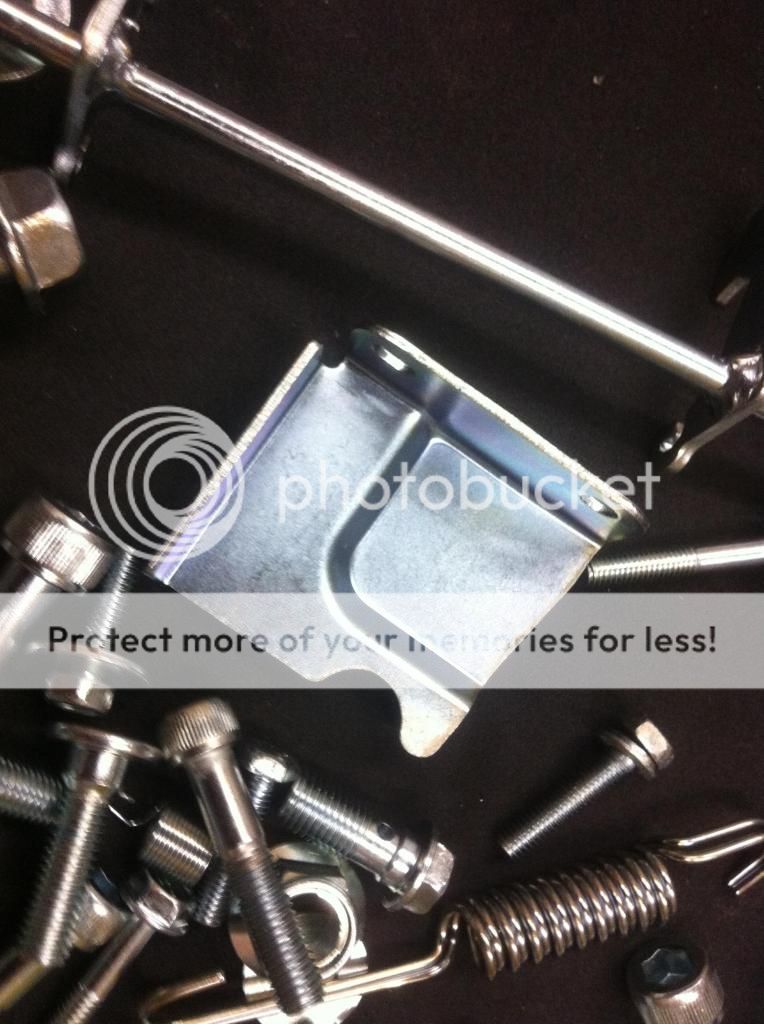
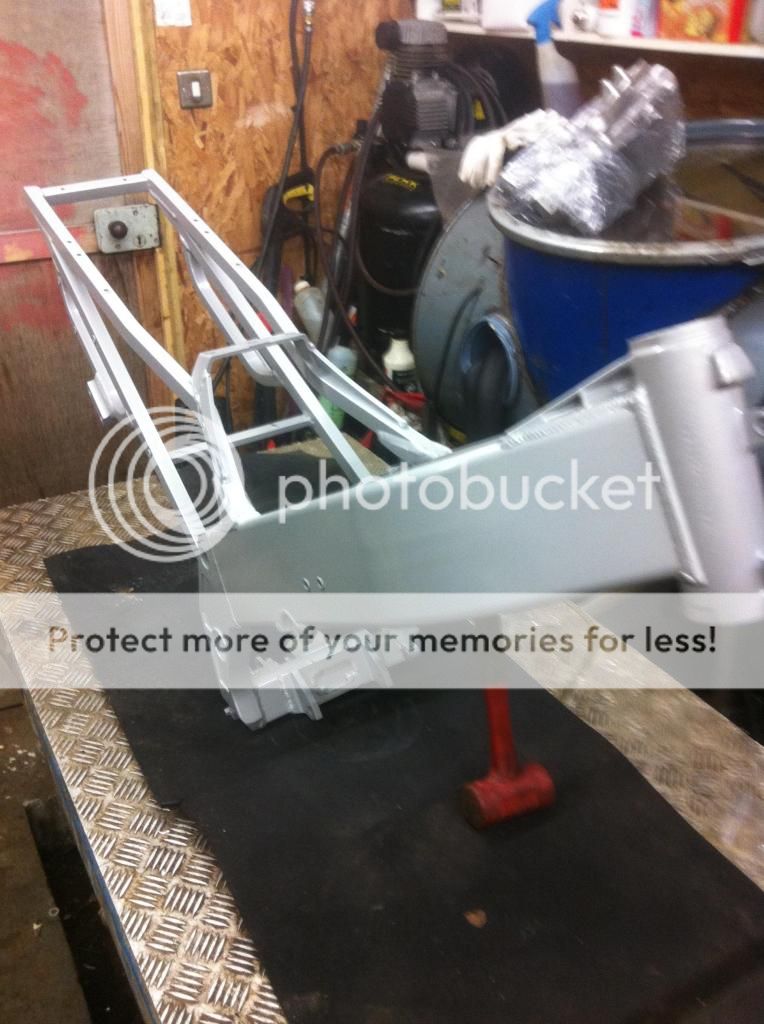
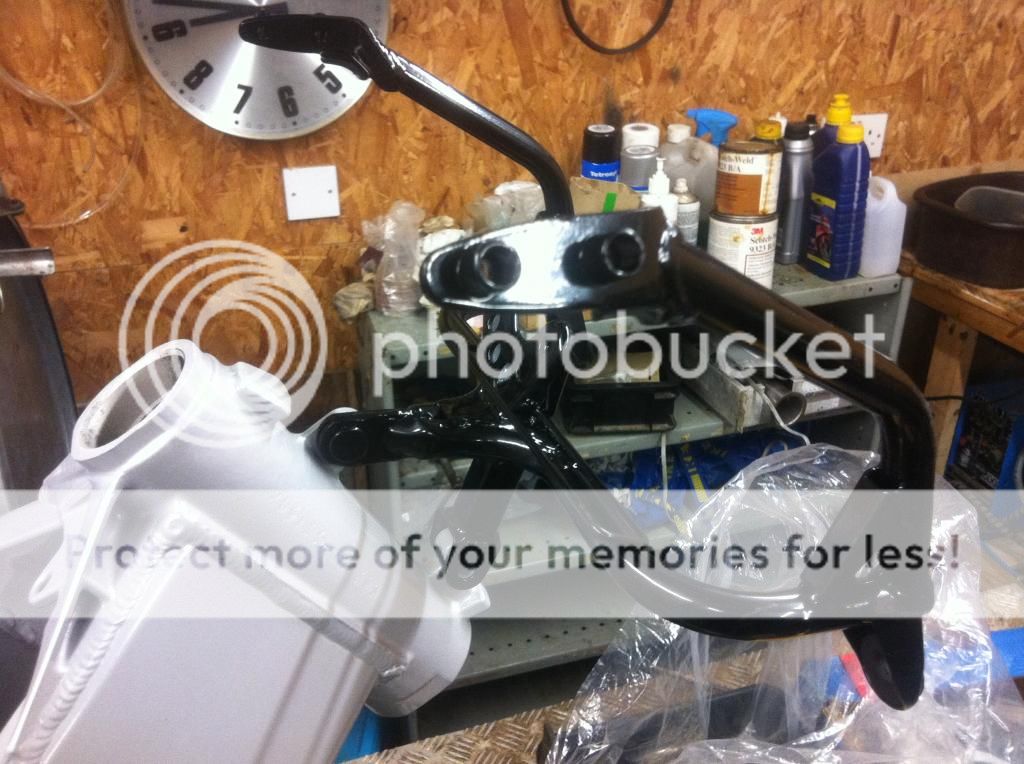
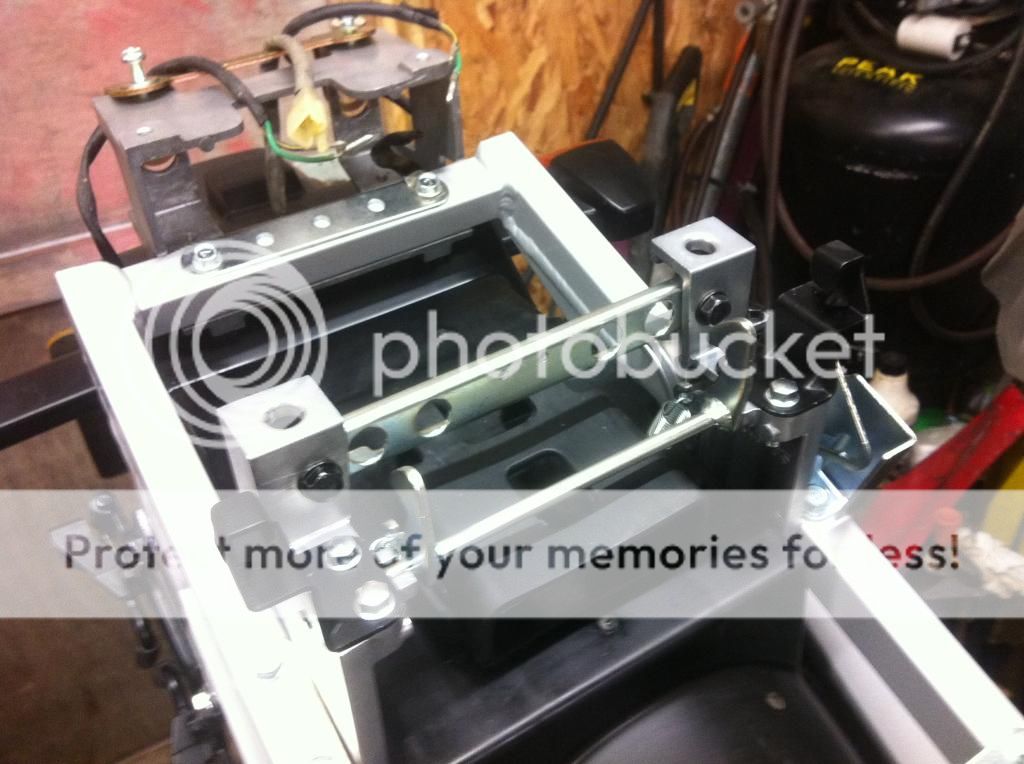
As far as keeping everything with the right nut, bolt and washer, I just take loads of photos when i'm stripping the parts, even then I sill don't get everything right, Then they get split into separate bags for plating, so the parts that were silver need a clear passivate, Iridescent colour is yellow passivate and dark green (which is actually black)... I have been putting the bike back together today so I will put some photos of my progress tomorrow.
Re: KR-1s restoration... getting started.
Posted: Sat Feb 15, 2014 11:06 pm
by carlsburg
Re: KR-1s restoration... getting started.
Posted: Sun Feb 16, 2014 10:17 pm
by c&c
Stunning..What attention to detail ......