Page 1 of 2
splitting the crank
Posted: Thu Feb 21, 2008 8:26 pm
by nate
Hi Folks,
took me fly wheel and magneto off today. Have also removed the clutch and RHS engine cover...
So, to get the crank out... What do I do???
Do i need to pull the gear box out? if so, does it come out as a cartridge? I have read the put about the circlip on the clutch side... so thats ok... then can I just pull it out from the LHS of the engine???
Do I need to pull out the balancer shaft?
Basically, I want to check bearings and play in the crank and flow the cases as per MJ's instructions...
Please help.... cos I have a new dremel and a free weekend

Posted: Thu Feb 21, 2008 8:35 pm
by the kid
The gearbox does slide out as unit but you have to take the shifting mech apart a bit to get at a bolt .
You need to get at some more bolts under the balance shaft to split the cases .
Good luck .
Posted: Thu Feb 21, 2008 8:44 pm
by mr_bungholeo
long time since i pulled my second engine down....but i think you dont need to remove the balancer shaft..dont think its hiding any bolts...
once you have removed the clutch(via the circlip) you can remove the gearbox as one unit.....then split the cases but if you find any resistance you've forgotten a bolt...it should split quite easily...don't panic...its not as hard as it sounds...you wont find springs and gears hitting you in the eye as it comes apart(i thought it would when i split my first bike..yz125j..1984)

but if your not confident about pulling it apart...maybe it may b worth the money(re;groveling) to mj to get him to do the cases..if you go for it i wish you the best though..didn't mean that to sound rude...

edit..sorry..theres always a hidden bolt..this time its under the balancer...bugger..
Posted: Thu Feb 21, 2008 8:55 pm
by nate
Nice one Mr B
That was my worry, was pulling the gear box out to the sound of things pinging off the walls of the garage...
So, I think after reading the manual, its basically...
Take of the idler and circlip from the clutch side,
Pull the gear box out from the RHS
Take off the balancer shaft.... (somehow... I'm sure its in the manual)
and then split the crank
easy... Peasy...
](./images/smilies/eusa_wall.gif "Brick wall")
As for MJ doing the crank... well nothing ventured, nothing gained is my attitude....
I would rather do it my self and learn as I go... Although I will of course be screaming on here if it all goes tits up
As they say in the war films, wish me luck chaps, I'm going in... Tally Ho... What Oh etc
Posted: Thu Feb 21, 2008 9:01 pm
by garye345
good luck kid!

Posted: Thu Feb 21, 2008 9:04 pm
by mr_bungholeo
wont say good luck cos im sure you wont need it..just take your time..n don't put all the bolts in one tin....you'll never work em out(tip;but if you do just put bolts in the holes n they should all sit out at the same hight)...nothing like doing your first engine.......you'll have a grin from ear to ear mate......enjoy...

Posted: Thu Feb 21, 2008 9:13 pm
by nate
Ahhh no worries there... I have been saving my plastic chinese take away containers religeously mate...
I must have about 20 of them floatign around the garage... everything gets labelled and stashed...
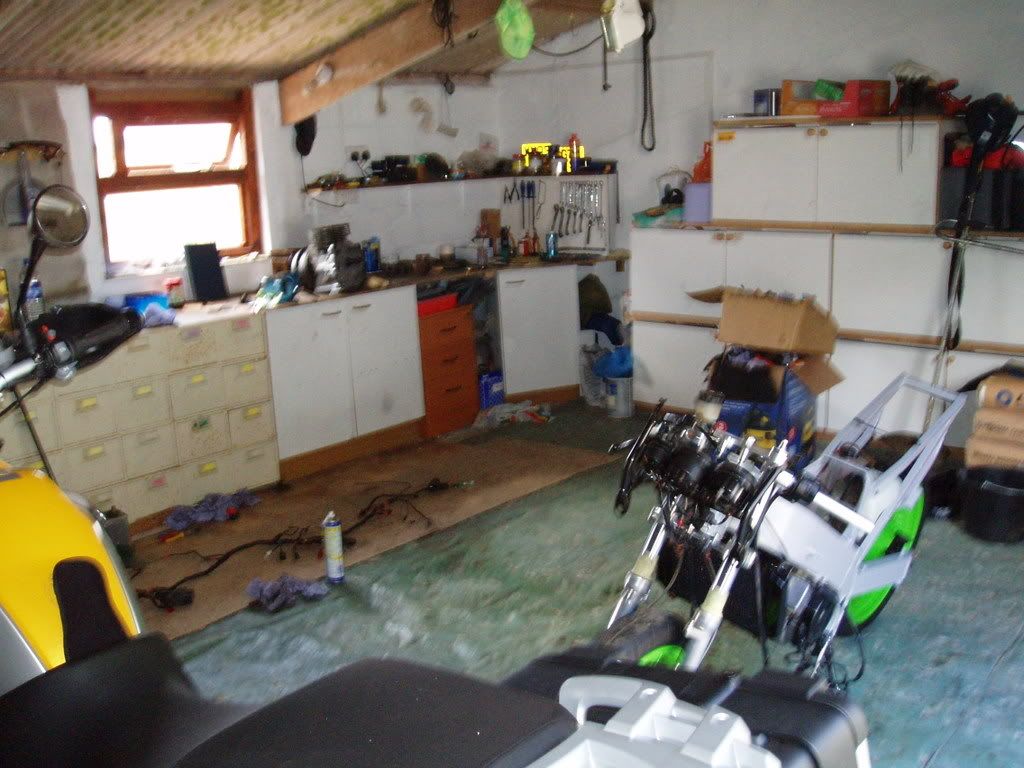
I learn't that when I pulled the bike apart... the guy who used to own the house owned a spec savers store... and the garage came with a complete set of customer record drawers.... Perfect for labelling and storing things...
You can just see em on the left of the picture... But the other wall is filled with em... there must be about 250 drawers in all
Posted: Thu Feb 21, 2008 9:50 pm
by mgtkr1
to extend cutter life and prolong clogging, use a spray such as wd40 as it does give a nicer finish aswell, nice tip from mj there. another one instead of wd40 is chalk, this is what guy martin uses when doing the deisels(fl;owing heads). be patient as its easy to get frustrated/carried away and remove to much materieal, you will see daylight. if this happens all is not lost thanks the jb weld or devcon typew epoxy. to begin with though i would err on this side of minimal meaning flow them so there improved/smooth without been to ambitious just until you get a feel for it. easy job and easily accesible with a dremel or similar but is very easy to be over confident and balls it up, i did so on a scrap set that i used to practice on. anyway, if you look at werre mj has been and try and stay closely to that you should be ok. crank cases arent the most photogenic of objects hence my advice. not trying to put you off ewtc and i think you will be fine, just a few tips. also watch out for catching the mating faces as the dremel is one direction only and can grip and slip in unwanted areas sometimes, depending on what your doing. this is another good thing about wd40, it minimises gouging from wayward dremel cutters. let us know how you get on. oh, make sure all the gear selecter mechanism is removed before attempting to remove the gearbox otherwise it wont budge. theres a plate with 2 philips screws that retain the cassete box from coming out. also keep an eye out for the bushes, they are very small and if dropped on a less than spotless garage floor you may have a job finding them, esapecially if your unaware they exist until rebuild?scan the manual time!! after a while you learn how to get the box out so it stays together. hope all goes well and admire your attitude that unless you dig in and try you wont ever get to learn how to acheive such things. im sure you will do a top job.
Posted: Thu Feb 21, 2008 10:37 pm
by mj43
You do have to remove the balance shaft to split the cases!!
Here goes the quick version to splitting an engine 15 minutes tops
Remove the clutch cover
pull out the steel pin and alloy centre
Remove the circlip that is underneath that lot.
Pull the clutch drum out plates all come out in one go.
Big washer next line up the splines and take that out. Now pull the clutch outer drum out.
there should be a washer next if it didn't come out with teh drum and behind it a circlip remove that.
Next up the oil feed A shaped bit held in by one small cross head remove that.
Circlip holding the idler gear the one underneath that A shaped bit remove, then washer gear and washer
Spin the motor round.
4 bolts holding gear change cover remove cover.
Pull out gear change shaft.
Undo 10mm bold holding the arm with the wheel that is attached to the spring. Remove bolt spacer arm and spring.
Plate spring went on to remove the bottom bolt do not undo the top bolt.
Now undo the bolts holding the gear box plate can't remember the number includes a couple that were under the gear change cover.
once all bolts are undone gently tap the release locations - little lugs on the cover and the gear box with cover will come out in one piece.
Ok need a breather and a pint. More later
Posted: Thu Feb 21, 2008 11:05 pm
by nate
Cheers MJ... I owe you a beer after that... Any more details on the balance shaft removal would be great
Thanks for the vote of confidence guys...
I will of course, keep you all up dated and see how it goes...
Posted: Fri Feb 22, 2008 8:53 am
by the kid
Balance shaft is easy , even I have done it

Just remove all the bolts and a screw on an "s" , Cover off . And its free . Just note how it sits with the little rubber end seal and washers against the bearings .
Also note when you lift it out the tiny little marks on the center cog that are to align the balance shaft with the cog on the crank . Just little dots near the teeth .
Its really nice to discover the internals of a KR and see how well they have been engineered .
It will be even nicer if I can get mine back together
Also note that its only been this site that has given me confidence to try pulling an engine apart .
Might drink to all you helpfull crew , cheers

Posted: Fri Feb 22, 2008 1:15 pm
by nate
ok i'm stuck.... or rather the gear box cover is
I have taken out the relevent circlips on the clutch side and removed the idler gear and little circlip behind that... (the one with out the eyes on it)
Next, took off the gear selector cover.... pulled out the splined shaft easy!
Ok, removed the bolt holding the arm with the little wheel and spring on it
Next, removed the other 7 bolts that hold on the gear box cover...
This is where my problem lies... no amount of whacking seems to get the cover off...
I have taken out all 8 bolts (7 plus the one holding the arm thing on)... There seems to be a grey sealant that has been used as a gasket.... So I am attacking that with some thinners...
Am I missing something? It sounds like its giving a bit (change of noise when whacked with a bit of wood) but I can only get a feeler gauge in at the top, not the bottom...
Cheers
Nate
Posted: Fri Feb 22, 2008 2:40 pm
by mj43
did you undo the bolt on the plate that holds the spring like I said?
Posted: Fri Feb 22, 2008 2:41 pm
by nate
yeah... thats the one with the plate that looks like an arm with a small wheel on it and a spring at the other end yeah???
EDIT: Or is that the one with the 2 posi drive screw heads on it?
Posted: Fri Feb 22, 2008 4:23 pm
by mj43
The one with teh 2 posi heads in - it is teh lower one you want to remove