Comments and criticism welcome would love to know what you think
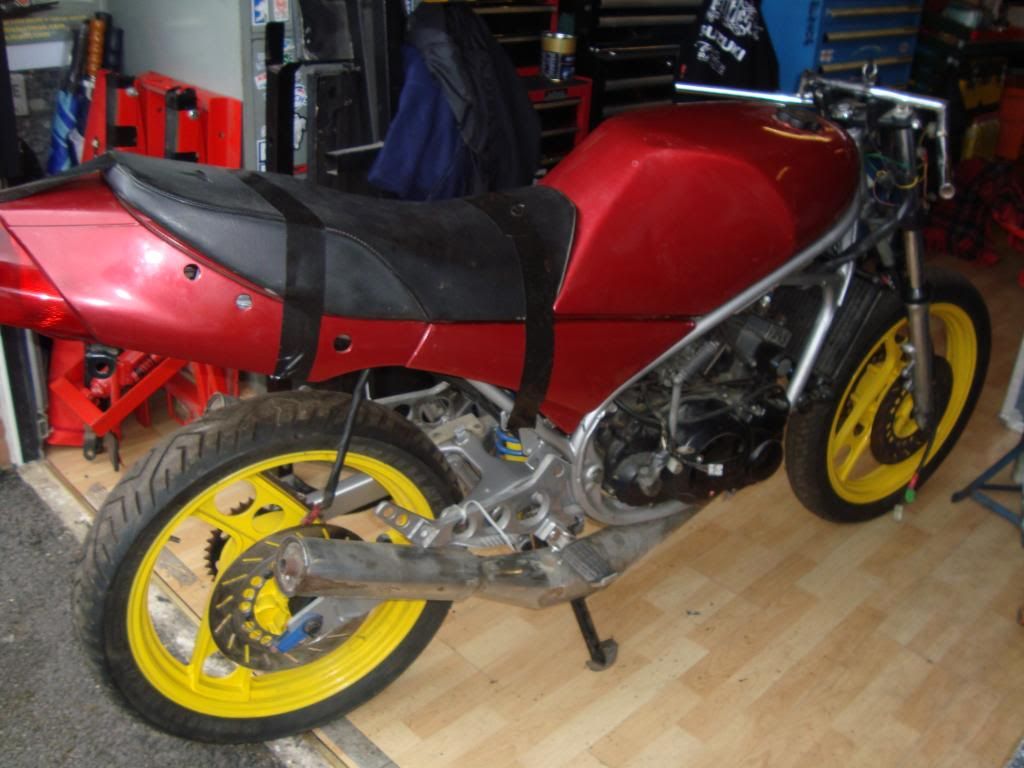
So this is where is all began. Bought a 31k LC2 complete but non runner for the engine, sold the rest on but i've kept the frame as i might have something in mind for that at a later date.
Loosely bolted together
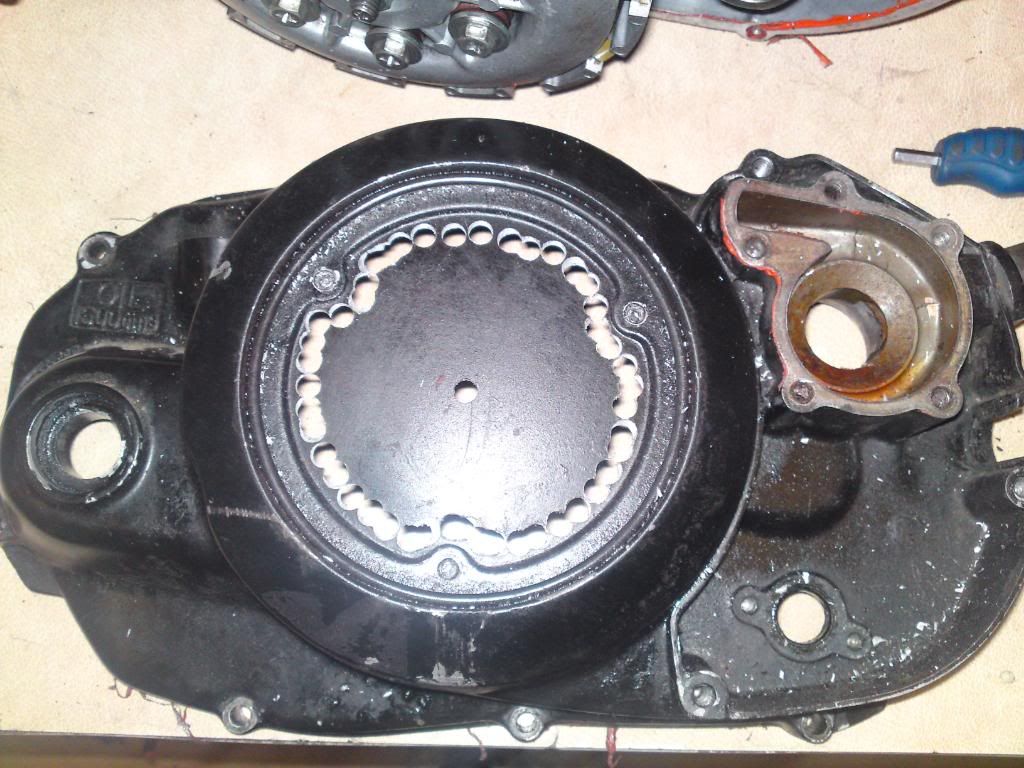
Result, only 0.5mm over size pistons and unmolested barrels

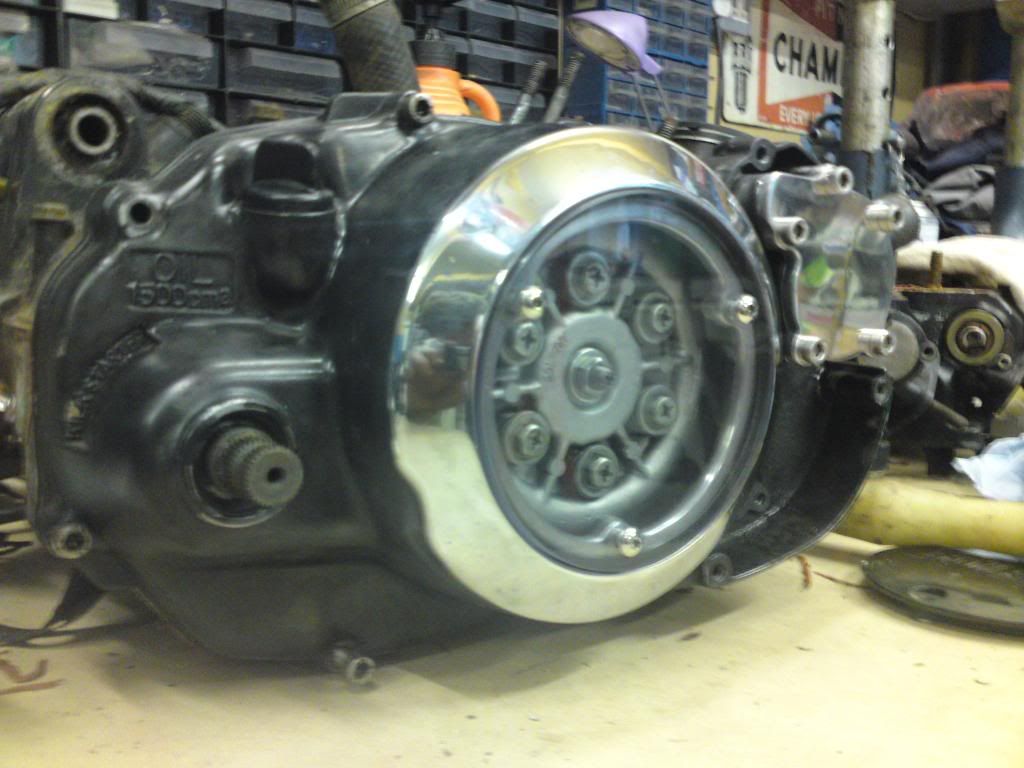
Straight on with my clear clutch cover conversion
Done
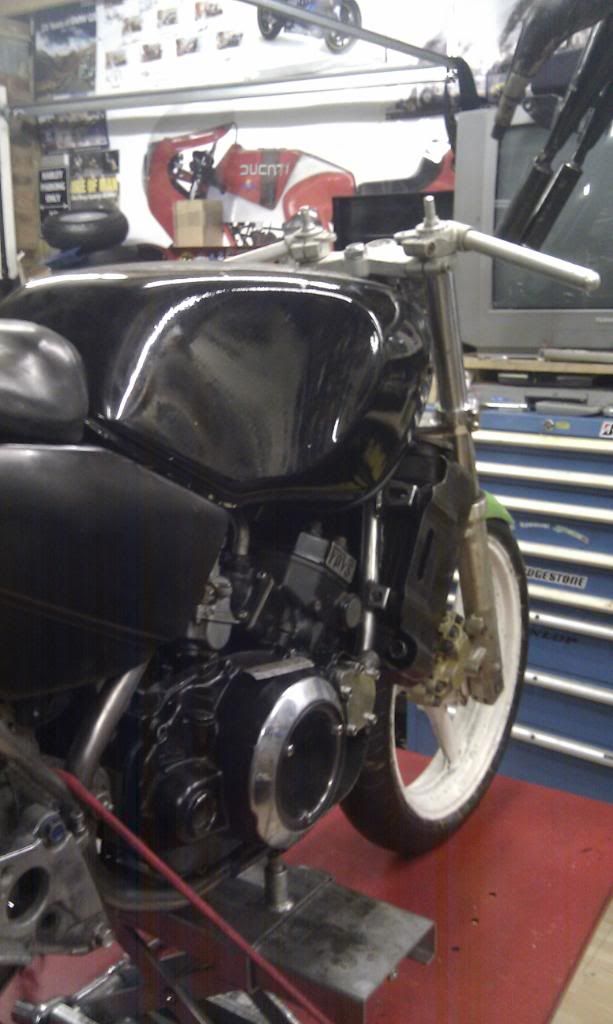
Once I sold the bits off, I was able to buy this….
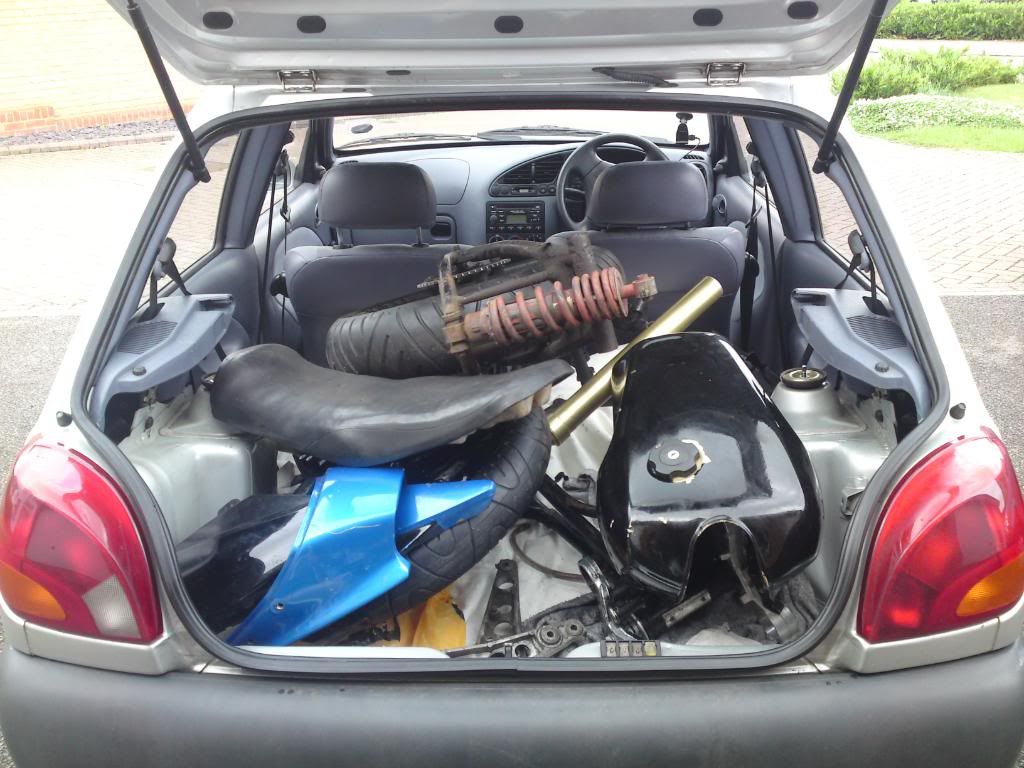
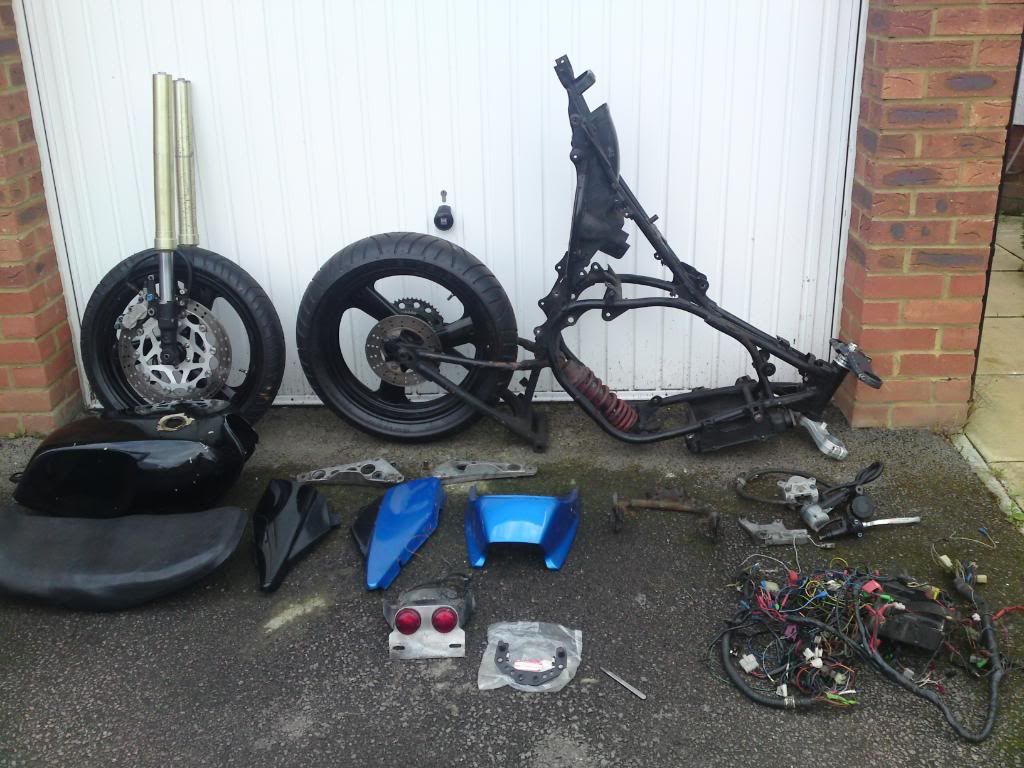
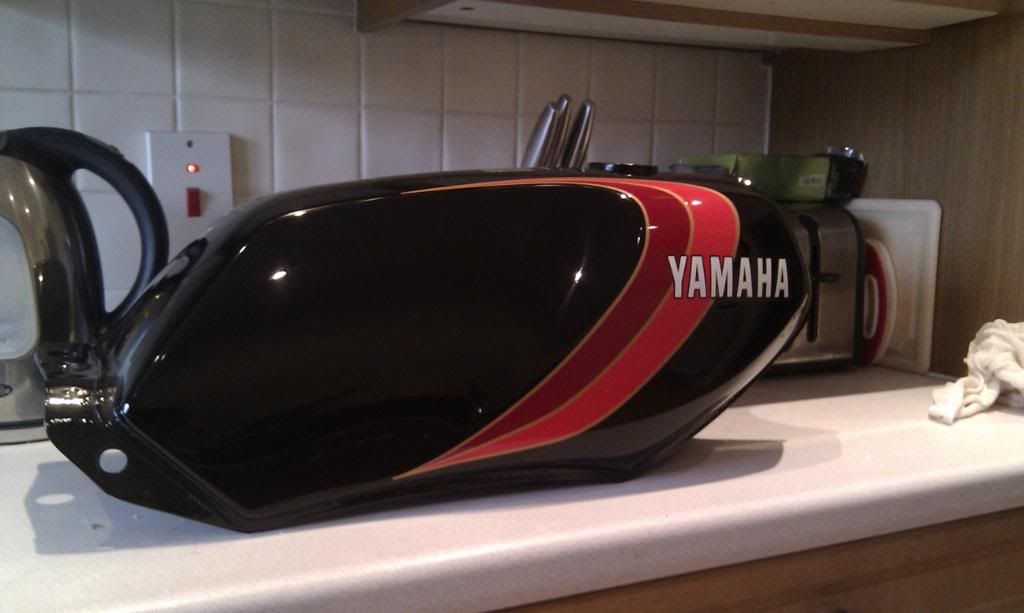
Bought mainly for the frame and VERY solid tank, forks were sold on as they were awful single side damped TZR125 ones.
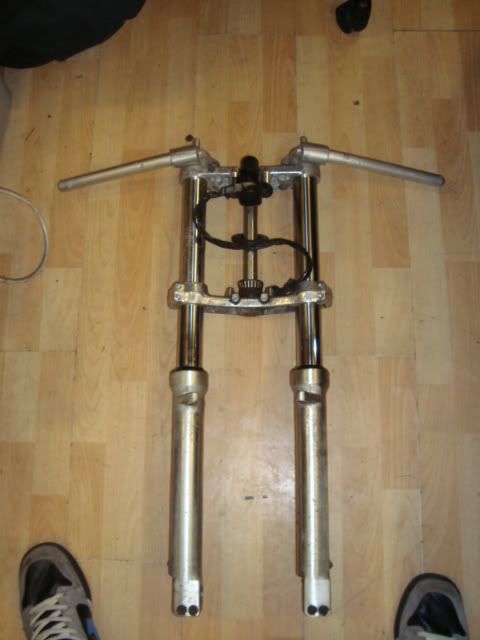
After a quick haggle at Stafford I got these, KR1S forks with calipers, yokes and spindle for £50
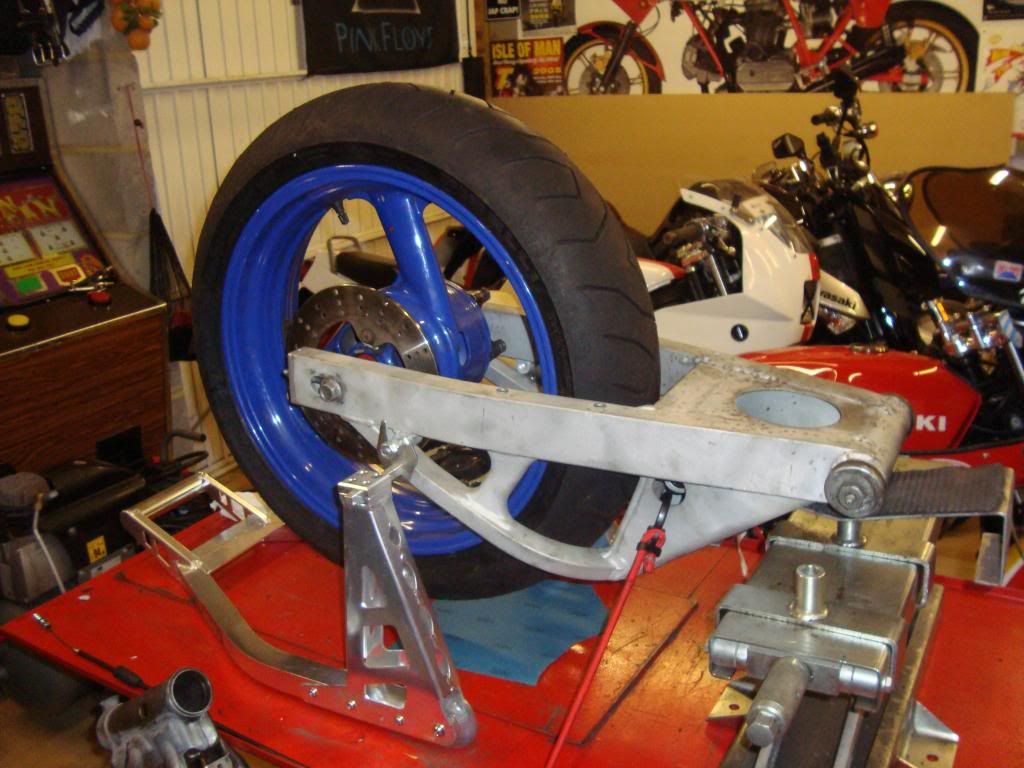
After a long search I found one. TZR250 reverse cylinder swingarm. Off the pb forum if I remember correctly. The gent was an absolute diamond and included all the linkages.
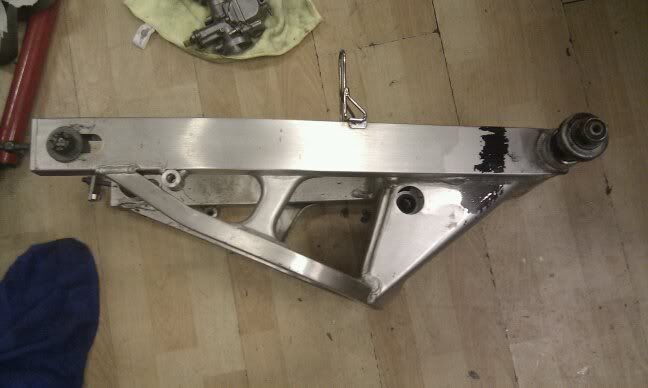
Only issue was it was far to wide to fit in the LC frame (200mm) and the swingarm was around 230 with the dust covers. So into a friends milling machine it went.
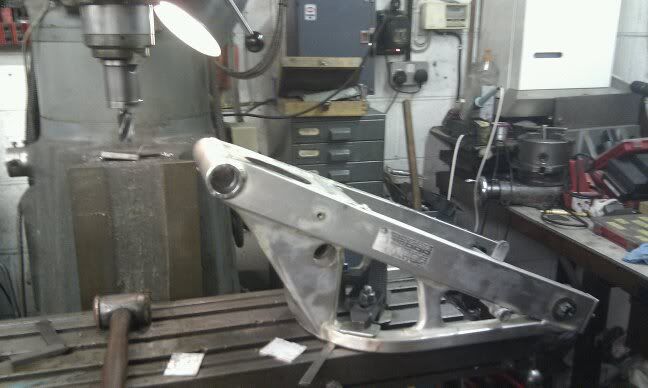
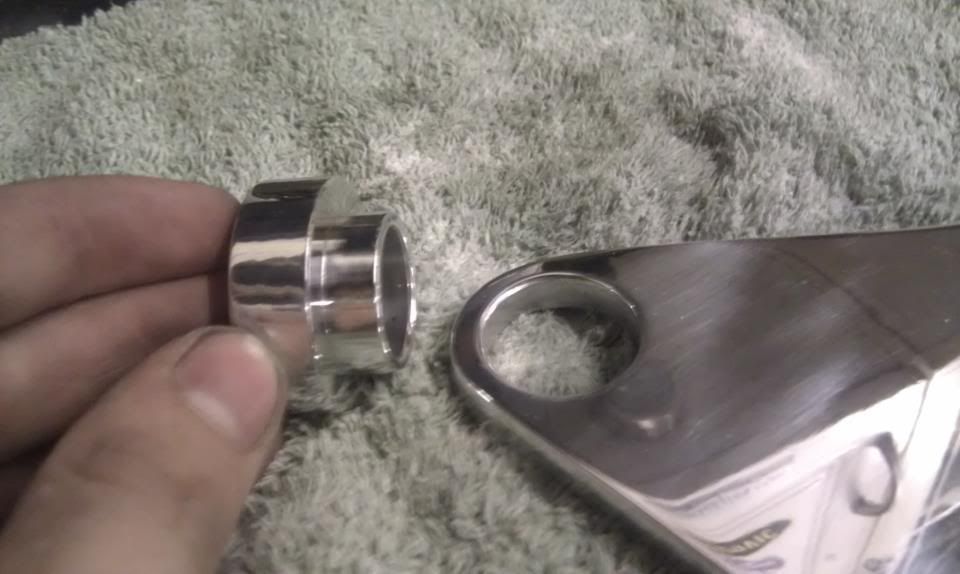
I turned up a new center spacer to reduce the spindle size from 20mm to 16mm

It fits, happy days
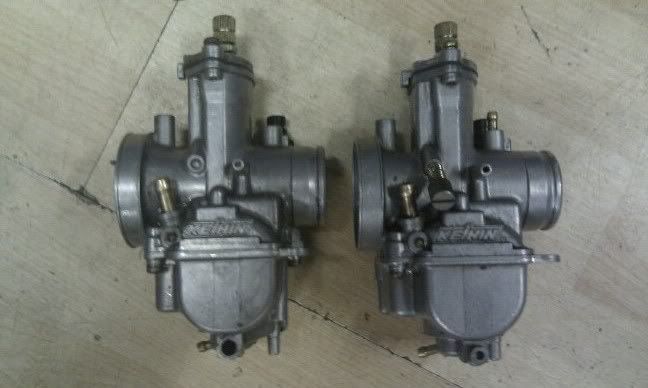
Picked up a set of PWK28’s off the RD forum, these will come in handy later
Had a friend beadblast the arm to remove the hard anodising ready to be polished, sourced an MV F4 caliper for the rear aswell
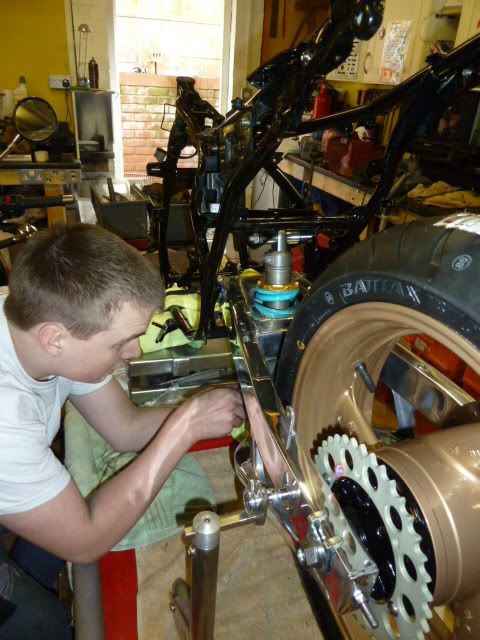
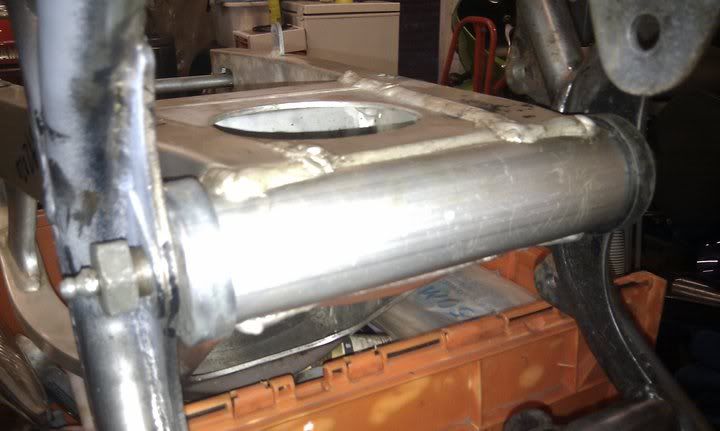
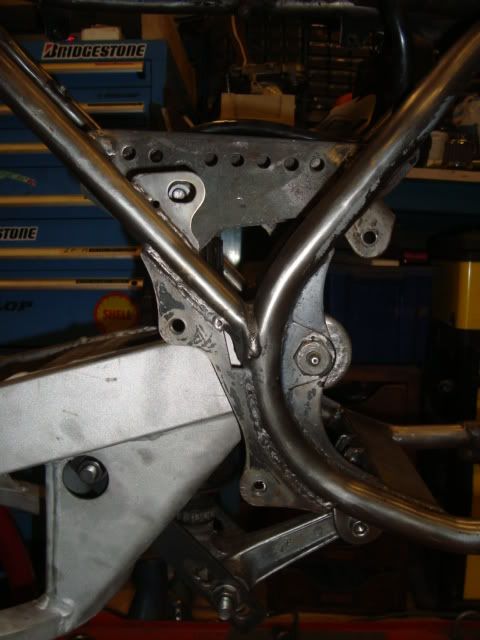
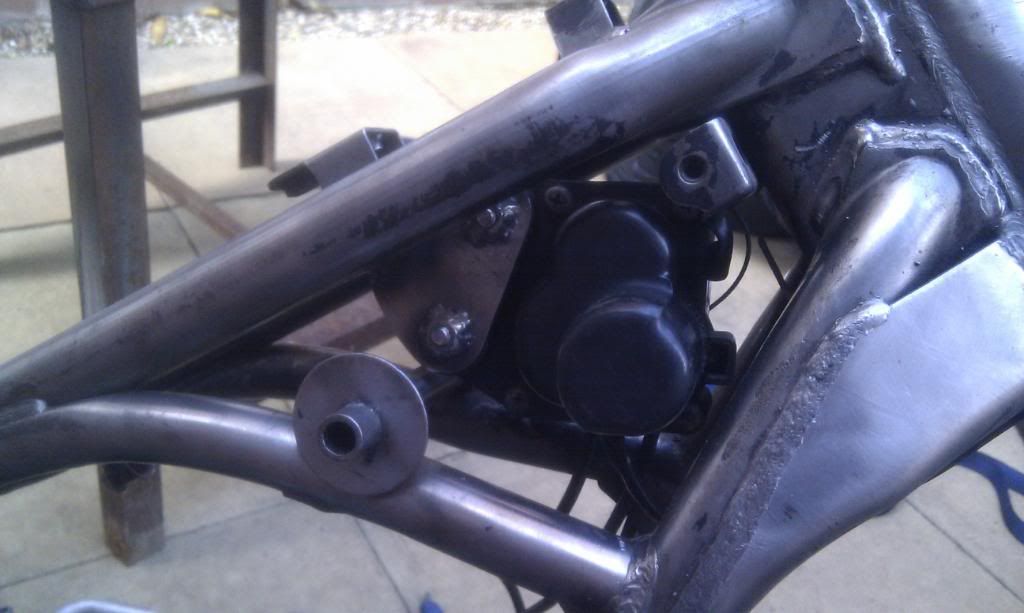
As I was converting the frame to use the TZR rising rate suspension I had to replace the thin tubing where the center stand brackets were replaced with box section.
Templates for the mounts were made from MDF then replicated in 6mm steel plate.
All in
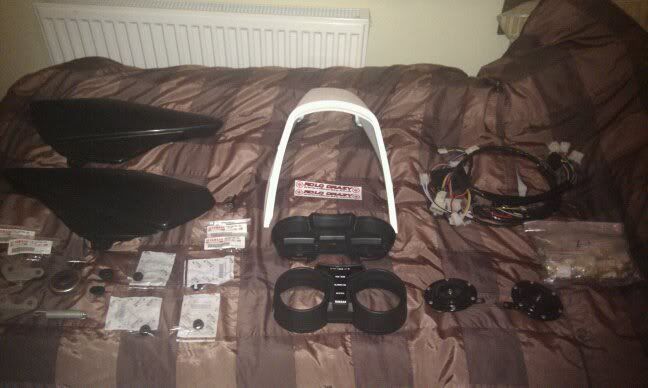
Some nice new NOS parts
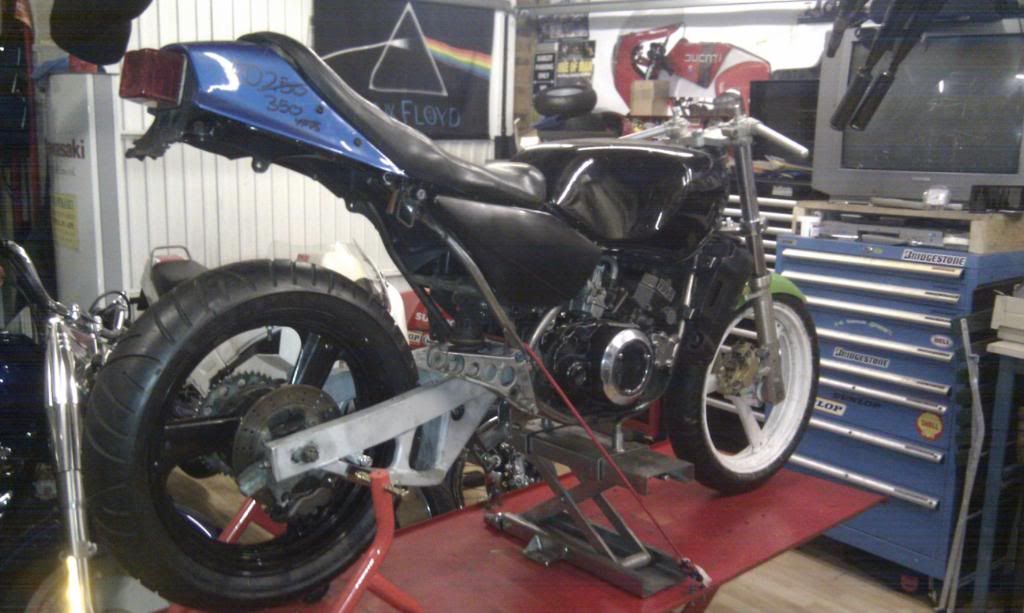
KR1S front end now in
As was the rear
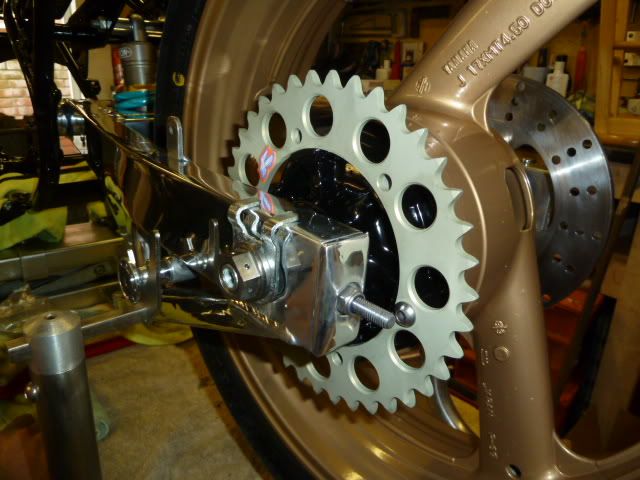
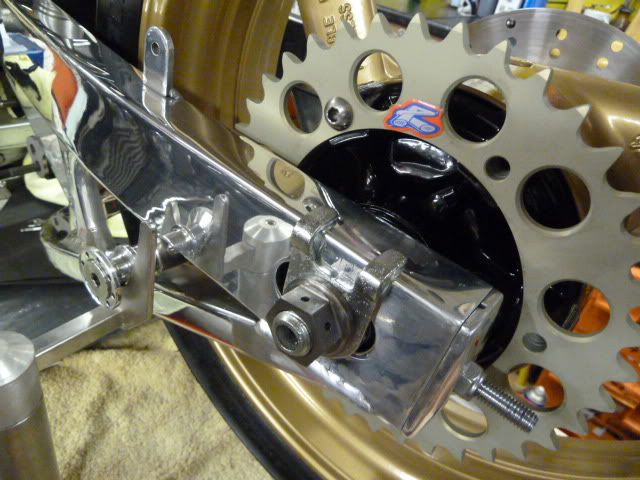
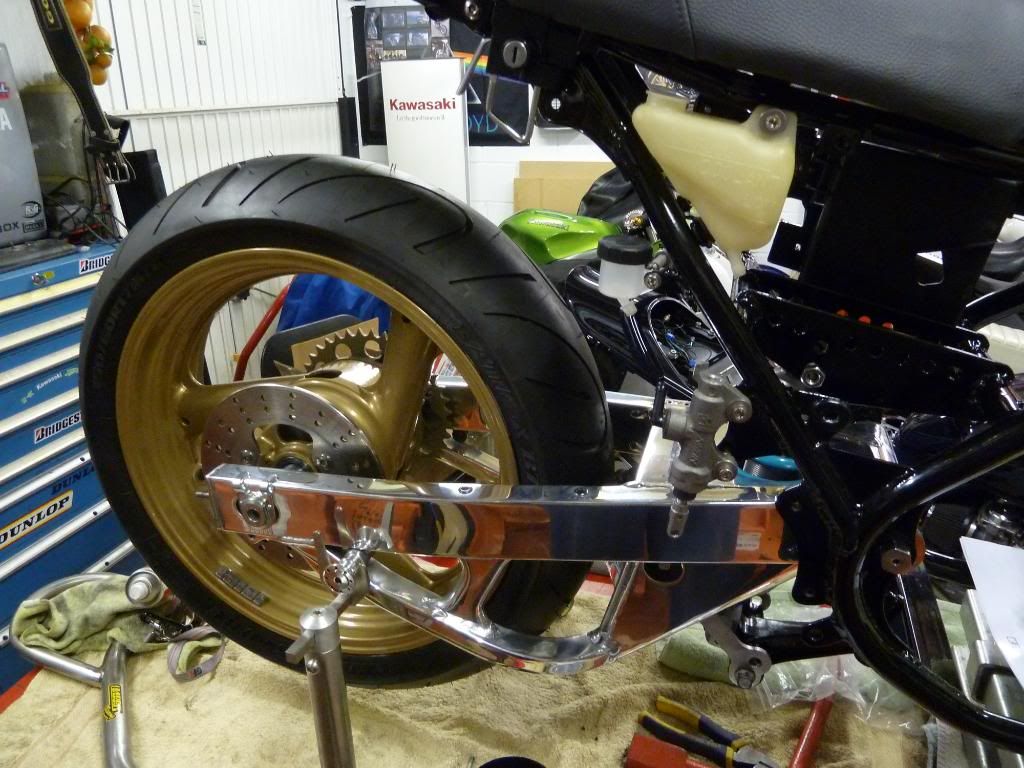
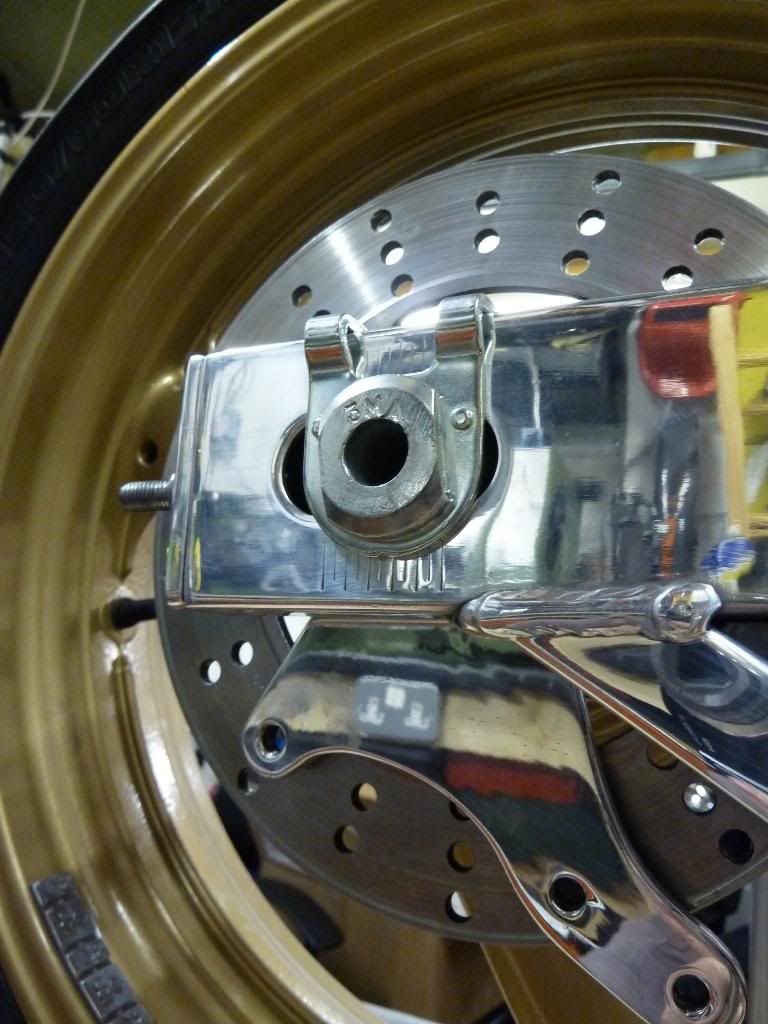
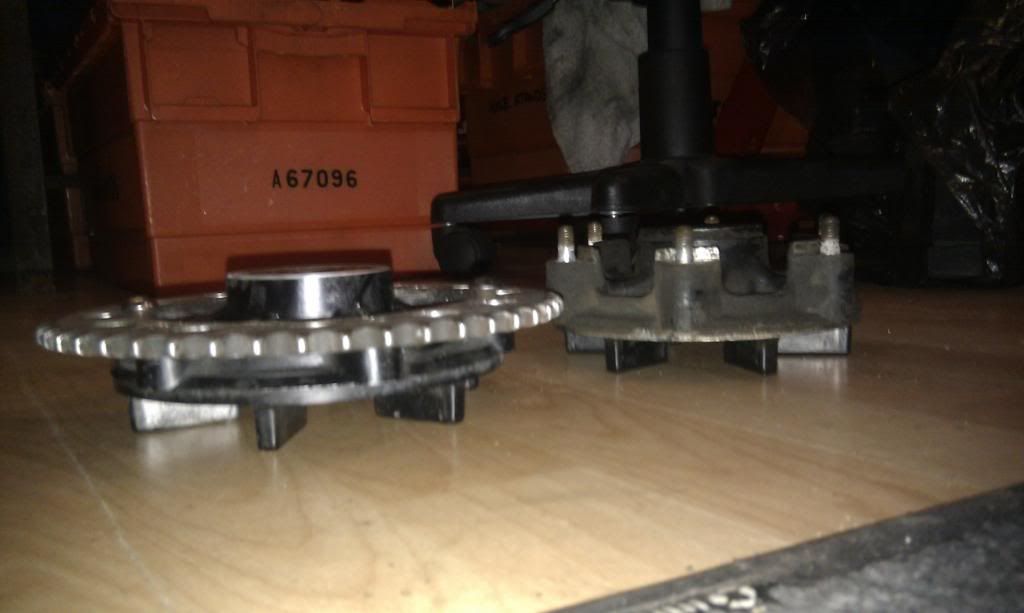
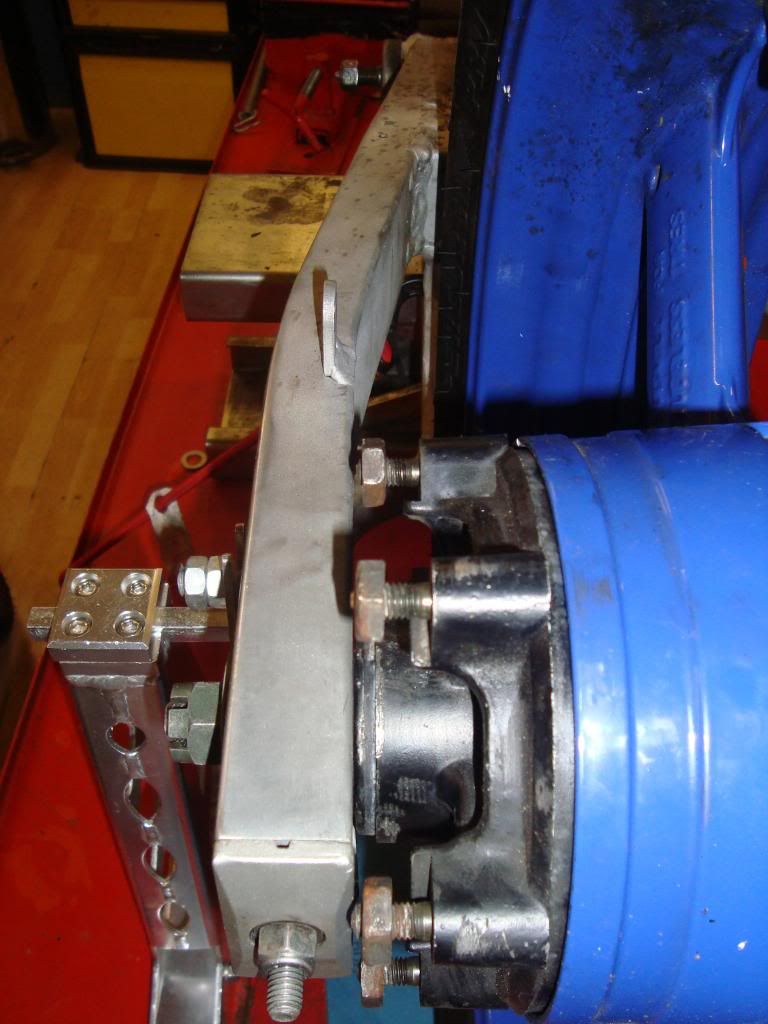
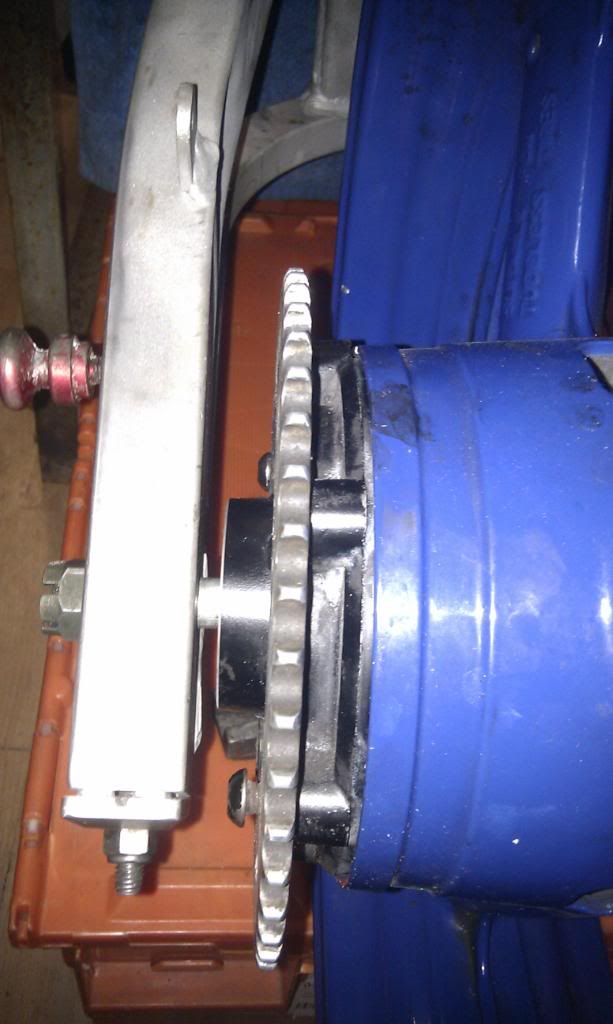
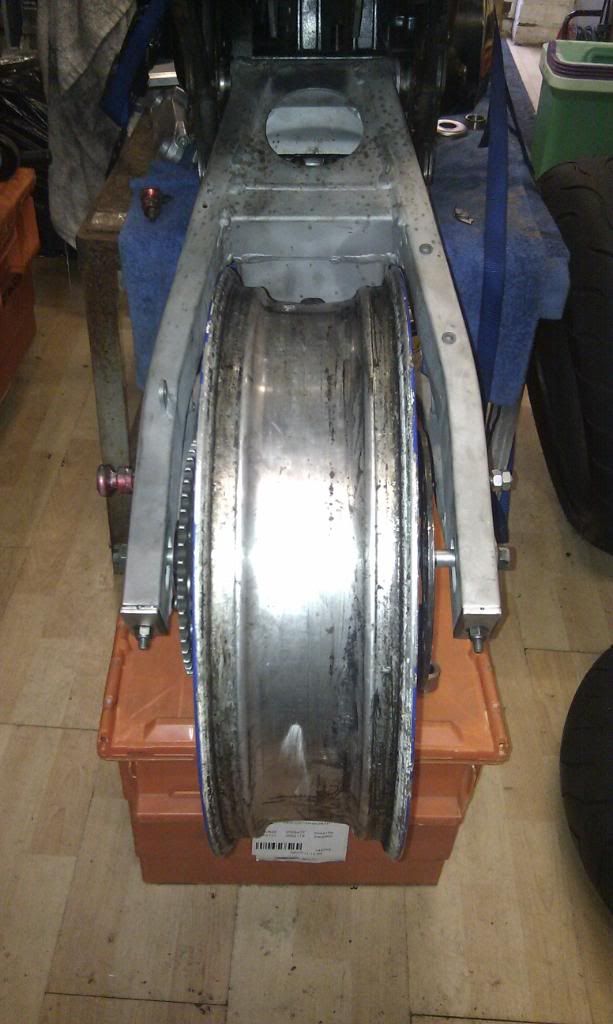
Picked up a 17x4.5 inch FZR400 rear wheel, turned up some new spacers and it fits, but it will require some more machining to the sprocket carrier to get the chain run right.
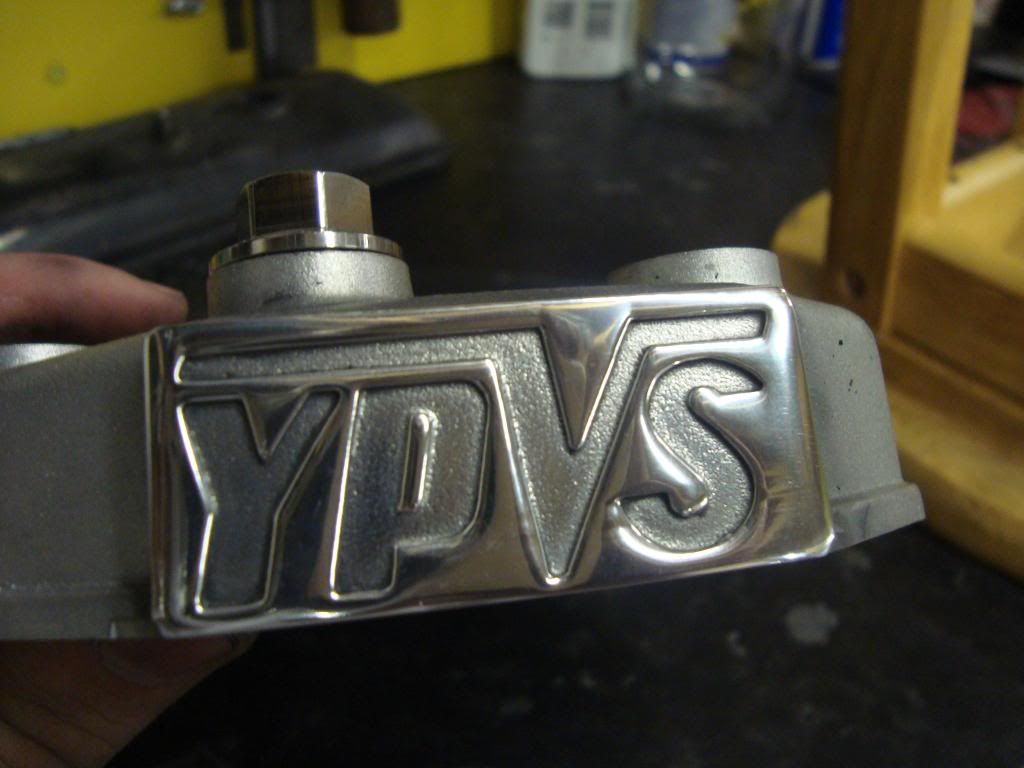
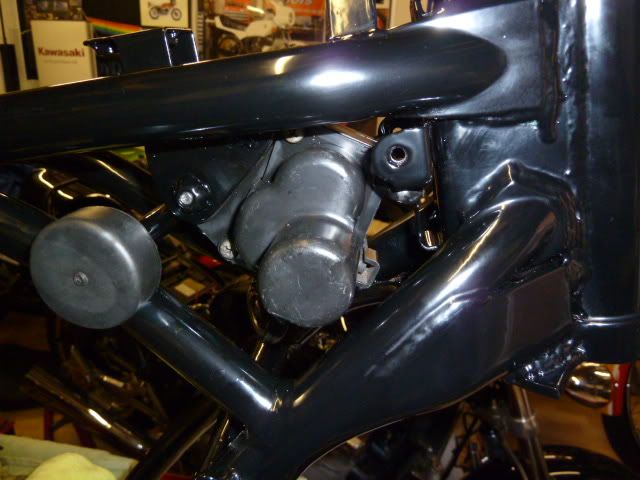
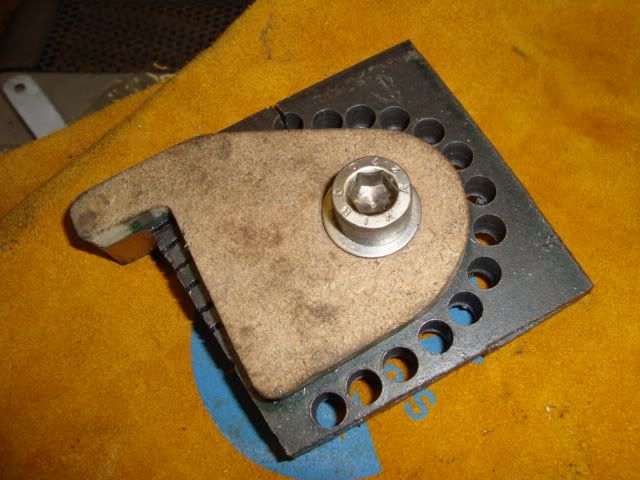
Had to make a mount for the YPVS servo, hidden behind the headstock
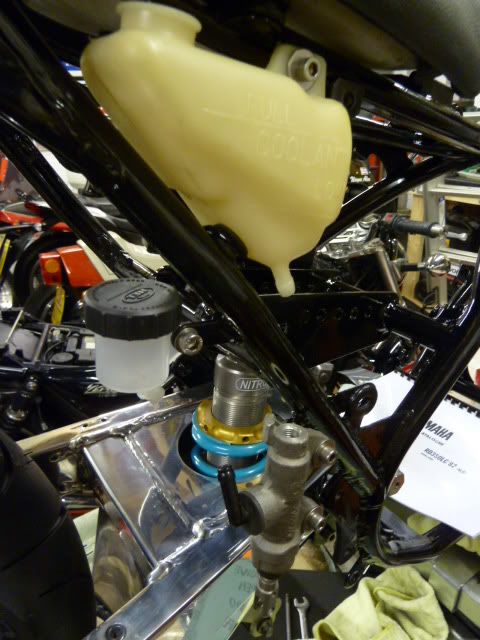
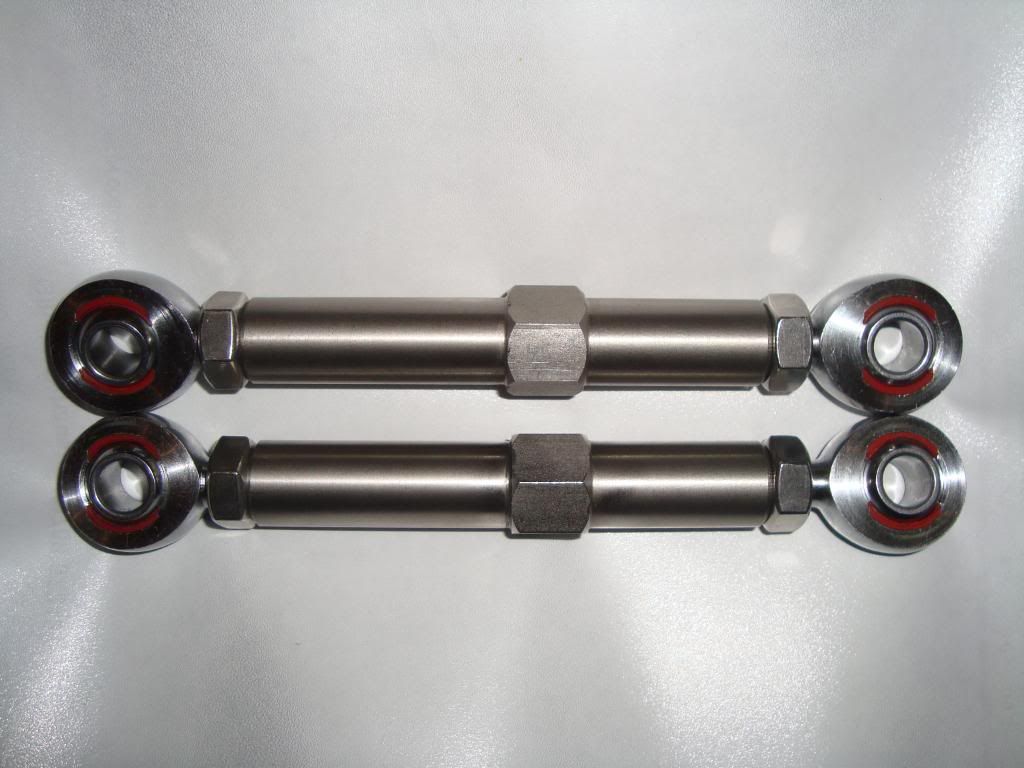
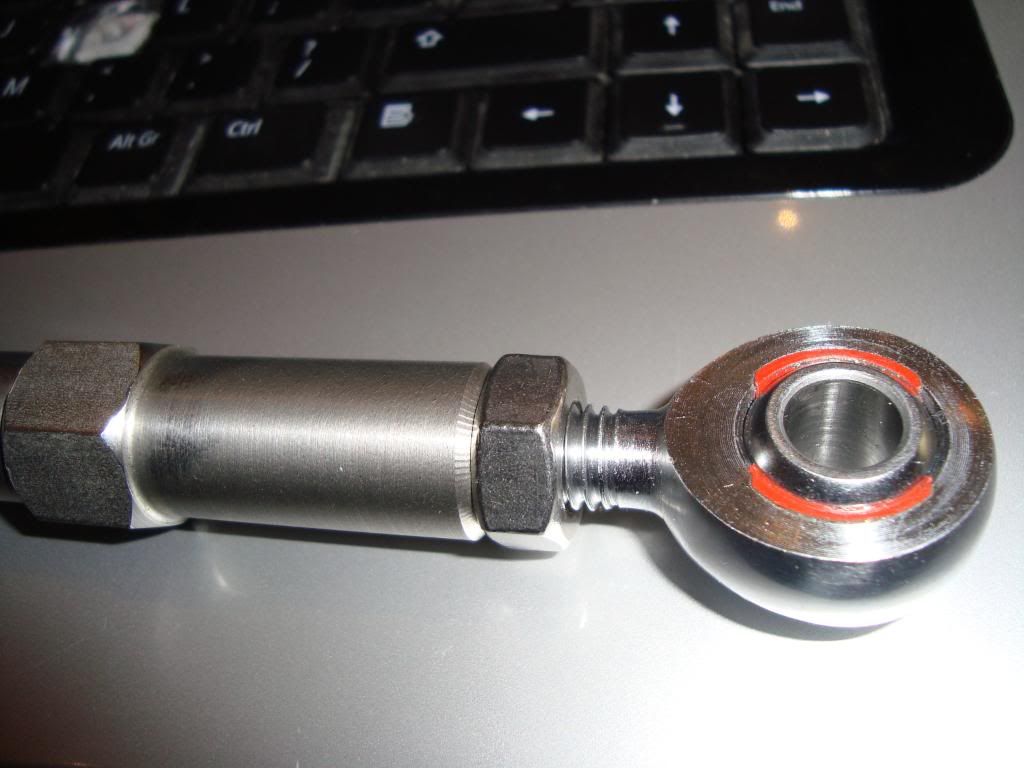
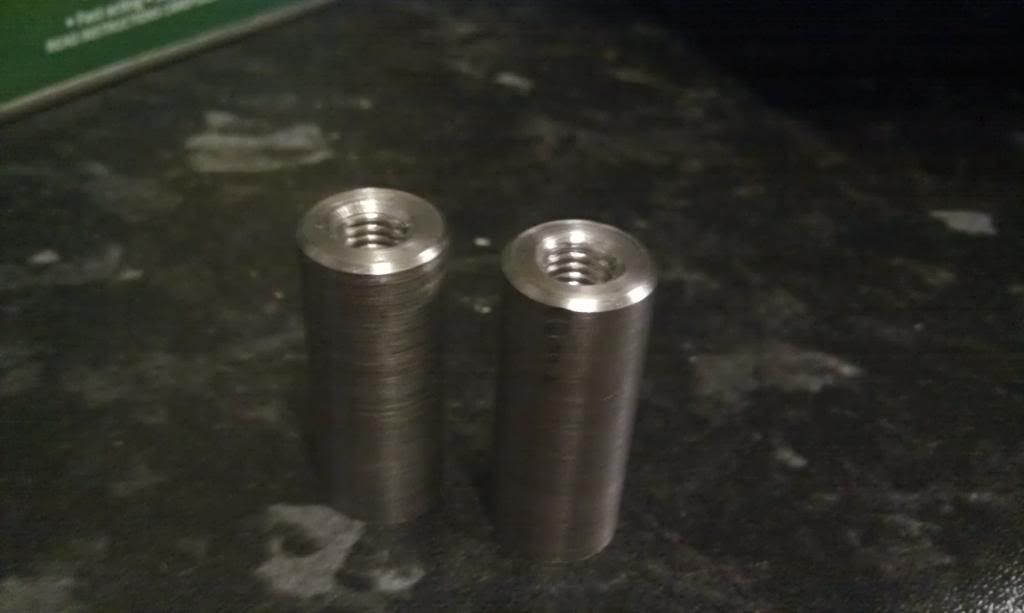
Made these out of 19mm stainless hex, will help me get the ride height set up and look the biz
Photoshop mock up of the paint scheme. Maybe, tempted to go candy blue
Finished my sprocket carrier off this afternoon, snuck back into college to use there lathe. Took 7mm off the bearing face, so will change to a sealed 52x25x15 SKF bearing instead of a separate seal. Also took 10mm off the sprocket mating face. Im going to change from studs and nuts to simply bolting the sprocket in place. Looks cleaner and saves a bit of space plus can play with my new lock wiring pliars
Old vs new shots
Bit tight
Now
Plenty of space now
Also bought this, NOS tank for my RD50mxII, wrong colour but i bought it for the shape and obviously its solid
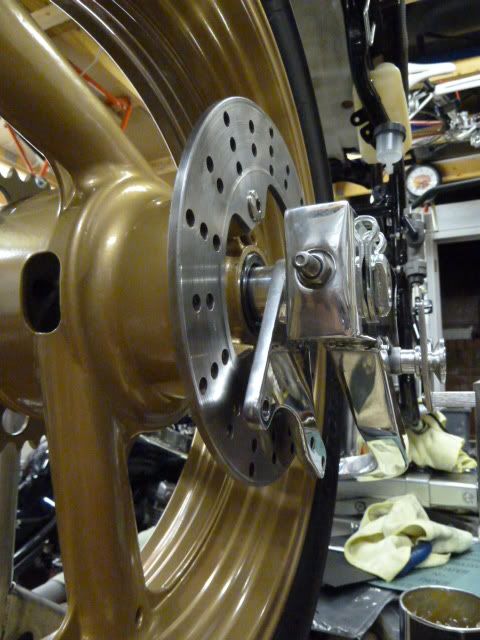
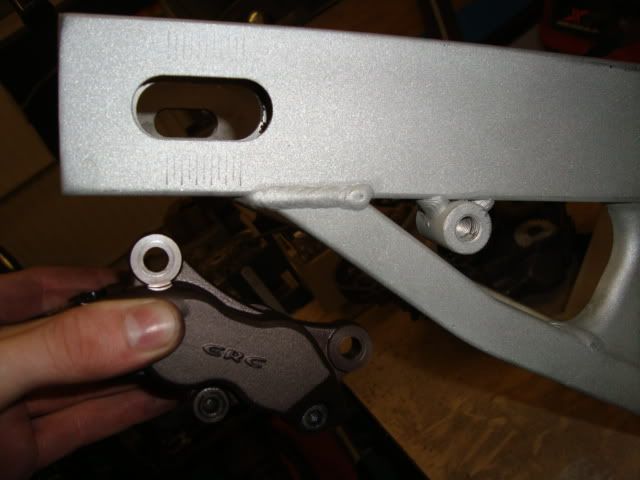
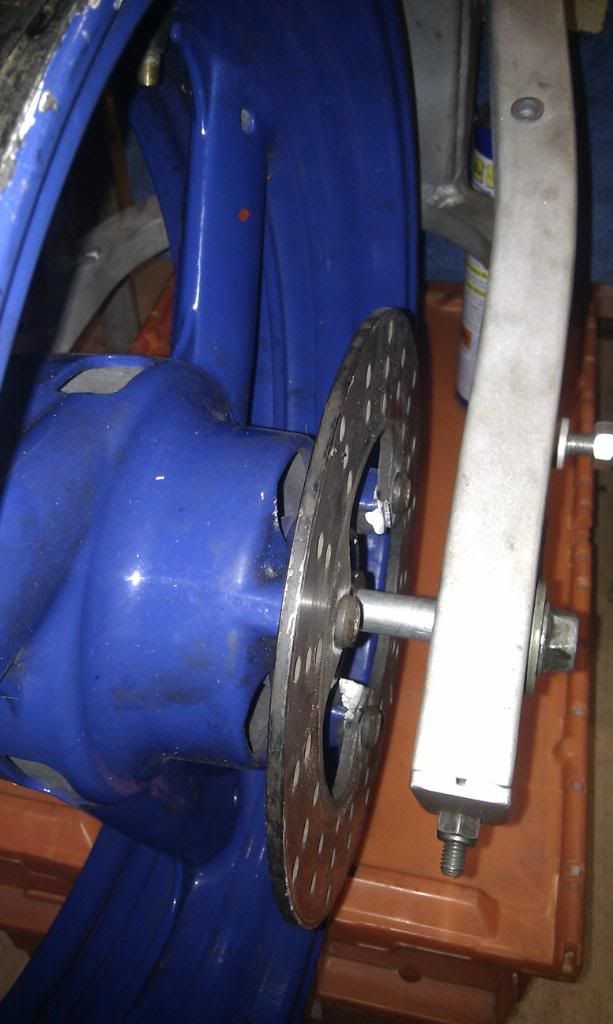
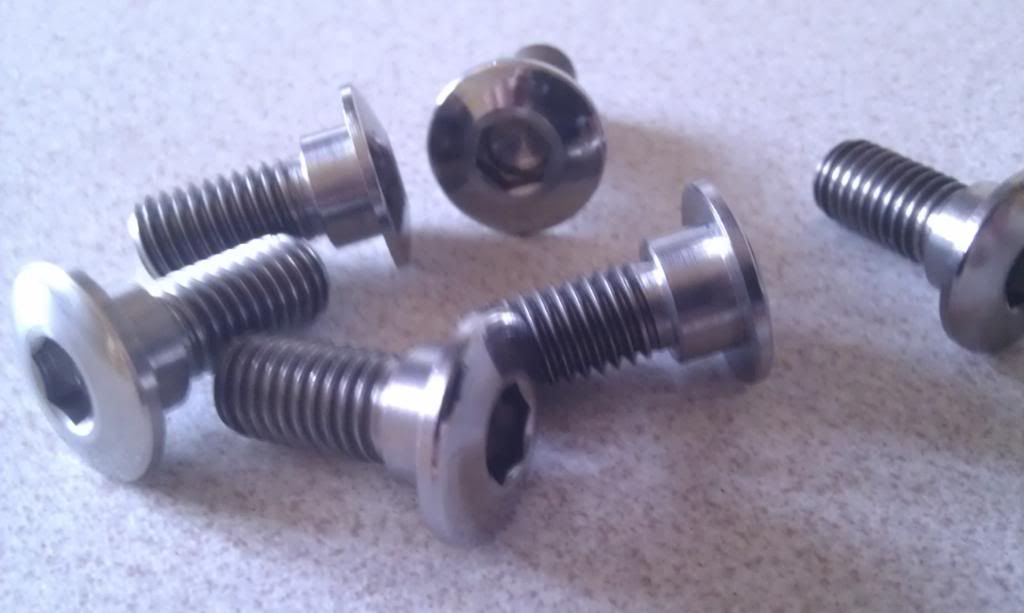
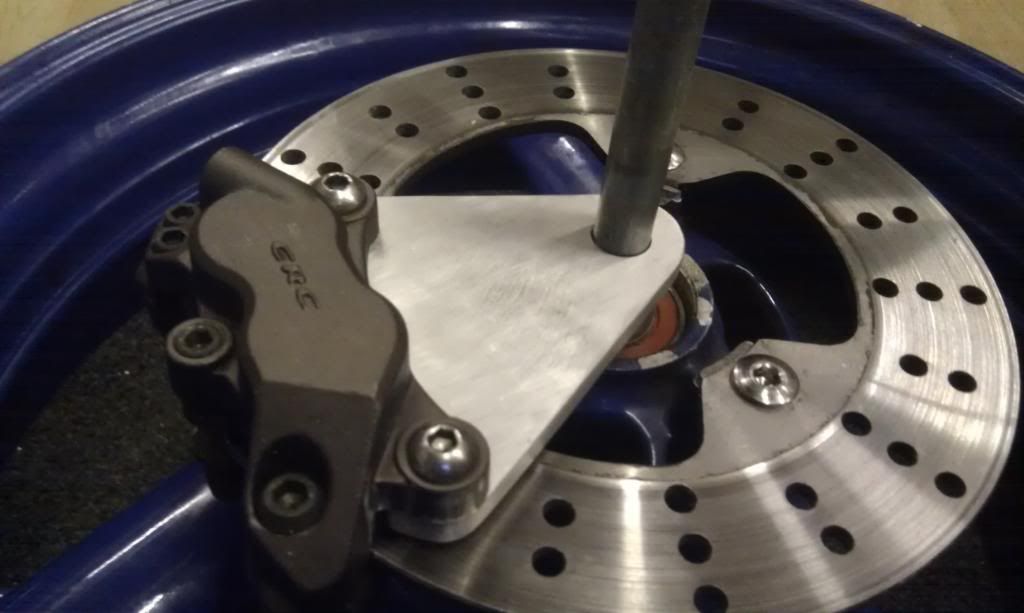
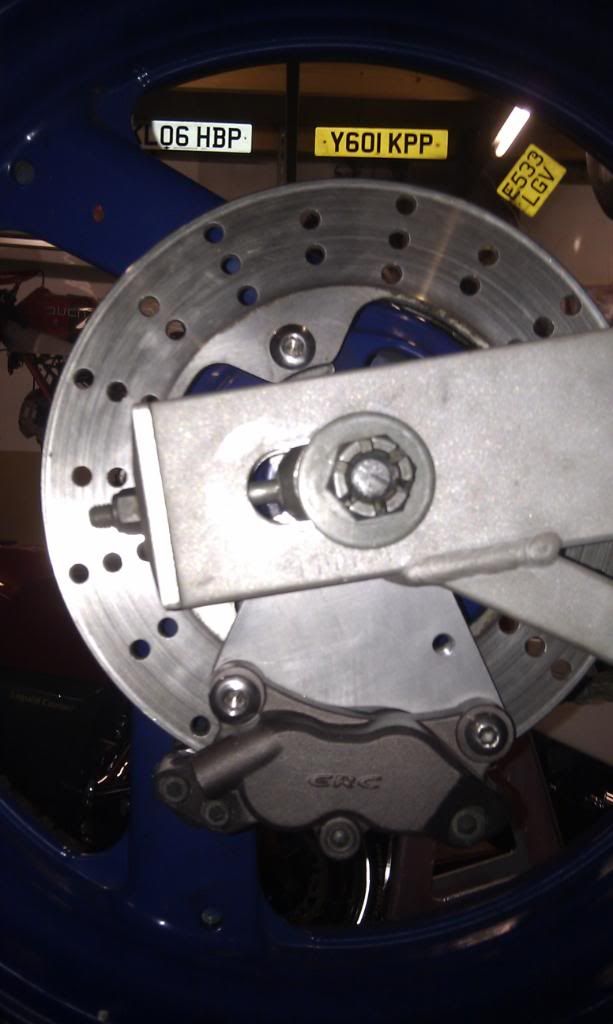
Little update, made a caliper hanger for the rear today. Not much space using the MV caliper so i bought some ultra low profile titanium disc bolts. Had to increase the disc holes to 10mm for the shoulder to sit correctly.
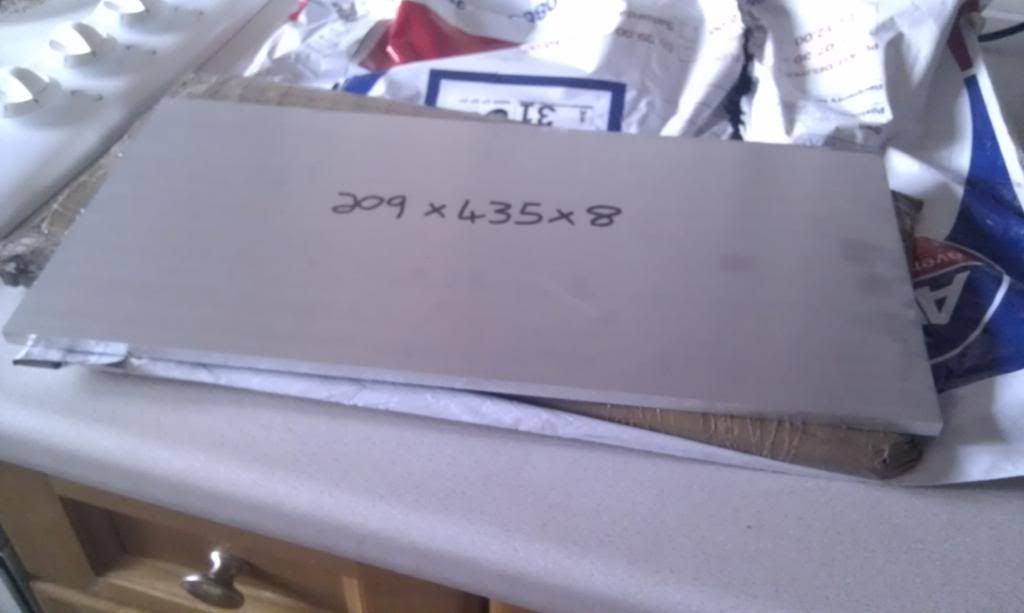
Also got this 8mm ally plate for a tenner. Result
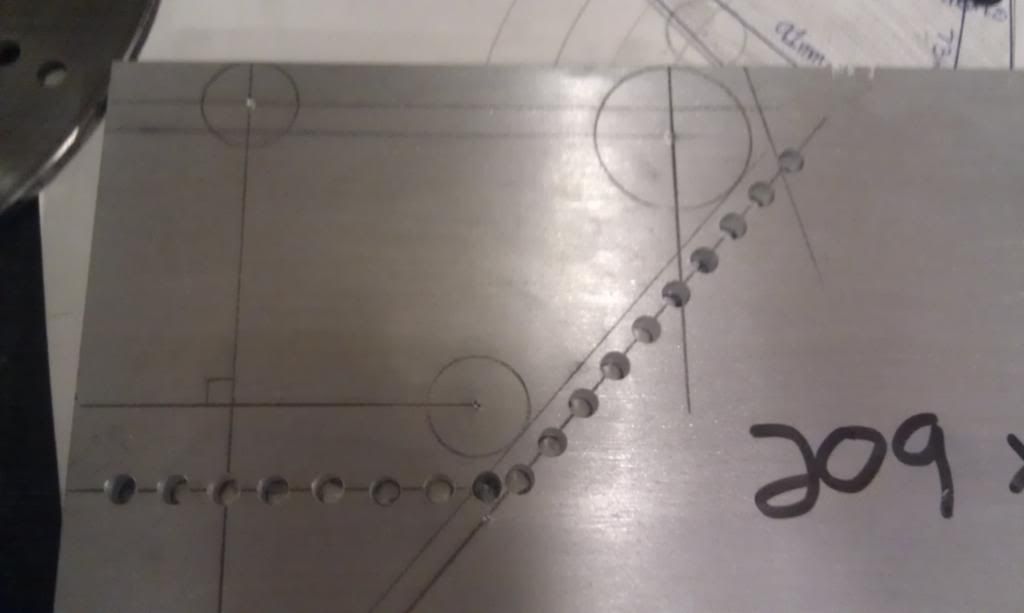
All marked out ready
Test fit
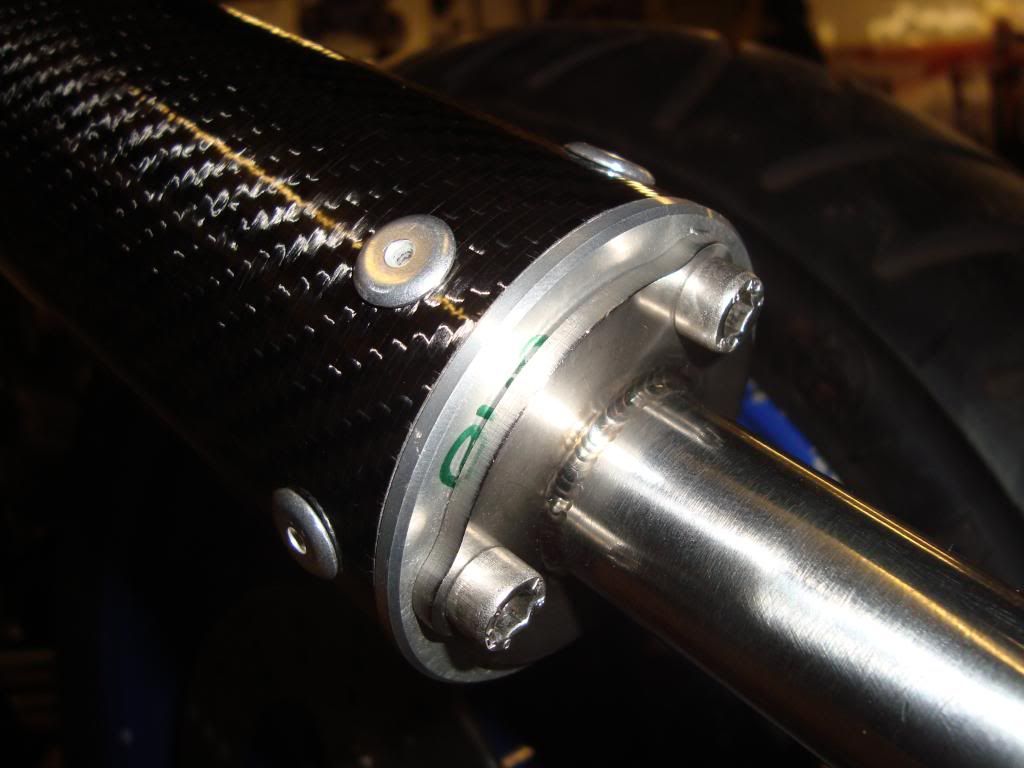
Just need to finish my torx arm now
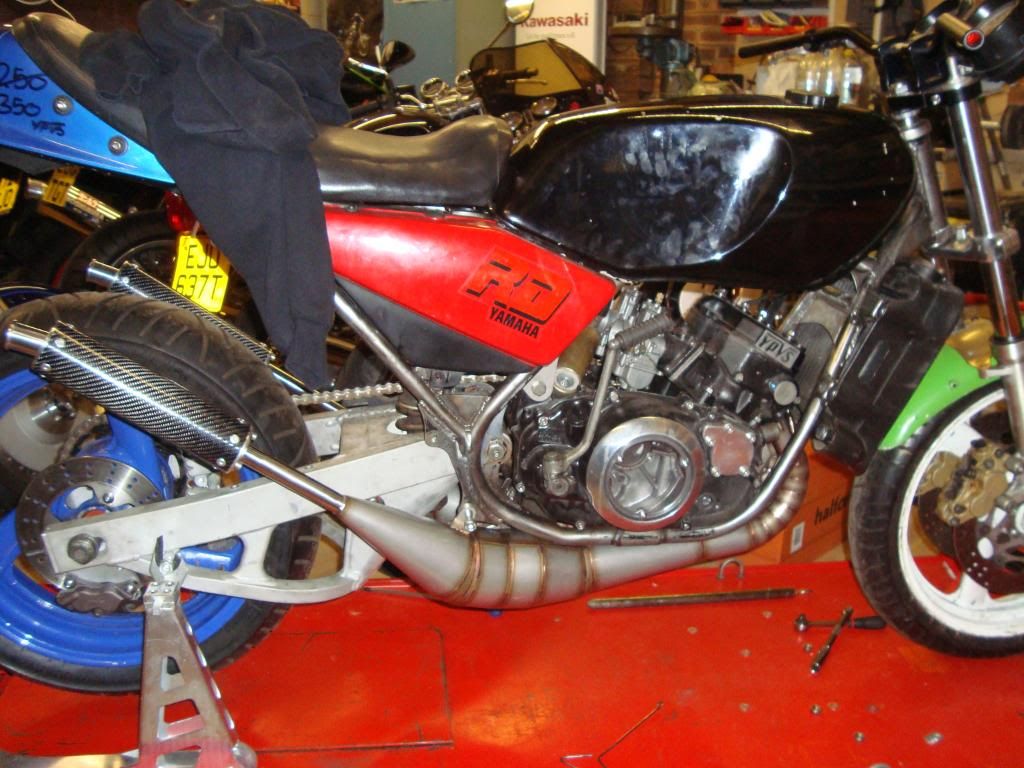
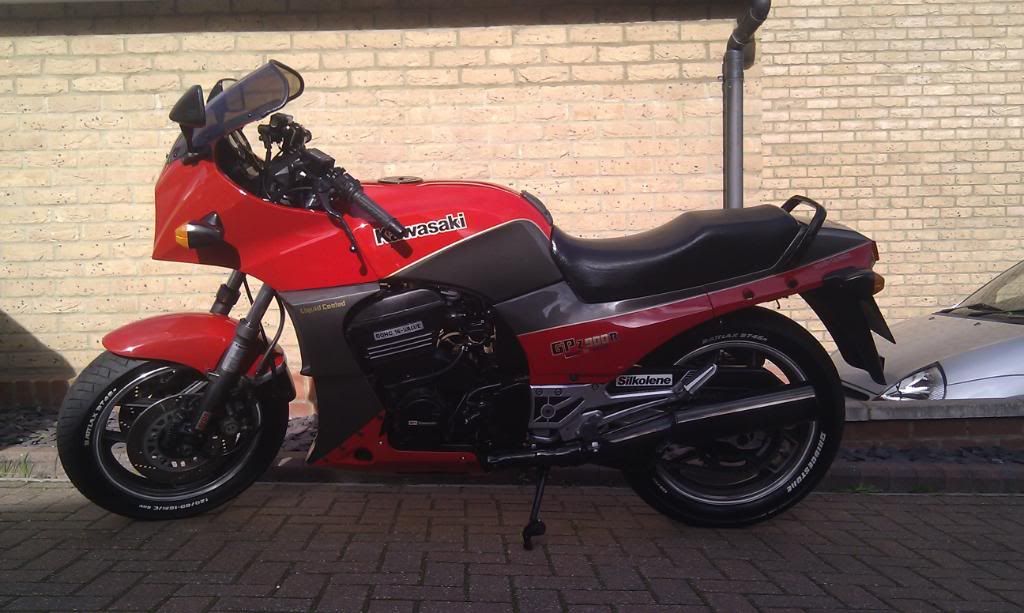
Went and MOT'd this aswell. Sailed through
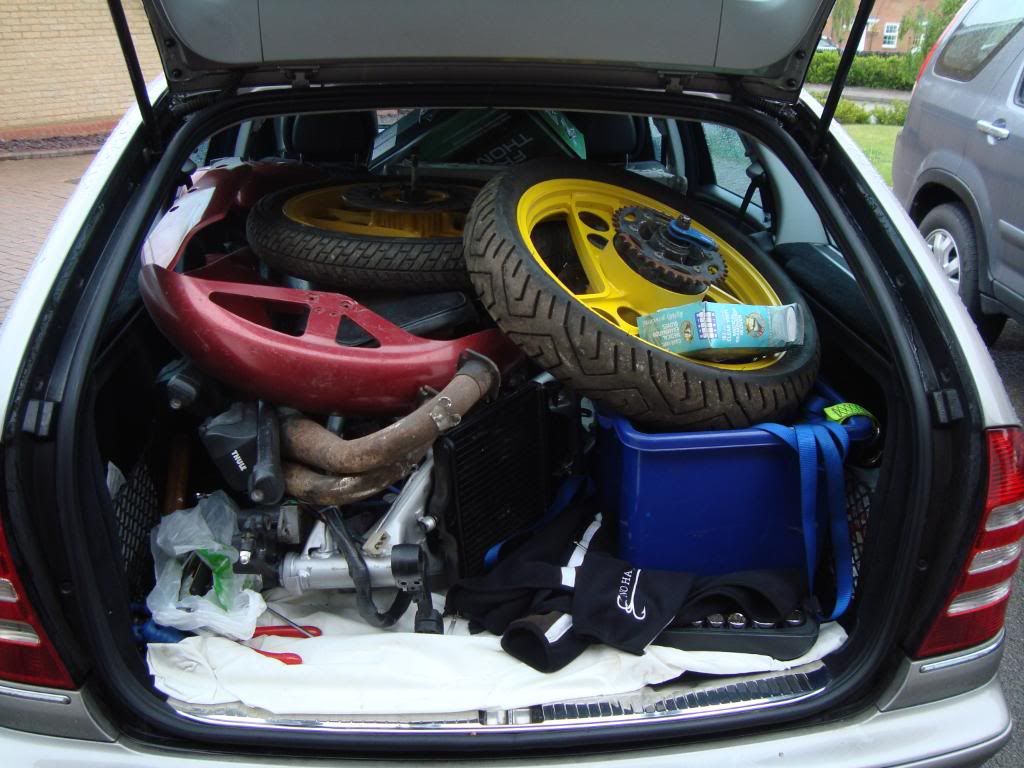
So after an awful start to the day after watching the GP (simoncelli) I was put off going out for a spin so headed for the garage instead to have a play with the bits and pieces I bought at the Stafford show last weekend.
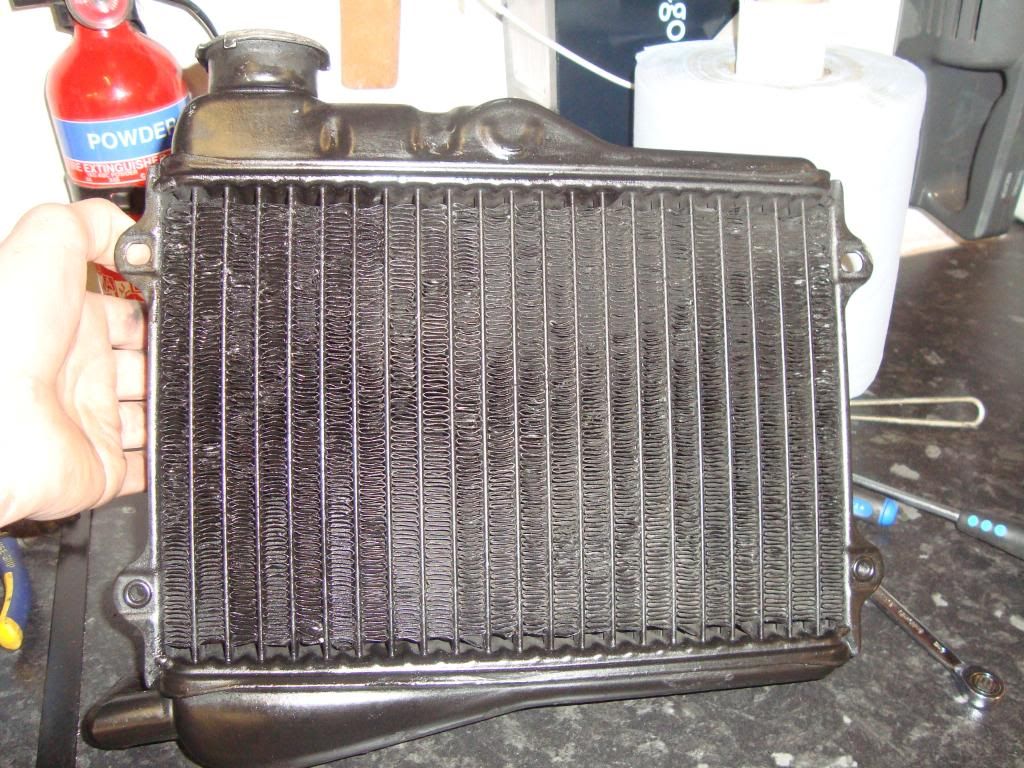
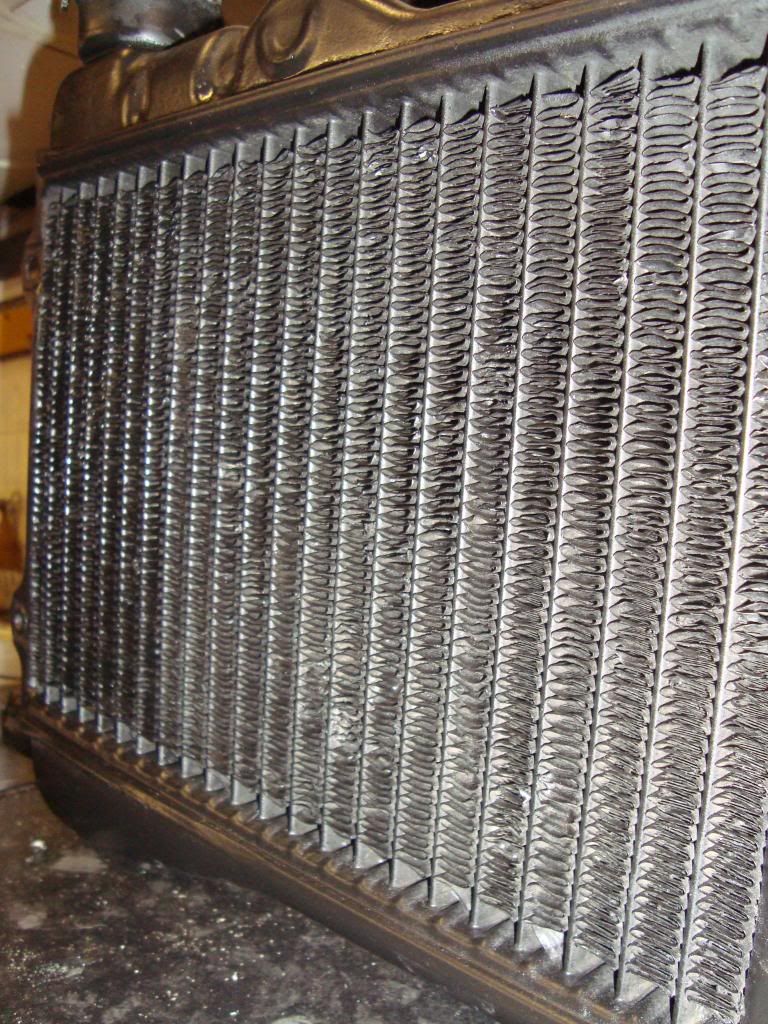
Found a nice tidy radiator with minmum damage to the cooling fins, still a few I needed to straighten but its looking like this now. Need to get it dipped to remove the paint then its going gloss black.
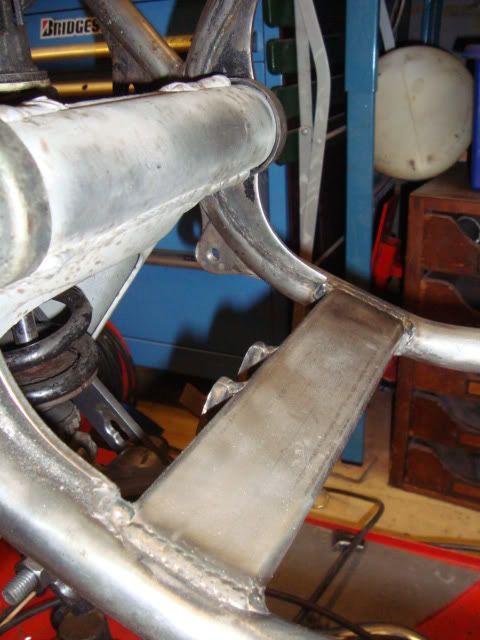
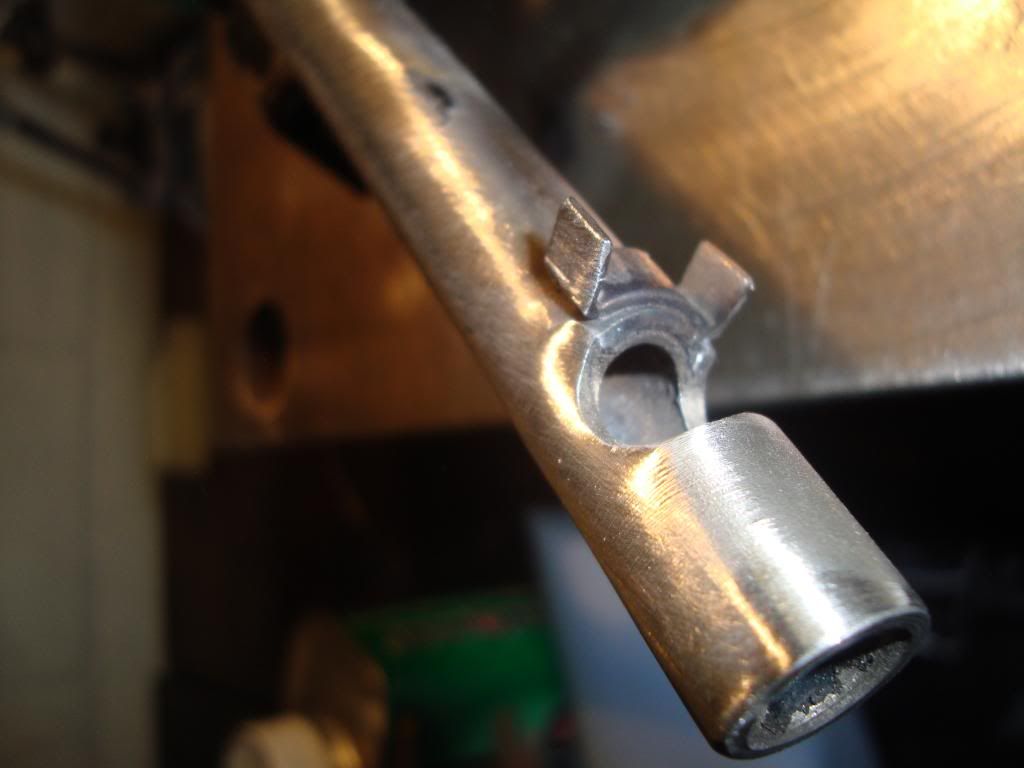
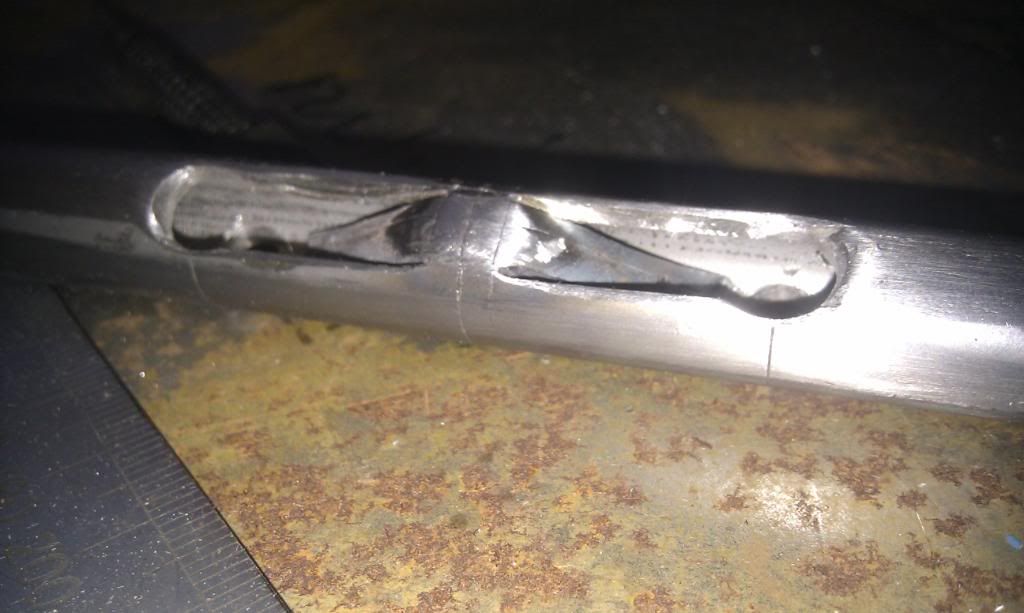
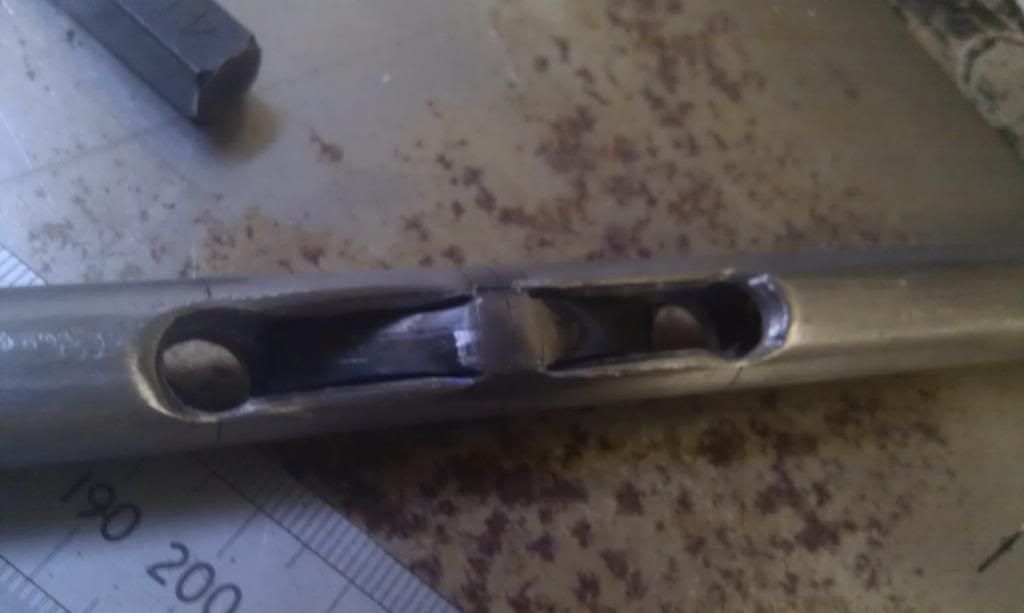
One job done, next was onto the uncut subframe I managed to find for a tenner it was a good buy but someone had obviously thought about it the backed out of the idea of cutting it down.

I made a slug to sit across the 2 pieces which hadn’t been fully cut but would of obviously been week, cleaned up the remaining powder coating and set to work welding it up.
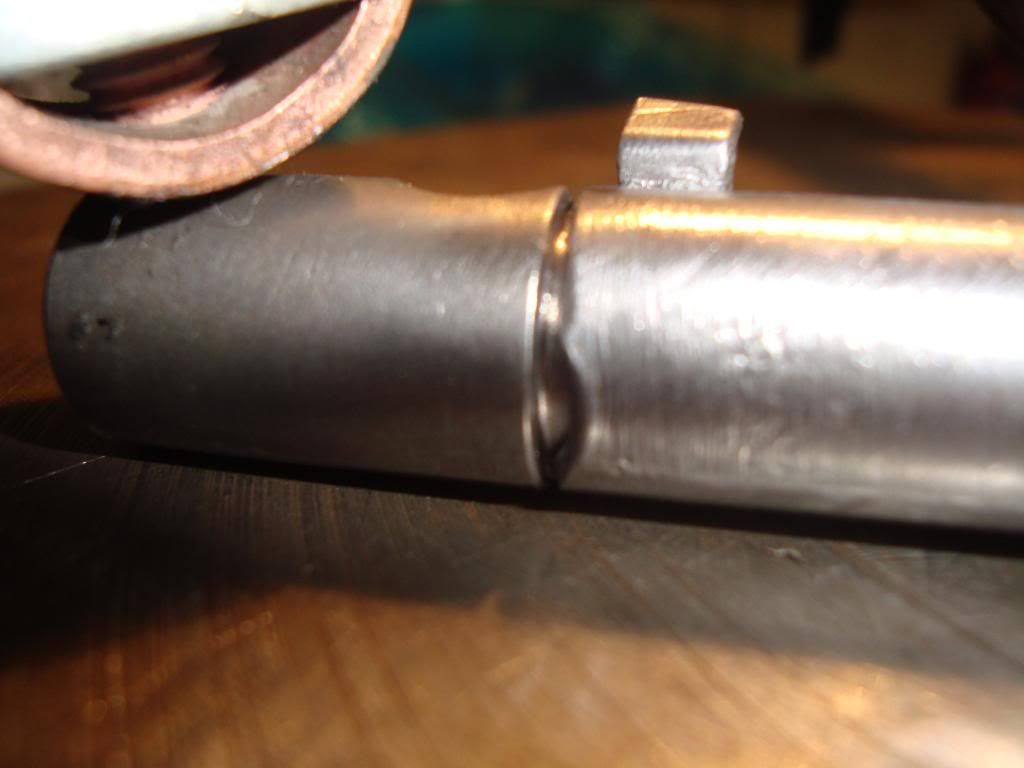
All welded up, you can see the wall thickness is a little more with the insert in place.
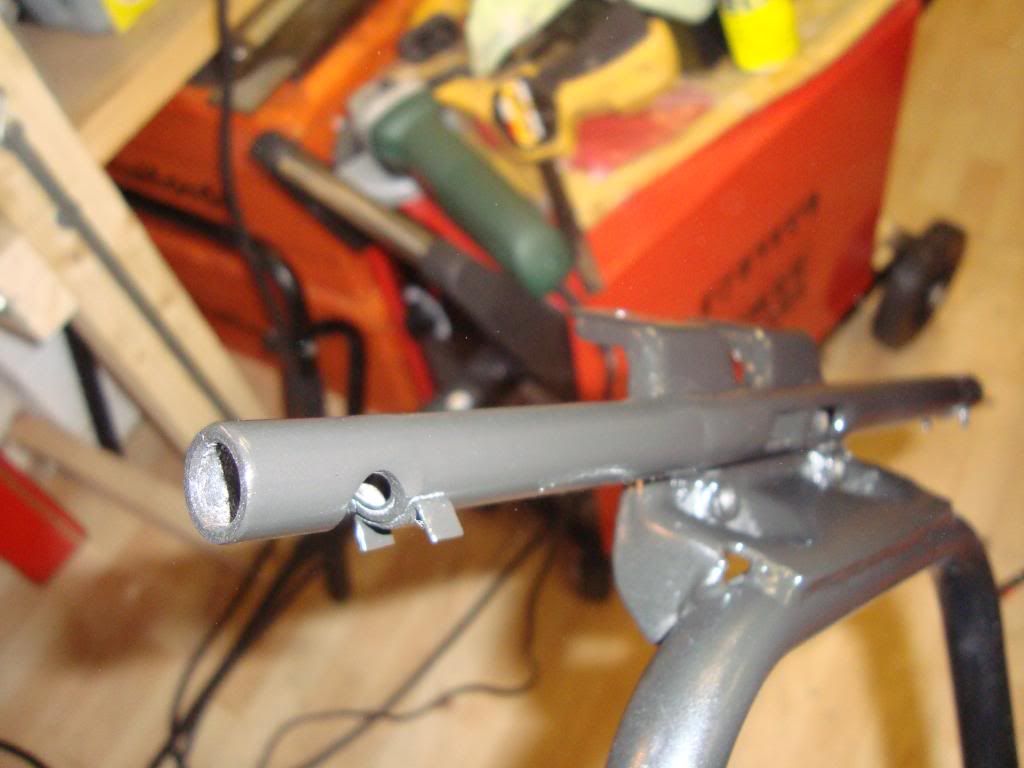
A lick of paint for now, then it’ll be off for coating with the rest of the stuff
Finally managed to get hold of one.
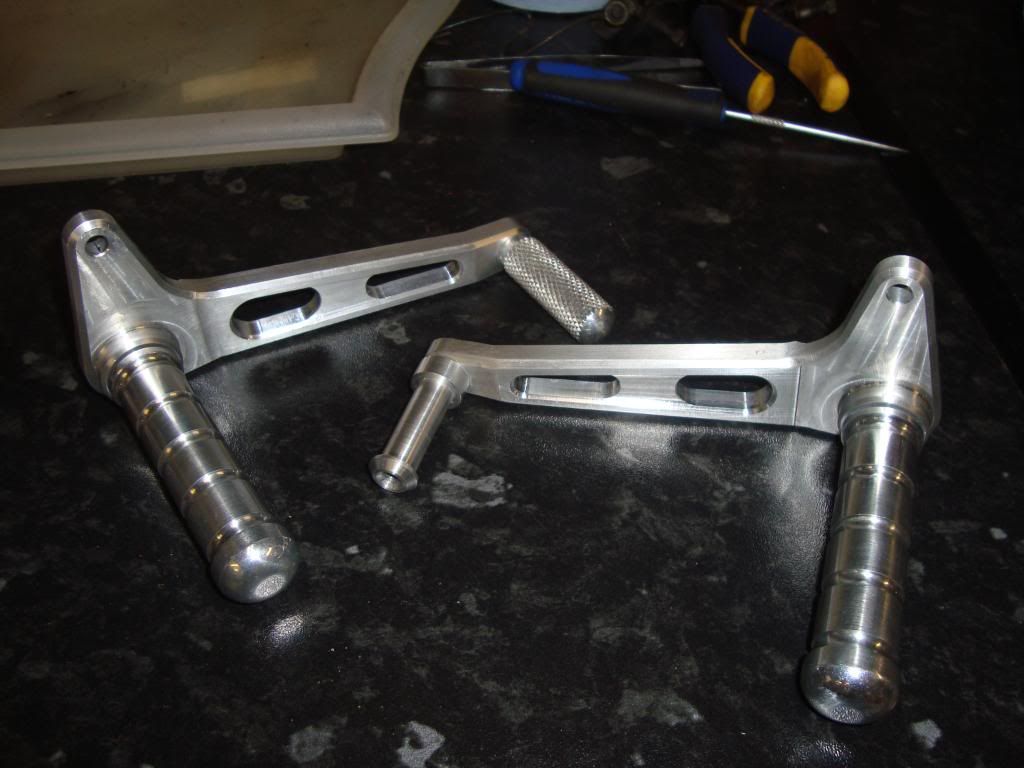
Next on the list is making these work
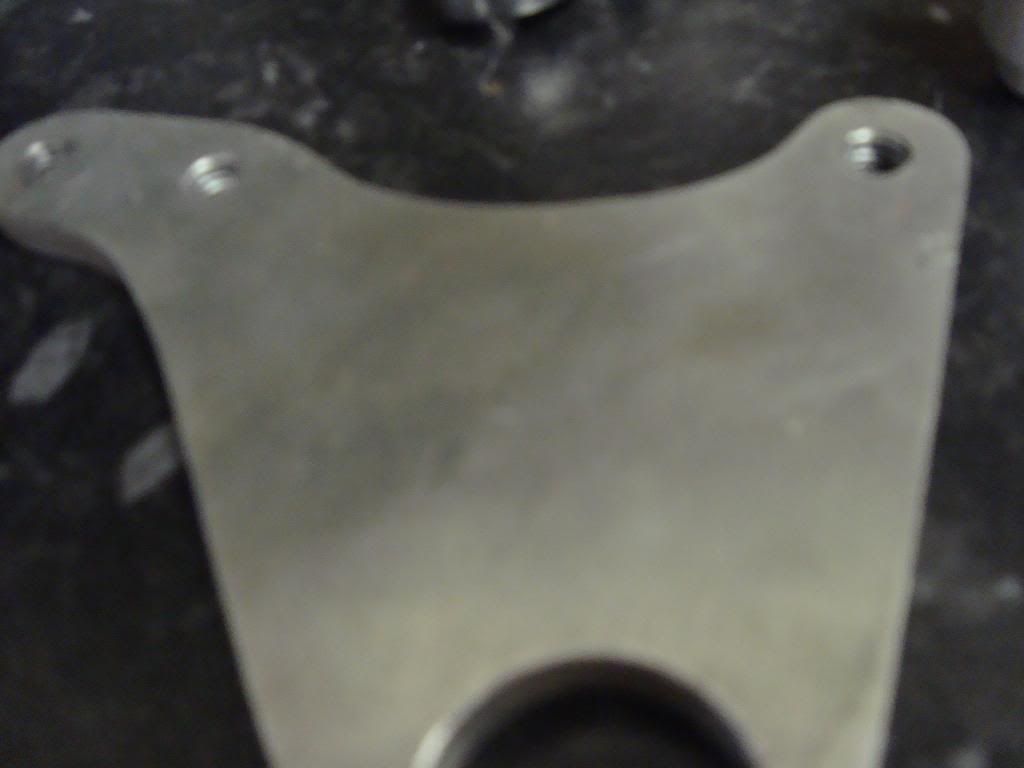
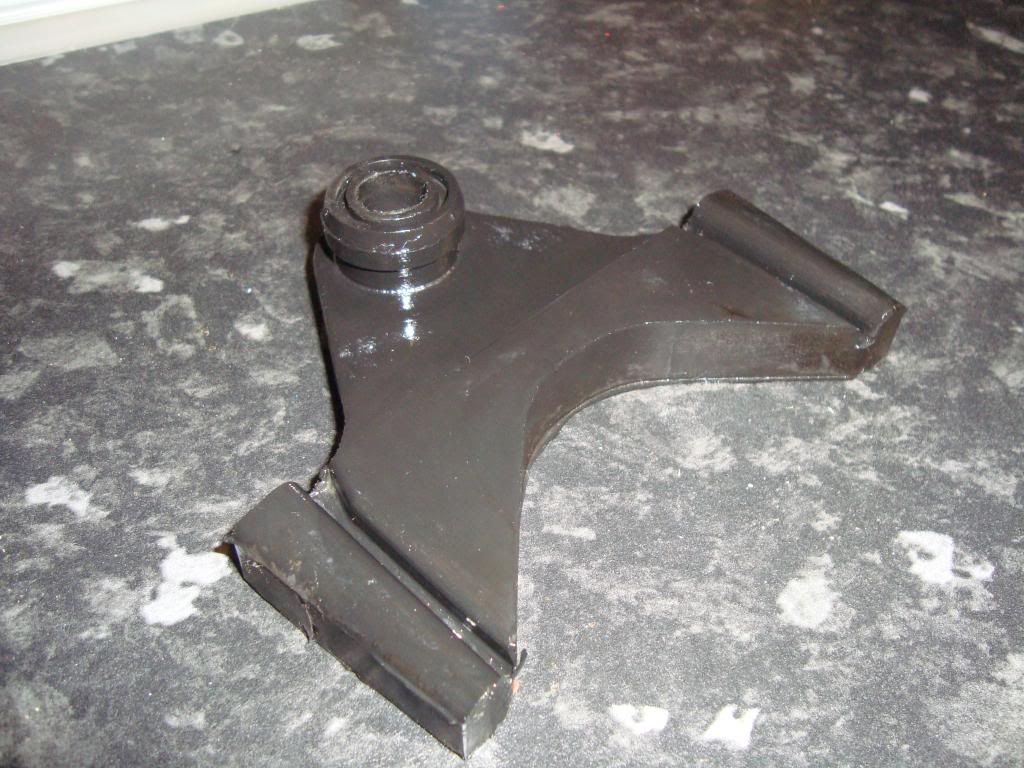
Had a couple of hours spare this afternoon so i started working on some new back plates for the rear sets.
Turned up the mounts on my lathe allows the bolts so sit flush, they weren't done up in the picks
Mild steel for mock ups, need to mod the rear brake lever to work how i want it but you'll get the idea. A really quick mock up i must point out as you can see by the state of them.
I will make them in stainless, tig them then mirror polish them once im happy with it


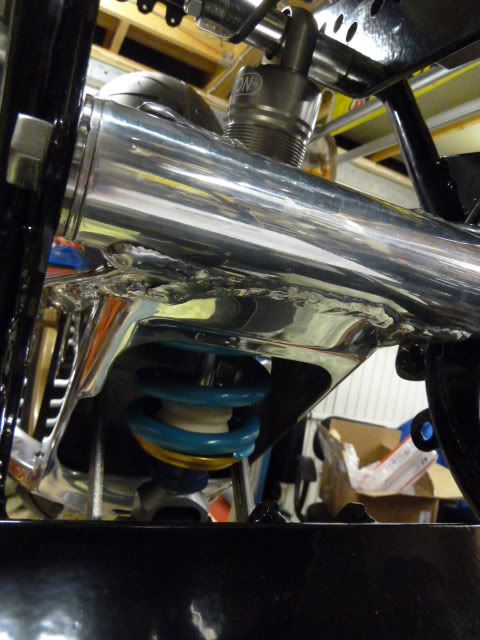
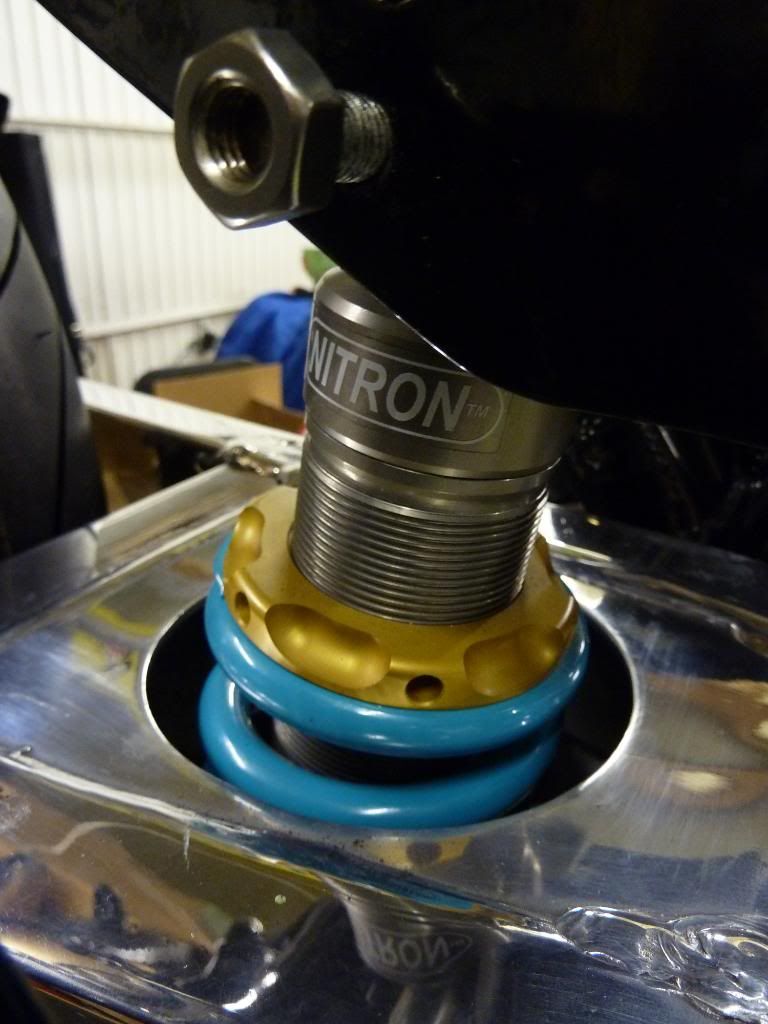
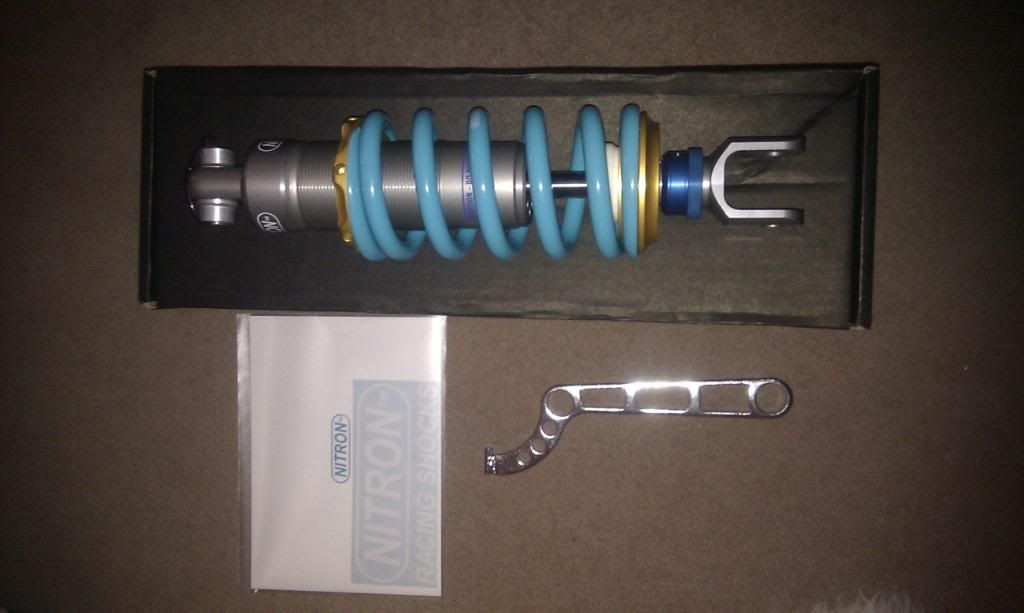
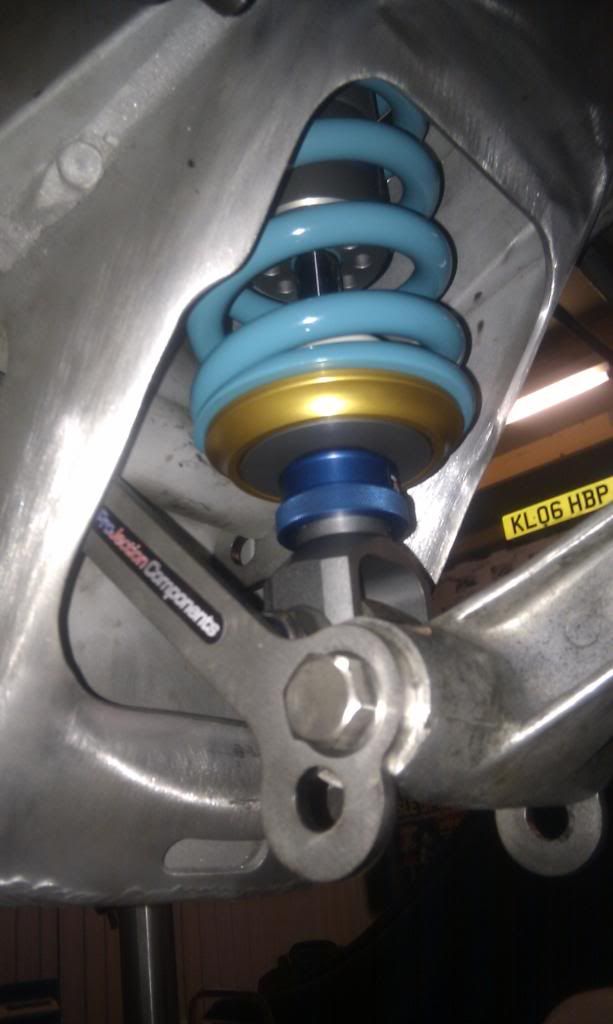
New rear shock
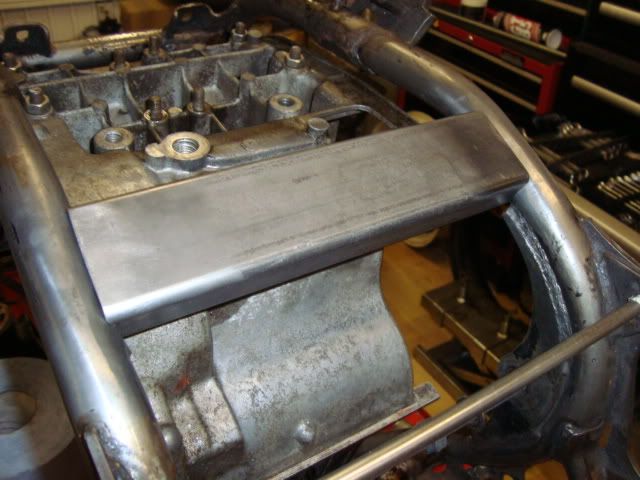
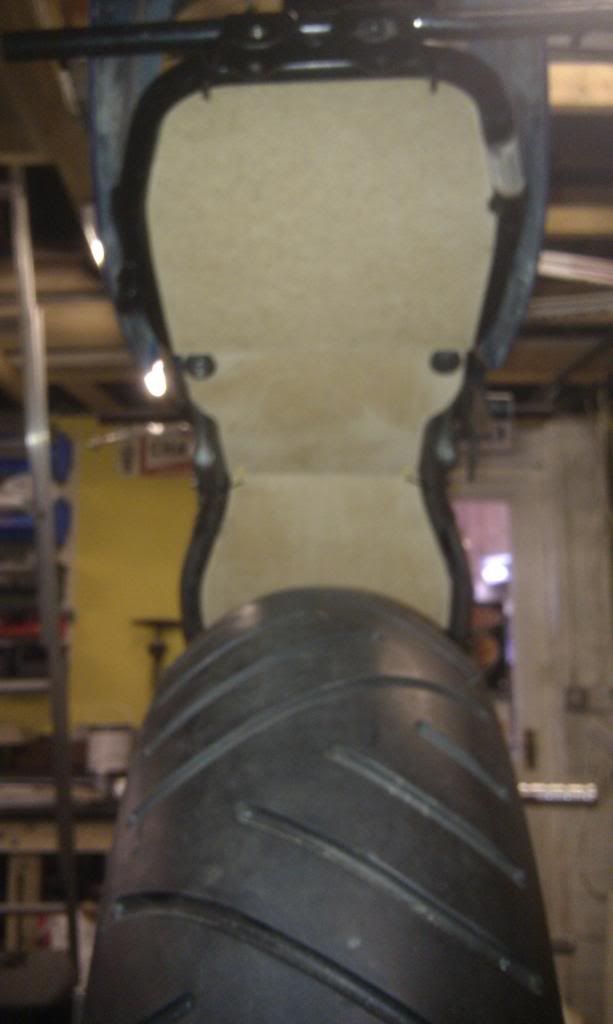
Started to make the templates for the new undertray
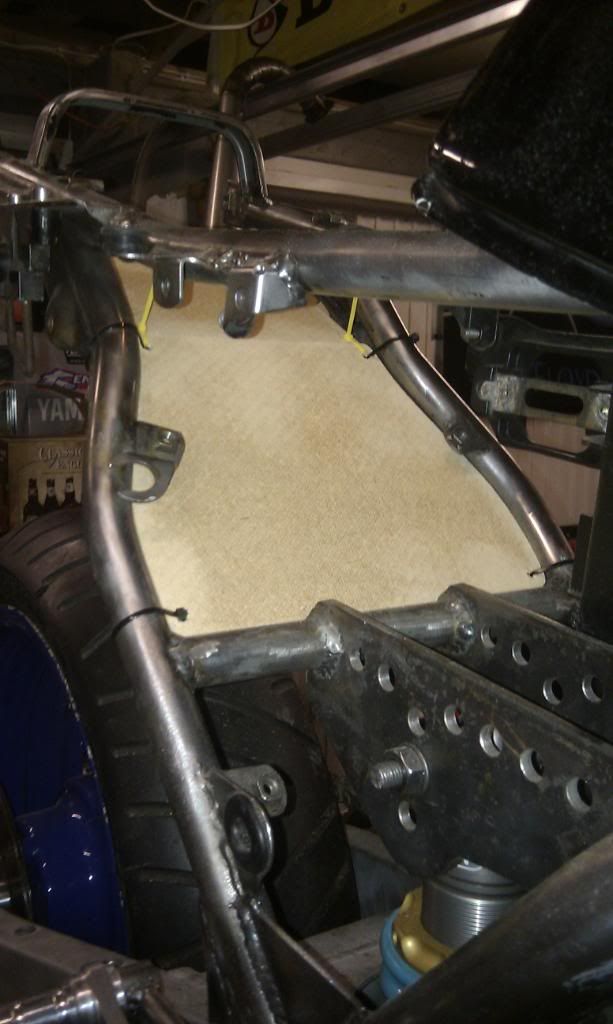
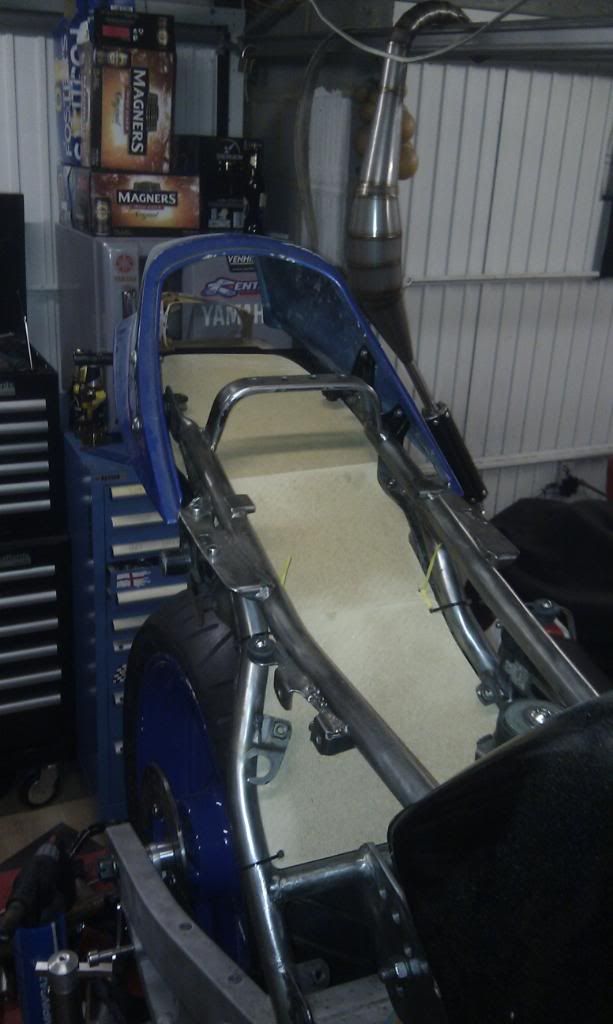
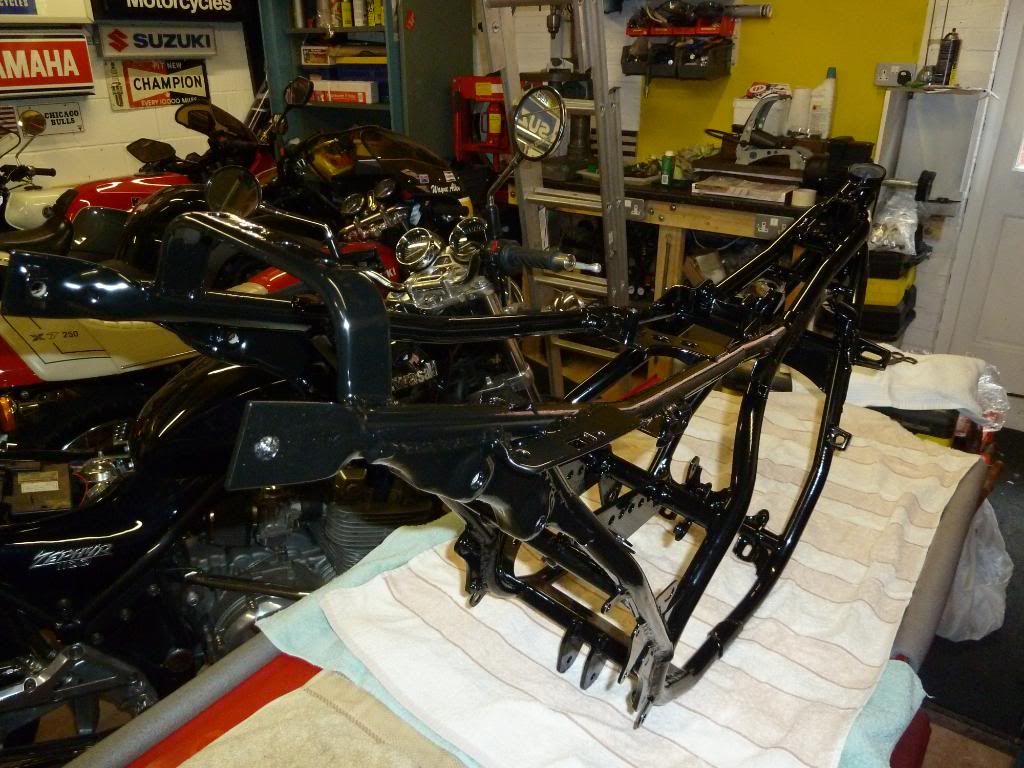
Right then, well im still here and its update time, things have moved on quickly in the last few days. My entry with the bike was confirmed for the festival of 1000 bikes this year at Mallory park so I need to get my arse in gear and get going. I’ve finished off the frame now and that off to powder coating along with the wheels and my subframe. So here we go.
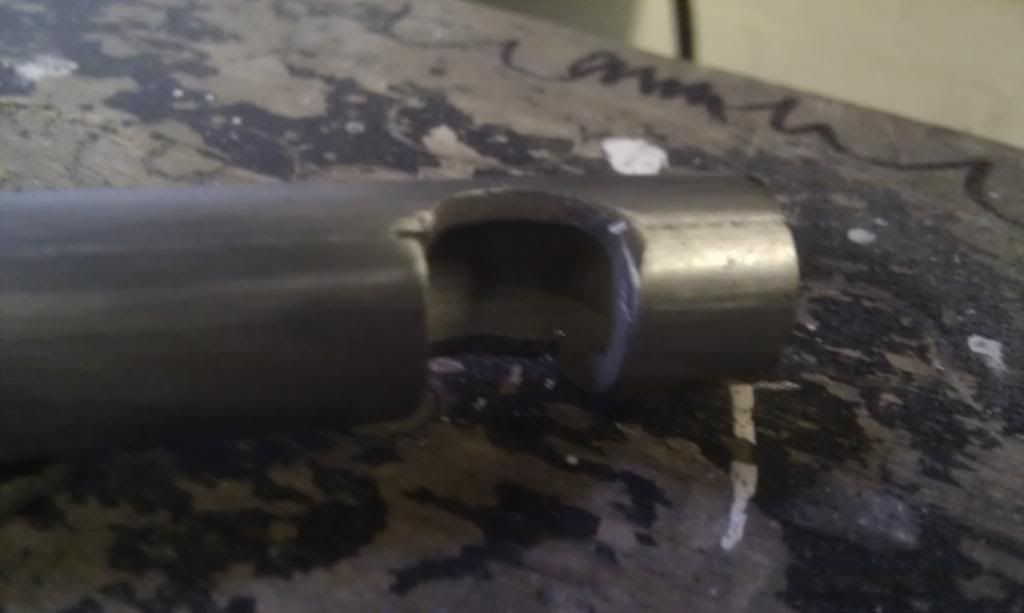
3 sub frames later I found a straight one but was cut down to I set to work one evening to remake it myself. Out with the dremel.
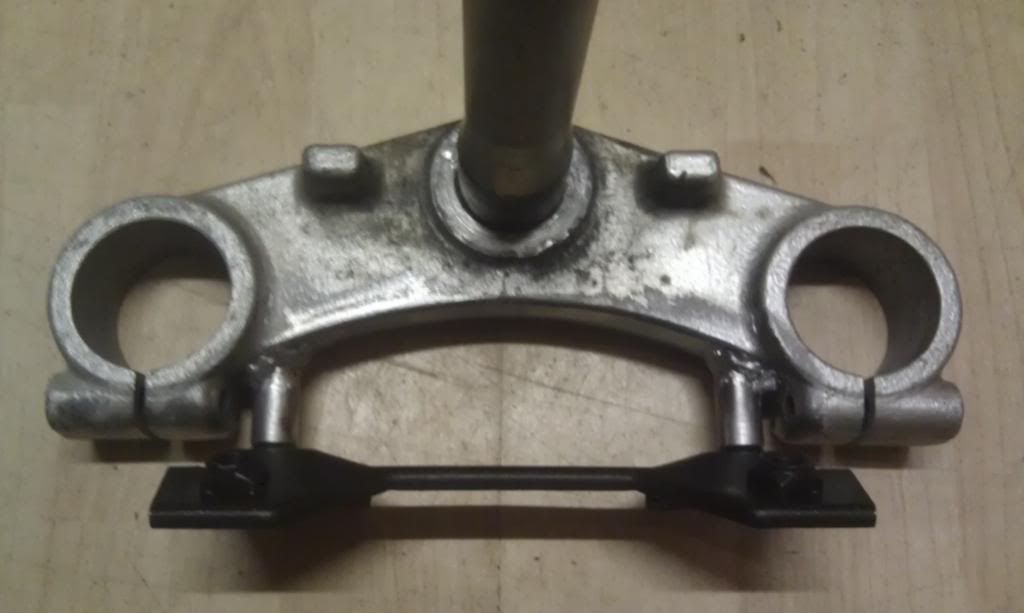
The following even I sorted out the bottom yoke/horn bracket problem
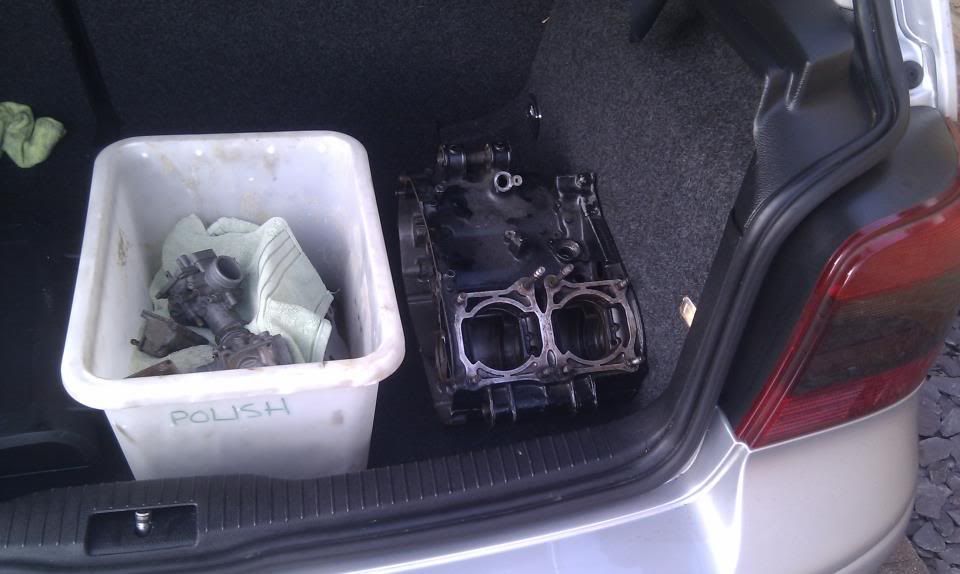
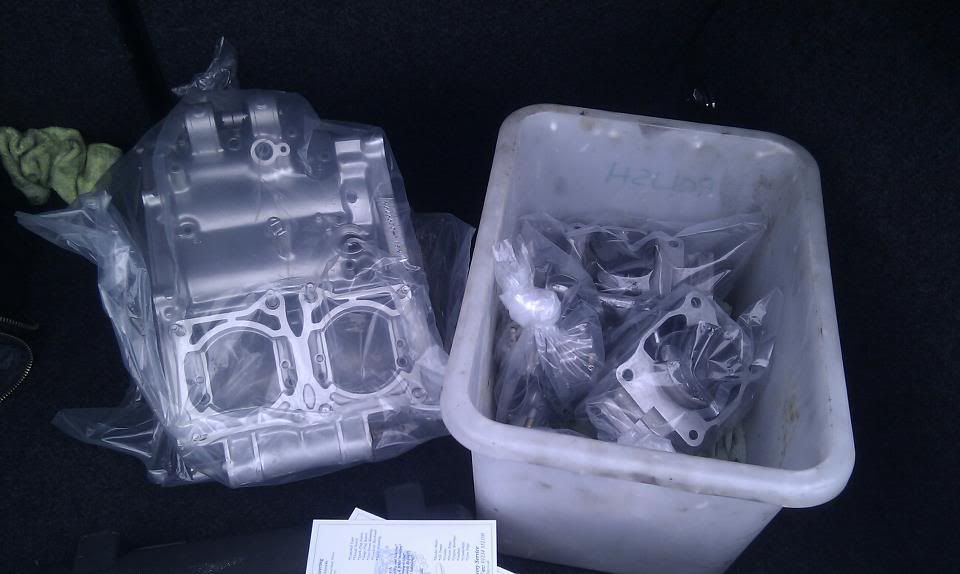
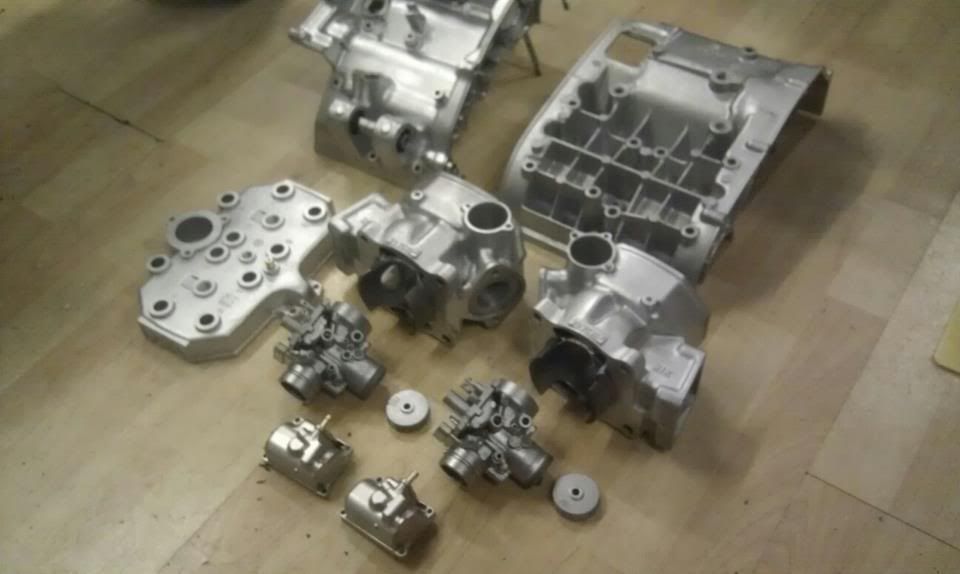
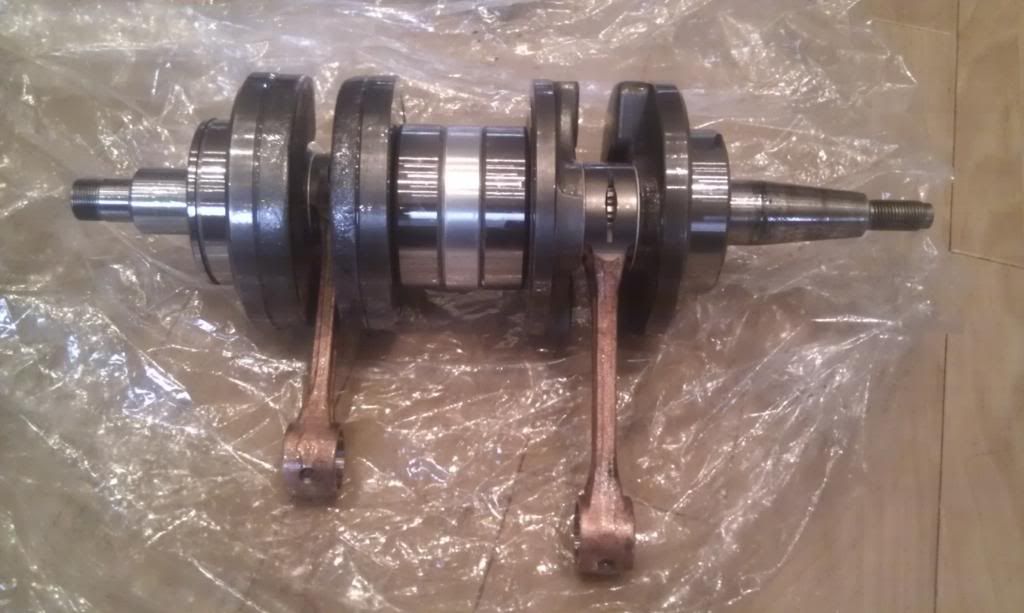
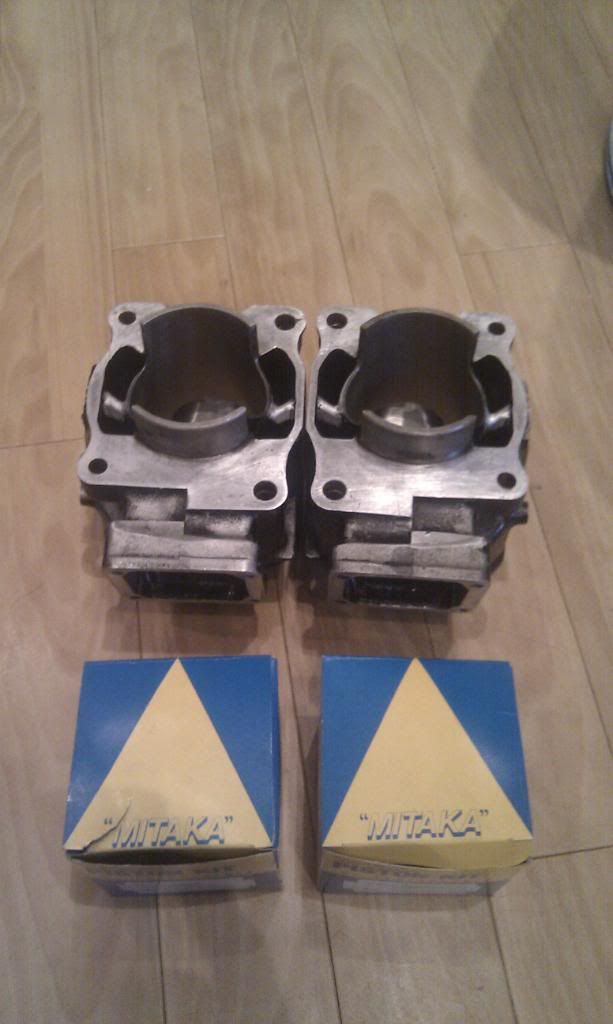
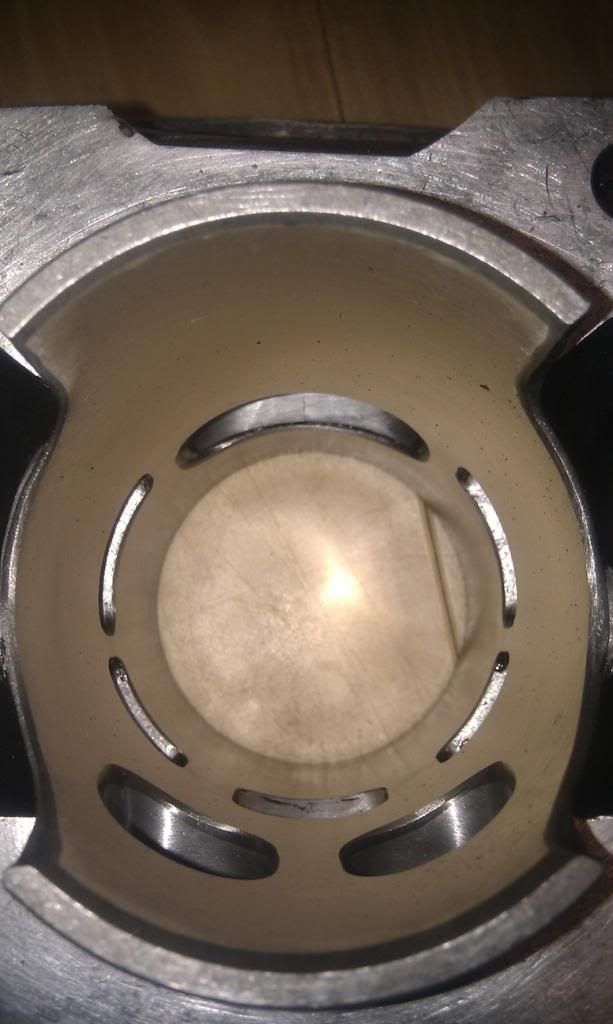
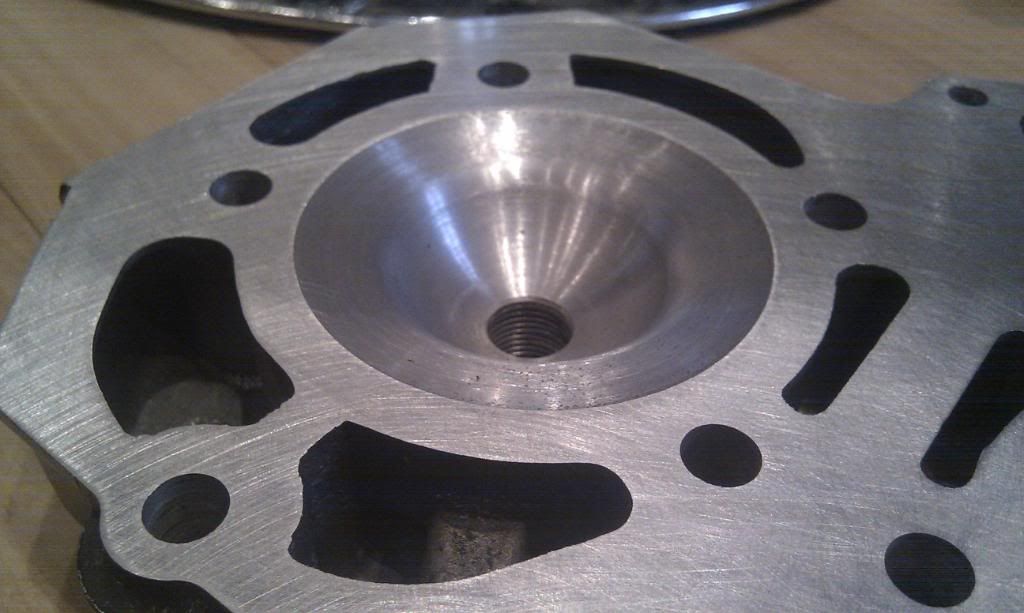
This morning I drove back down to kent to pick up some goodies from the top fella that is Mr Bob Farnham. 4 days it took him to turn this lot round. Crank fully rebuilt, rebore, fast road tune and head work. FANTASTIC!!!
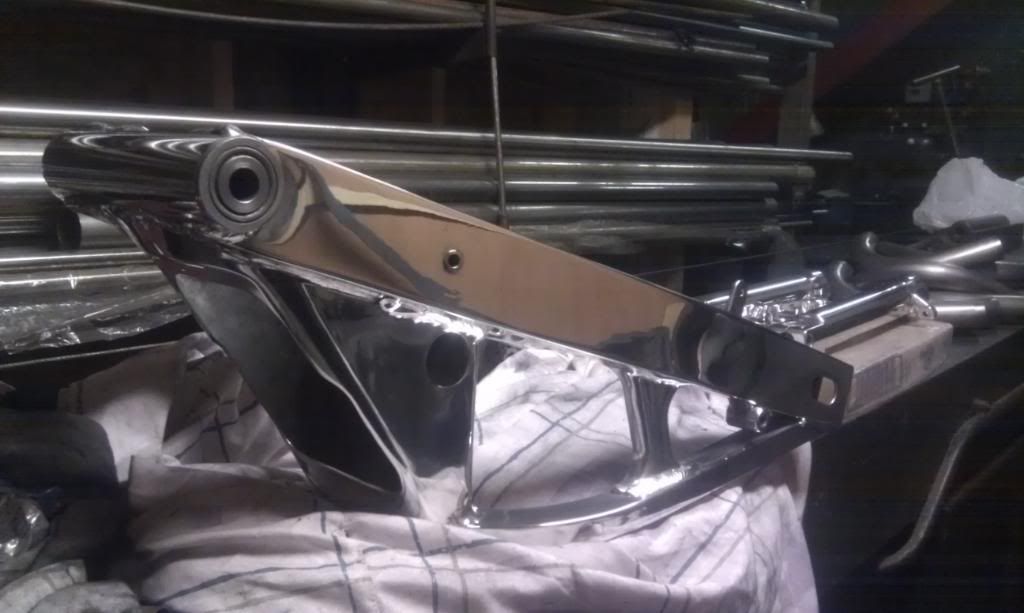
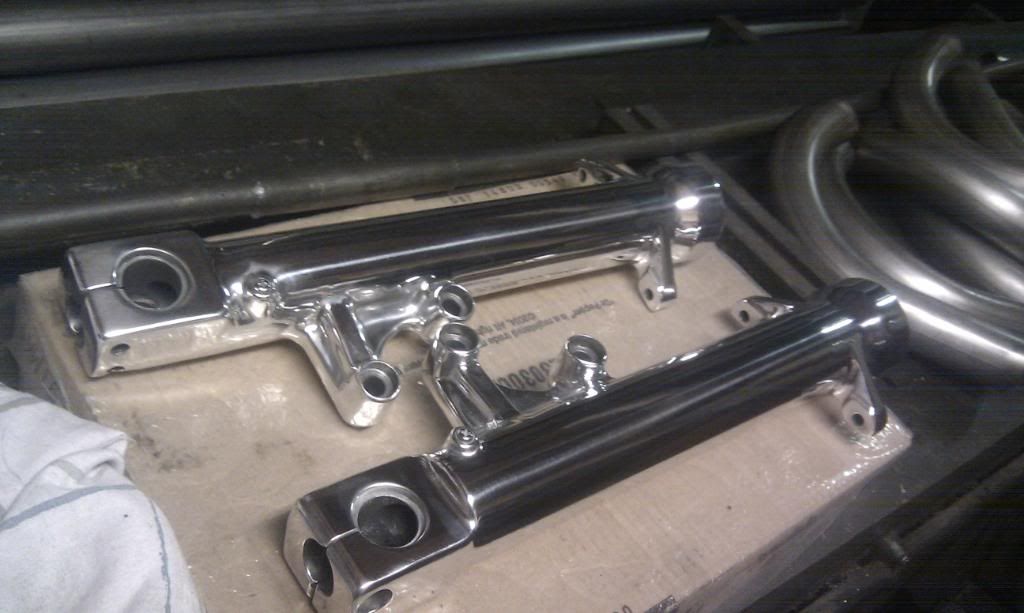
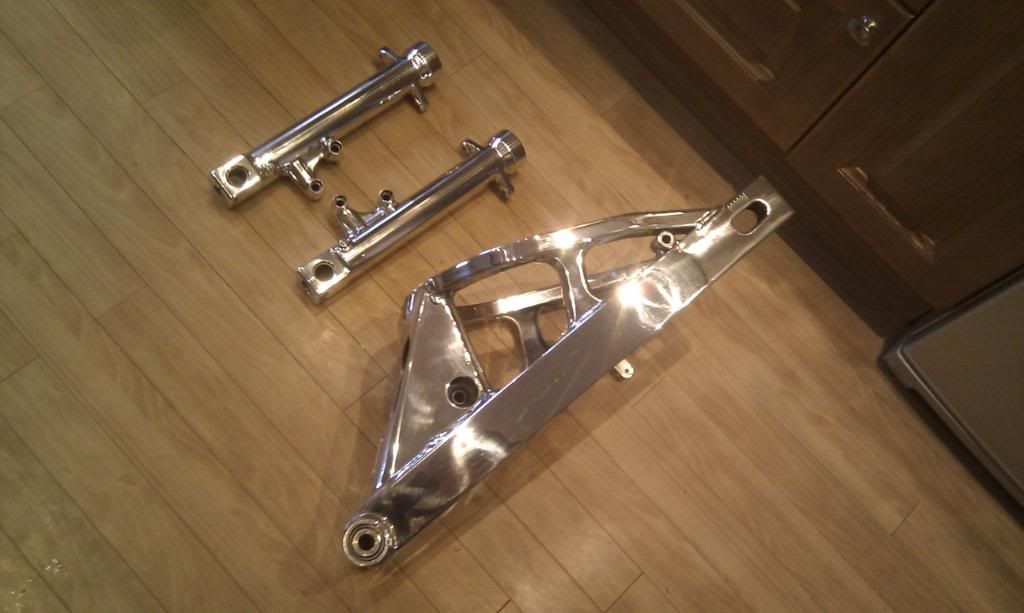
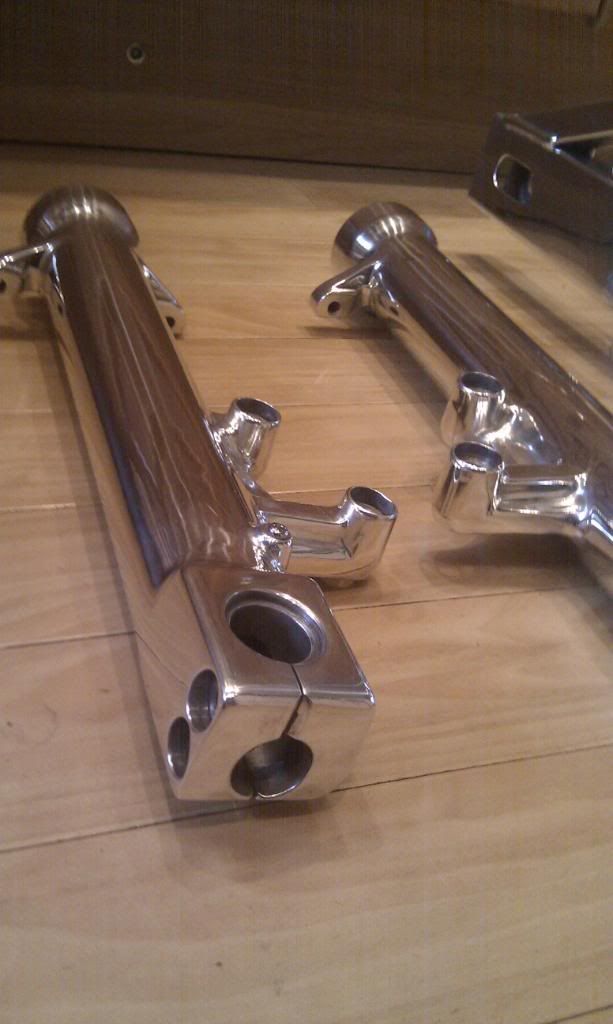
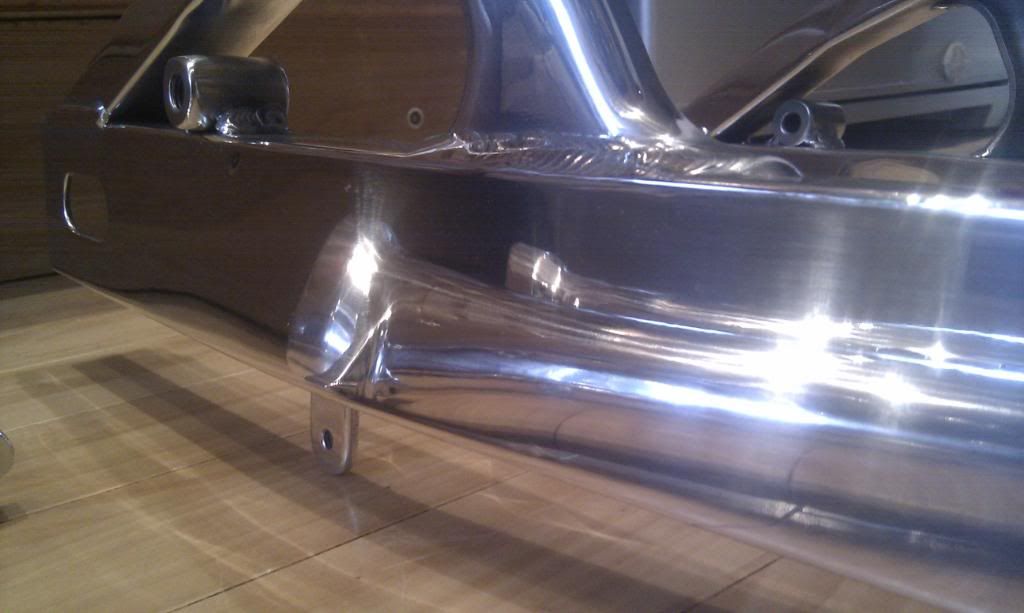
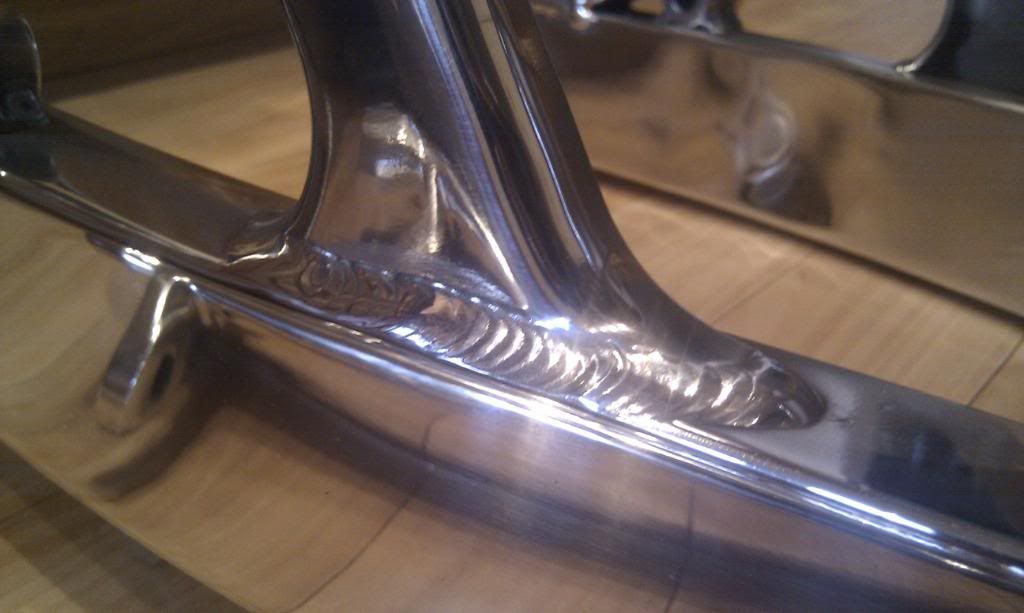
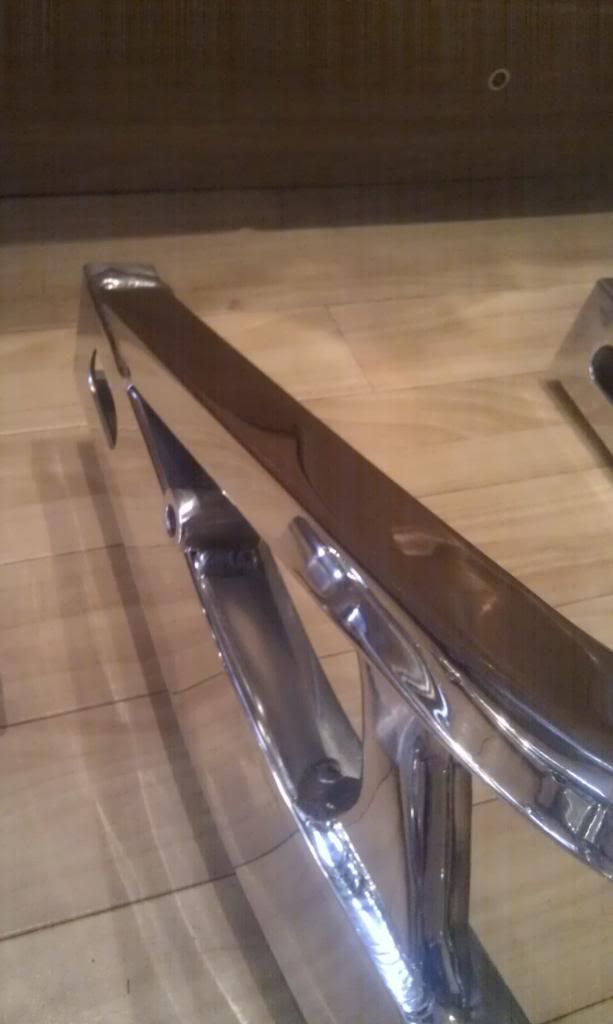
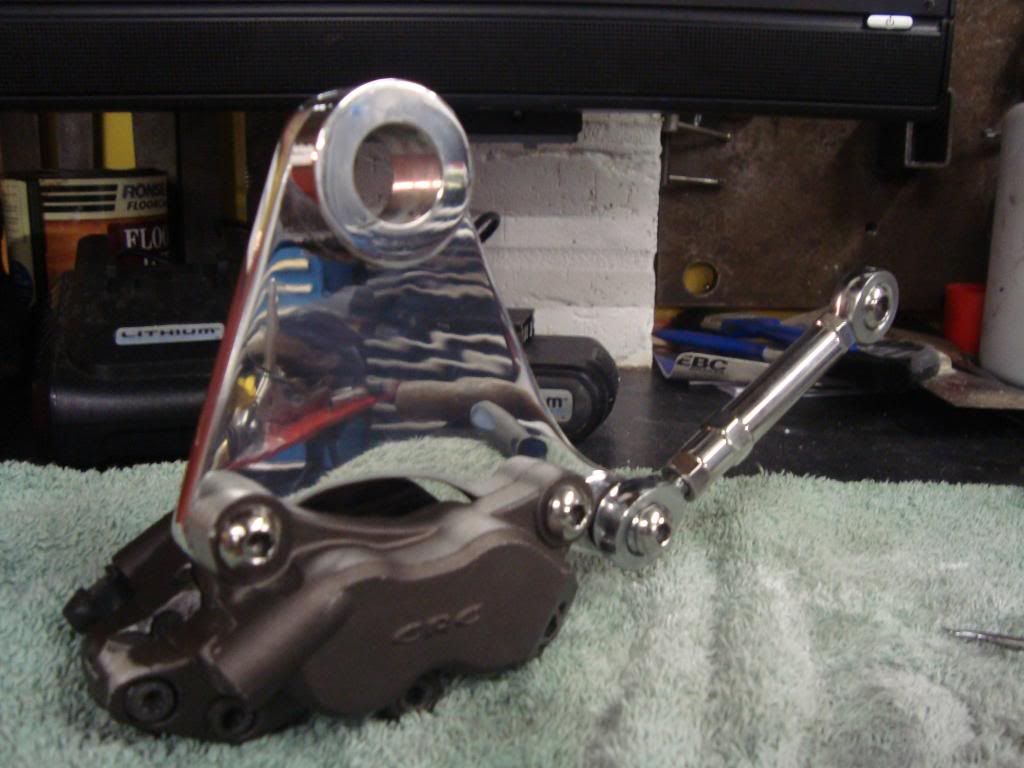
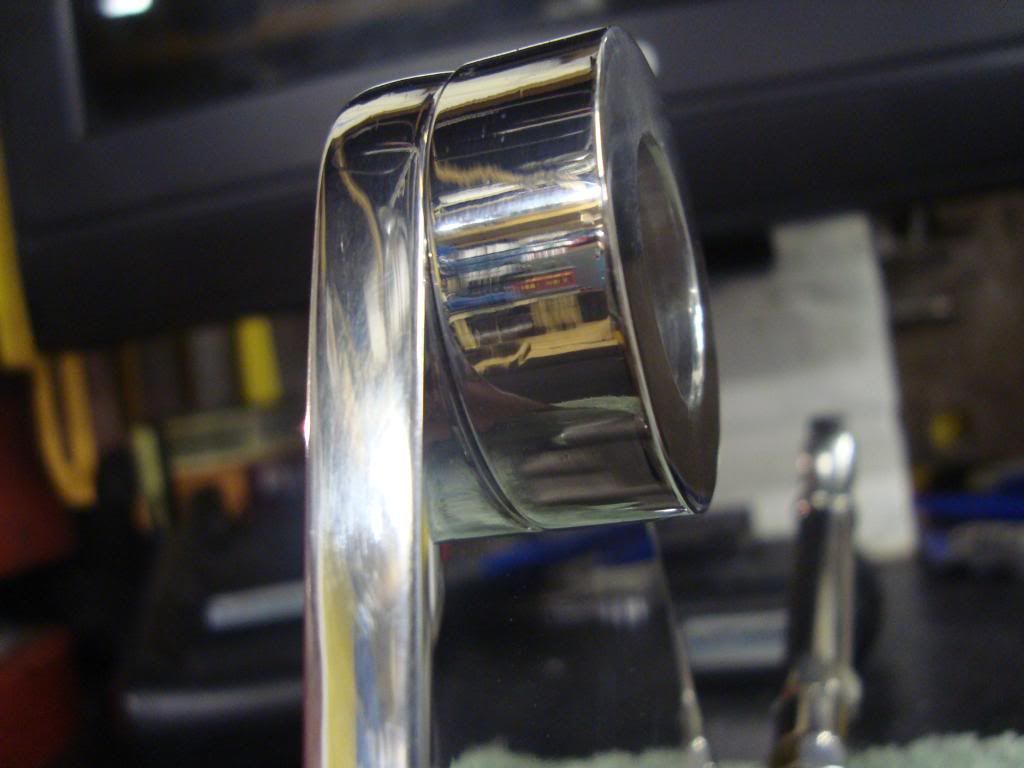
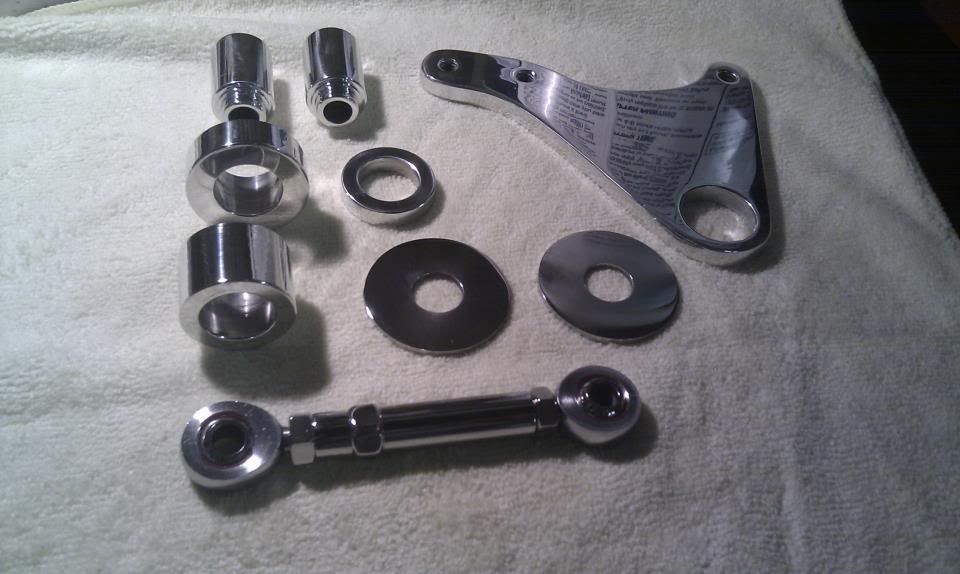
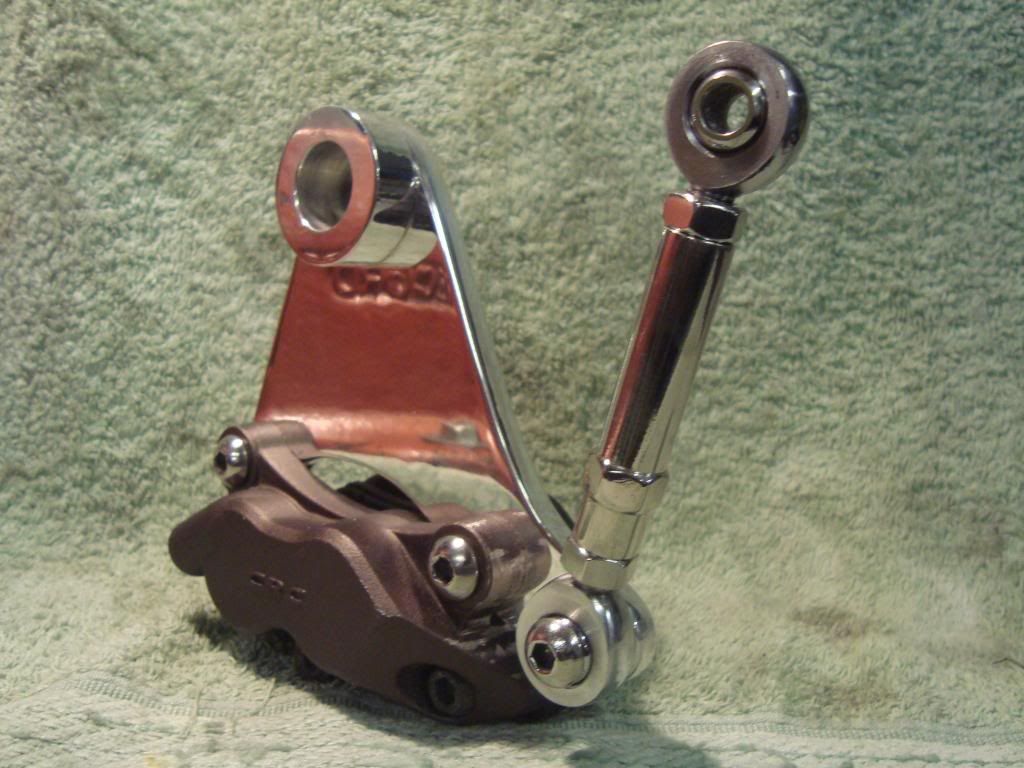
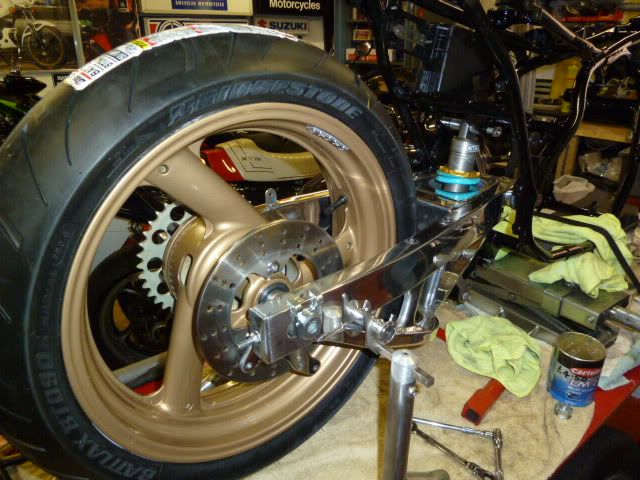
Then on the way back found the nations biggest car park aka the M25 I swung into Gibson’s/bling polishing to pick up my swing arm and fork lowers from Clive Hurley who well I’ll let the pictures speak for them selves. Again super quick turn around and floorless work. Can not recommend him enough.