Page 1 of 3
Its about time I pulled my finger out
Posted: Wed Mar 07, 2007 4:21 pm
by nate
Hi all,
Well, with the weather finally getting better, I thought it is about time I actually did something with my KR1-s
I got it of flea bay almost 18 months ago and spent last year stripping it down. I really want to put it back to its original former glory... Its a 1990 S version, green and black which I love... I had one years ago for a very short time, so I just had to get one... When it was running, my neighbour hated it!!!
So anyway, here are some pics of it so far
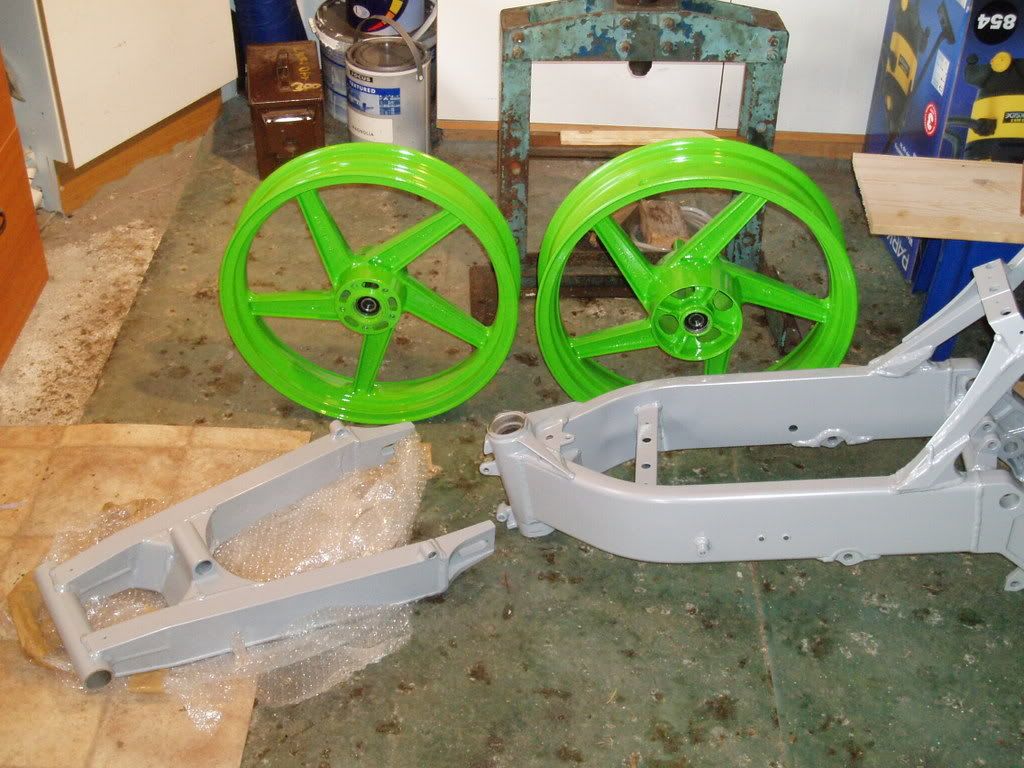
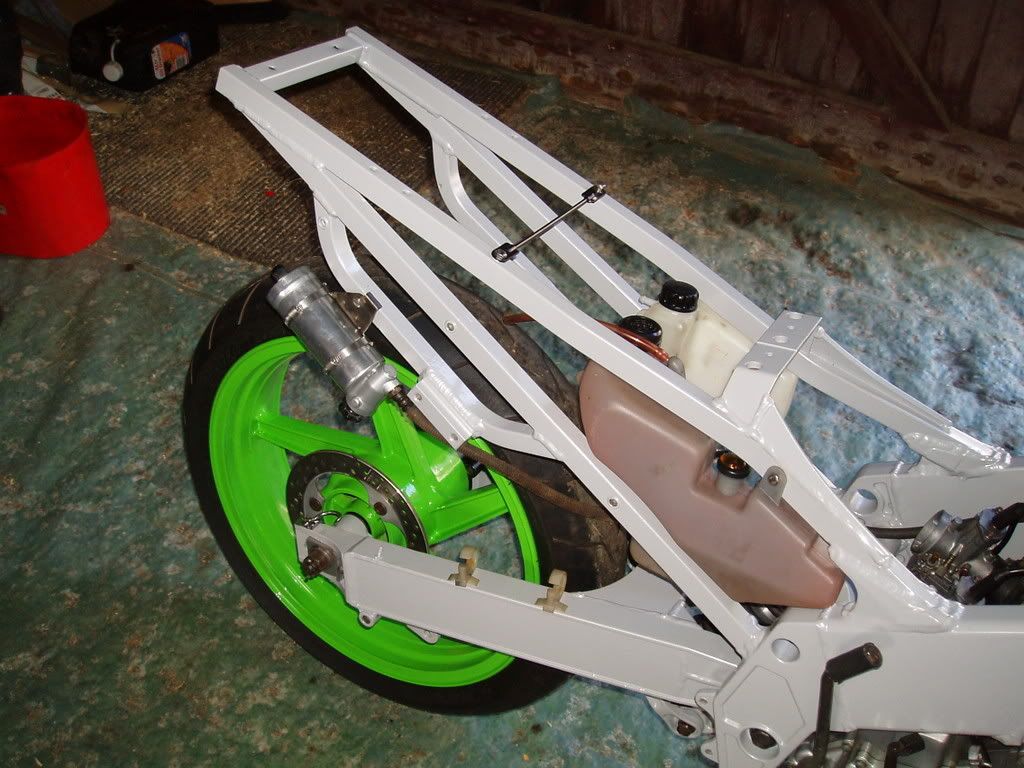
As you can see here, the frame and swing arm have been powder coated, the wheels have been sandf blasted and sprayed with 2-pac with a lacquer over the top to protect them
The rear shock is with a mate who is a hydrauics engineer for re conditioning, but here are the suspension linkages, all powdercoated with new shiny bearings and seals. I almost killed the powdercoater, as he didnt bung up any of the holes, so i have had to scrape them out, back to the original size so the bearings would fit, also I have had to re tap all the threads on the frame as well!!!
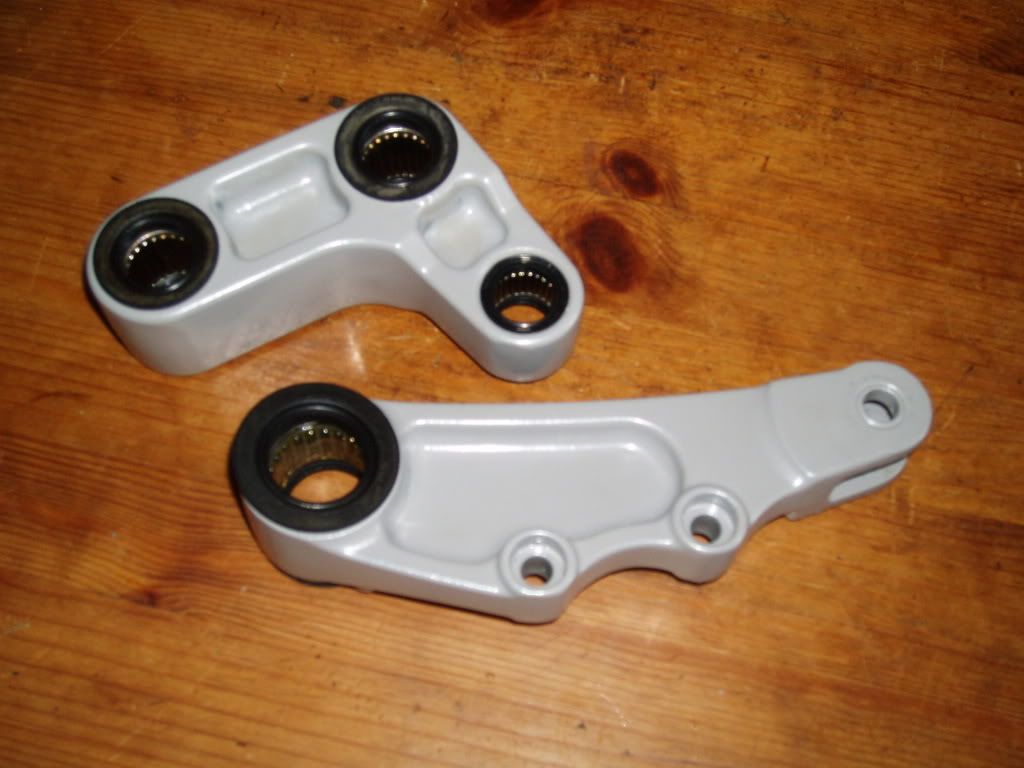
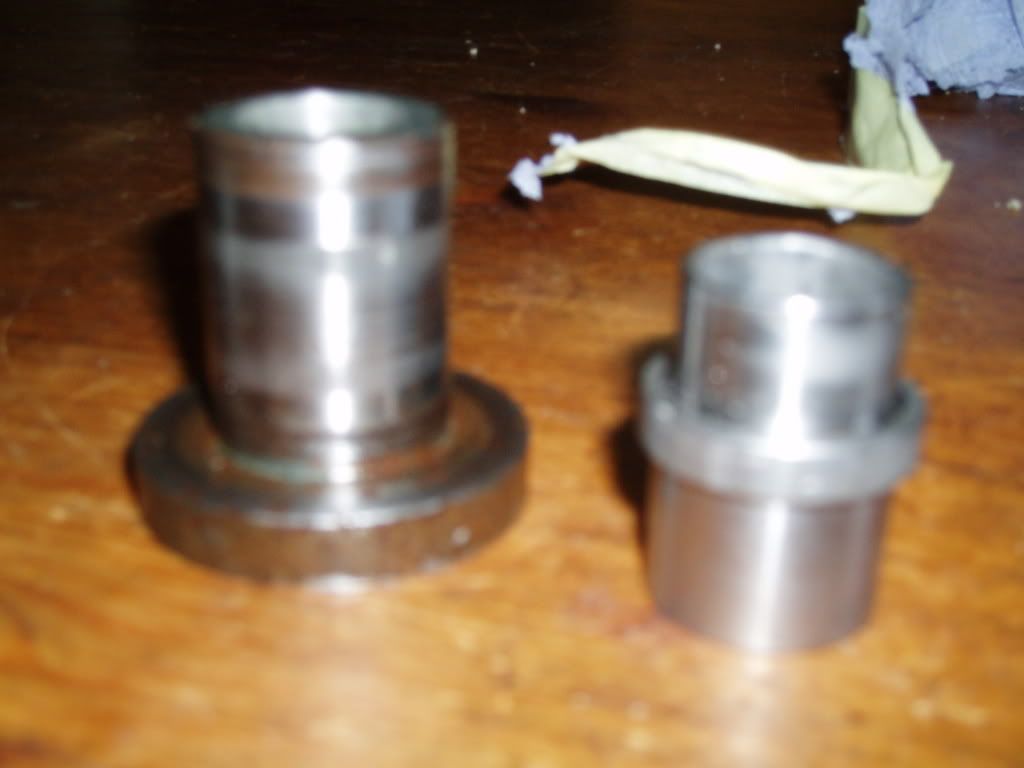
Ok, now for the embarassing bit, I really cant remember which way around the tie rod holder goes, nor can i remember where these two components go... Any ideas??? Please???
Anyway, I will update you all as more work progresses... Next step is rolling chassis and then start bolting things back on...
Cheers
Nate
Posted: Wed Mar 07, 2007 8:54 pm
by KwakOn
"tie rod holder" has the two brake caliper mounting holes downwards.
the top hat shape piece goes on the rear spindle and the other piece looks like the spacer (on the spindle as well) between wheel and sprocket carrier.
the manual and the parts diagrams are on this site, should be clear there.
Posted: Thu Mar 08, 2007 8:44 pm
by nate
Nice one mate,
Yes, found the diagrams in the manual... God, I feel really dumb now!
Anyway, thanks for the tip and hopefully I can post some pics of the rolling chassis in a couple of weeks !!!
Nate

Posted: Fri Mar 30, 2007 4:44 pm
by nate
Hi all,
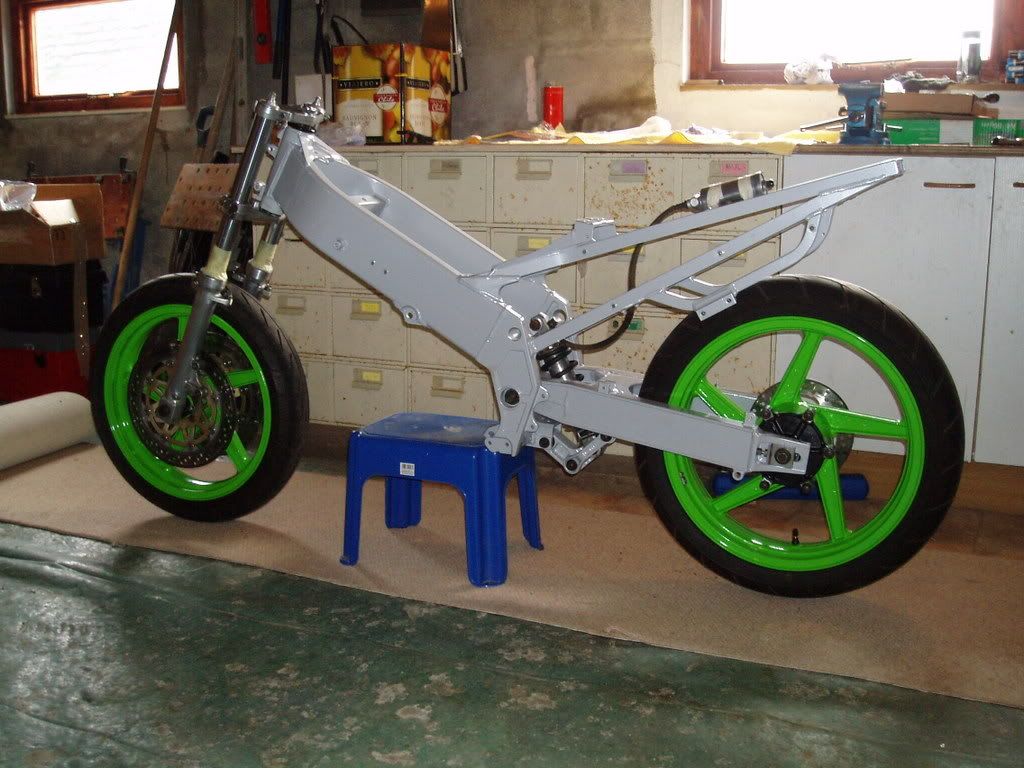
Well, things are going great guns now! Got the frame back last night with shiny new headstock bearings in... The time now is 4.30pm and have just emerged from the garage with the following results.
The frame and wheels look quite good. Hopefully it should start to look better and better as I clean, polish and spray all the bits and start bolting them on!!!
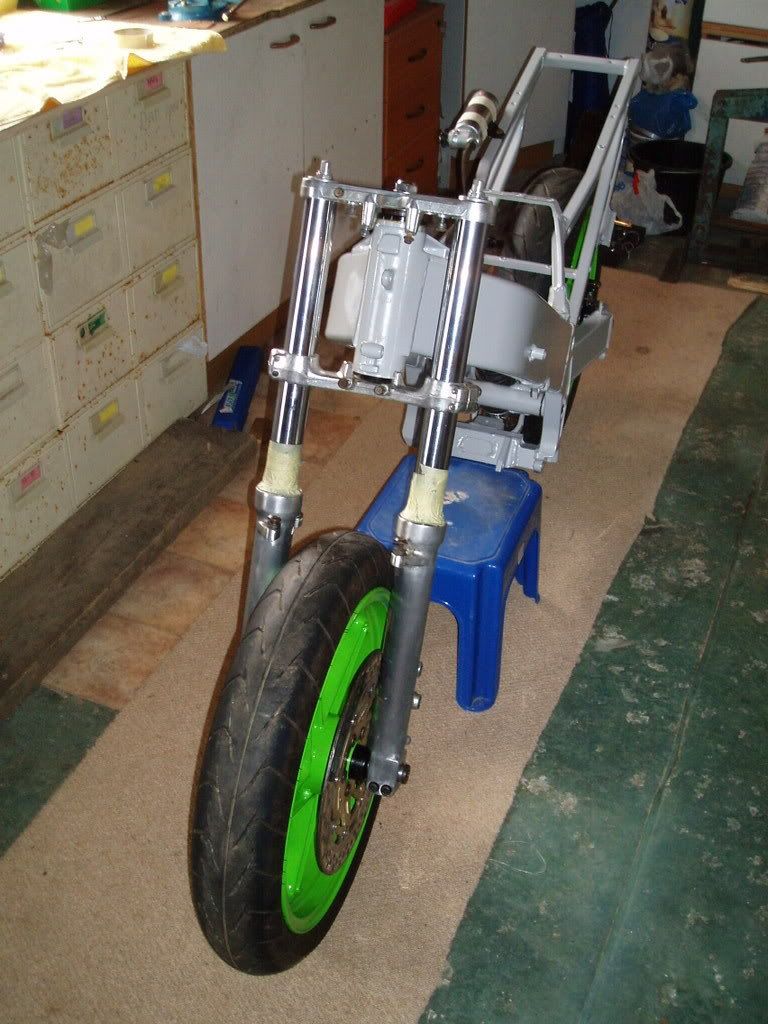
The next couple of jobs are to finish polishing the forks and give them a coat of lacquer, then start reassembling the front end, maybe the brakes so I can toque the front forks up, and then the engine needs cleaning and inserting into the relevant space!!!
Cheers
Nate
Posted: Fri Mar 30, 2007 5:06 pm
by col
dont forget to replace all the current bolts and screws with new ones as you go along.
nothing spoils all your hard work more than a load of mancky bolt heads.
Posted: Fri Mar 30, 2007 6:11 pm
by SHimmer45
Nate looks great,
i was hoping to have my CBR back on the road this weekend but forgot to order a rear tyre as no where near me seems to have a 18inch tyre in stock.
o well have to wait a little longer to see my new powder coated wheels in action
Posted: Fri Mar 30, 2007 6:42 pm
by Red Devil 777
Looking very nice, agree with Col though, scruffy nuts and bolts look shite

Get down to your nearest supplier asap.
Posted: Fri Mar 30, 2007 7:10 pm
by corky
i use this company on Ebay..
http://stores.ebay.co.uk/Tek-Hardware_W ... esstQQtZkm
top service and good prices...
Posted: Wed Jul 18, 2007 2:09 pm
by nate
Hi all,
Bit more progress to show .... Hope it all looks ok to you lot... Any points that you want to make... Please feel free to heckle from the back (Col!!!

)
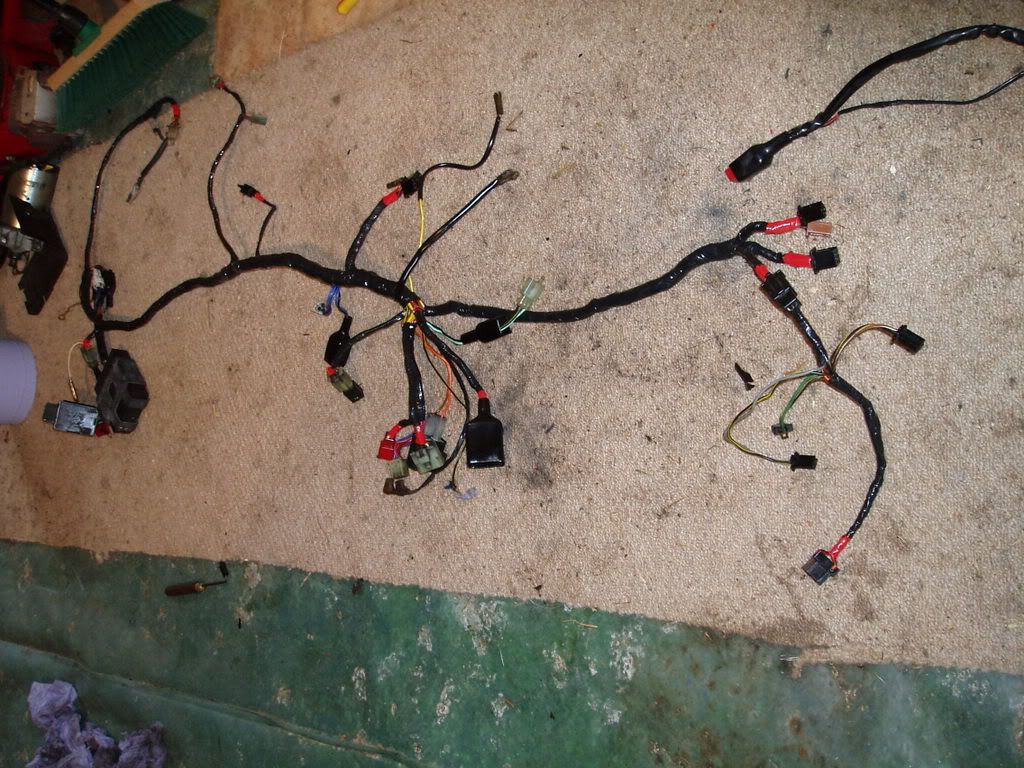
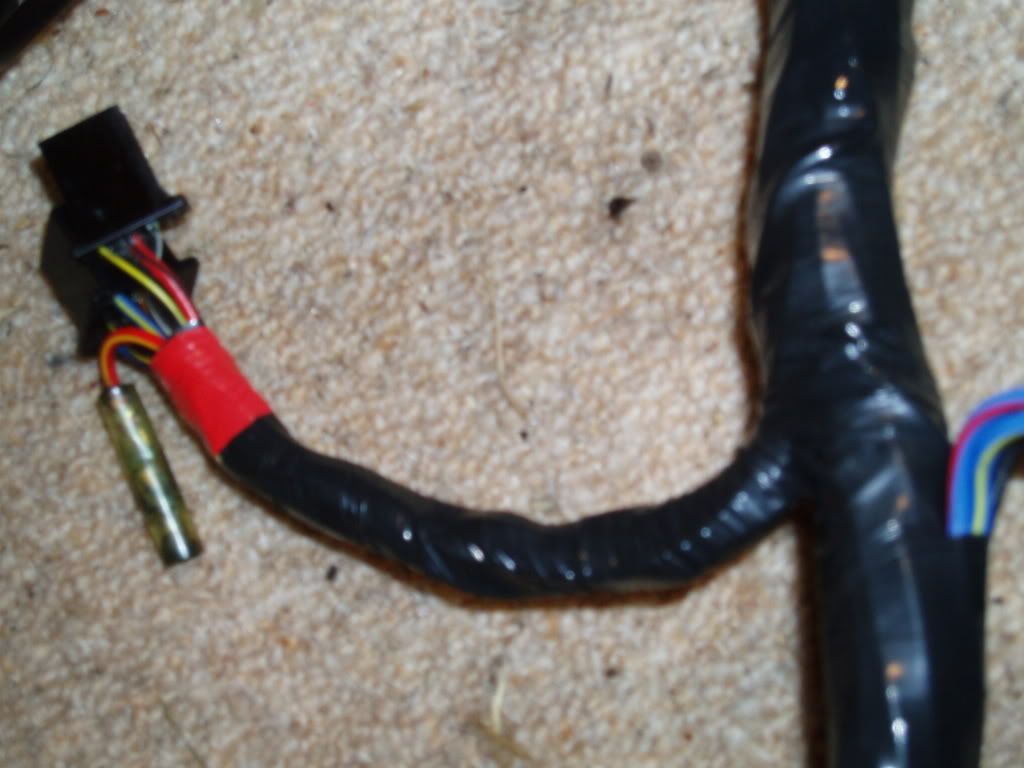
Ok boring, but im pleased... I have stripped cleaned and recovered the loom...
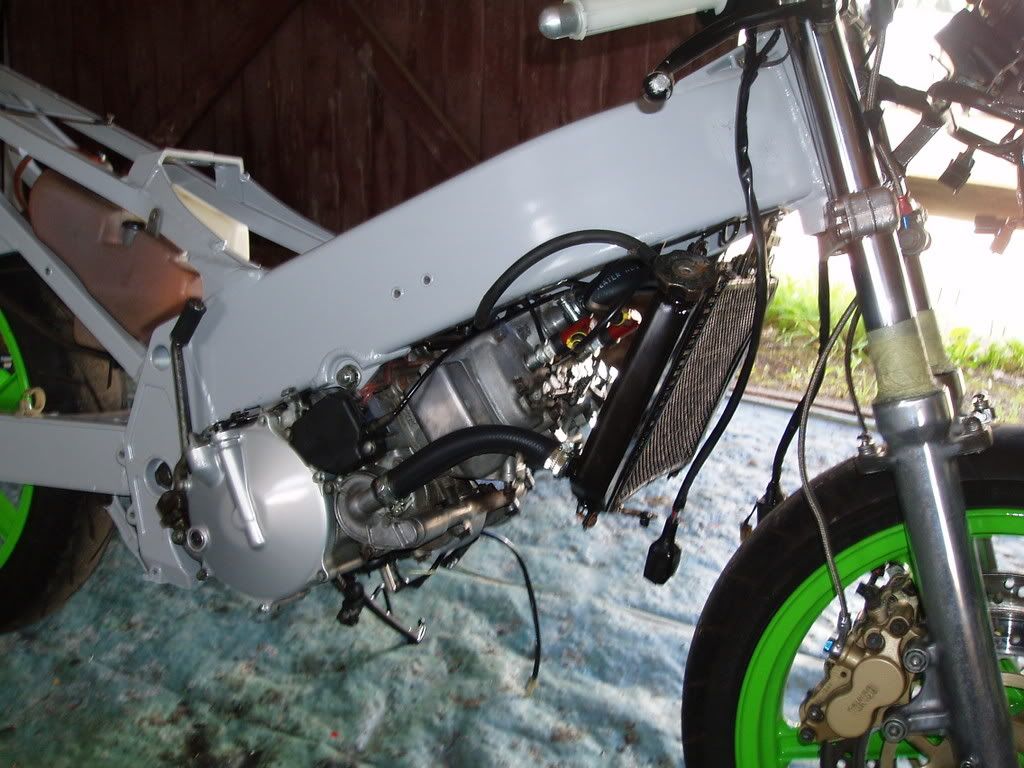
Following on... Here is the rest of the bike... As you can see the Instruments, engine, carbs, throttle cable, HT side and the new shiny radiater at in
I'm dead chuffed with how the wheels look...
The internals.... Amazing how long it took to sand and paint all the rusty bits... Oh... not to mention freeing up the throttle cables so the carbs actually closed when you close the throttle
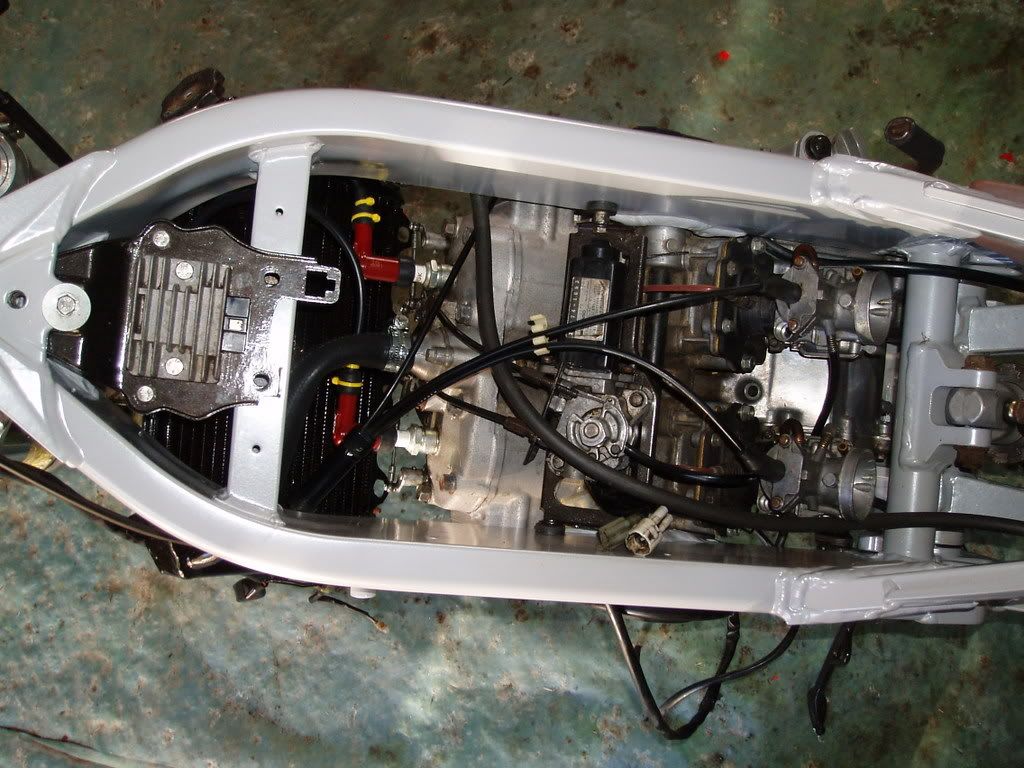
Shiny new radiator built by Newquay Rads... top job
Damn... just noticed the weeds need pruning...

So work to follow... Get the loom in place and plugged in to the relevent places...
I still need to take the front forks off and polish and lacquer them
Oh, and I still need to rebuild the rear shock.... (I decided to build the bike around it...) or buy a good condition unit...
Anyway, comments appreciated...

Cheers
Nate
Posted: Wed Jul 18, 2007 2:29 pm
by rc46
Silly bits, She looks so clean, Id get the kick start polished up a bit, remove and replace the nylon brake line runners on the swing arm, and your getting the shock rebuilt??? get them to install a braided line from the resivior as the old rubber one is covered with a rusty spring...
Looks ace, Cant wait to sort mine out this winter, The engine is getting aqua blasted, New crank Barrels and heads new pistons, gearbox rebuilt whole engine will have new seals and bearings!! FULL race tune with BDK!!! Cant wait, hope it looks as clean as yours, Mind you gotta look better than it is now LOL
Well done looking ace!
Posted: Wed Jul 18, 2007 3:38 pm
by 666damned
Looking nice there 'Nate'....... =D> =D>
Posted: Wed Jul 18, 2007 5:31 pm
by alanw
Nate, why do we do this ,go into such detail. Youve got to keep these standards all the way through.We shouldn't be patting each other on the back .We should be giving sympathy.
](./images/smilies/eusa_wall.gif "Brick wall")
never mind , Its looking quality
=D>
Posted: Wed Jul 18, 2007 5:40 pm
by nate
cheers gang... Thanks for the comments...
Points taken...
1) where do I get replacement brake clip holder thingies for the swing arm
2) already have the braided line for the shock... just waiting for the shock to be rebuilt or replaced... Ohlins.... oooh how many £££'s
3) as for the engine, well I have a spare... so I want to get this one running (i.e. the original) and while its running... Clean and tune the other... then do a straight transplant... Thats the plan anyway
I know about the level of detail... dear me... It took me 2 hours to finish the gear change lever.... Filing off the casting mark, then wet and dry, then polishing it to a mirror finish...
Anyway.... I will keep going... thanks for the tips so far
Nate
Posted: Fri Oct 05, 2007 2:02 pm
by nate
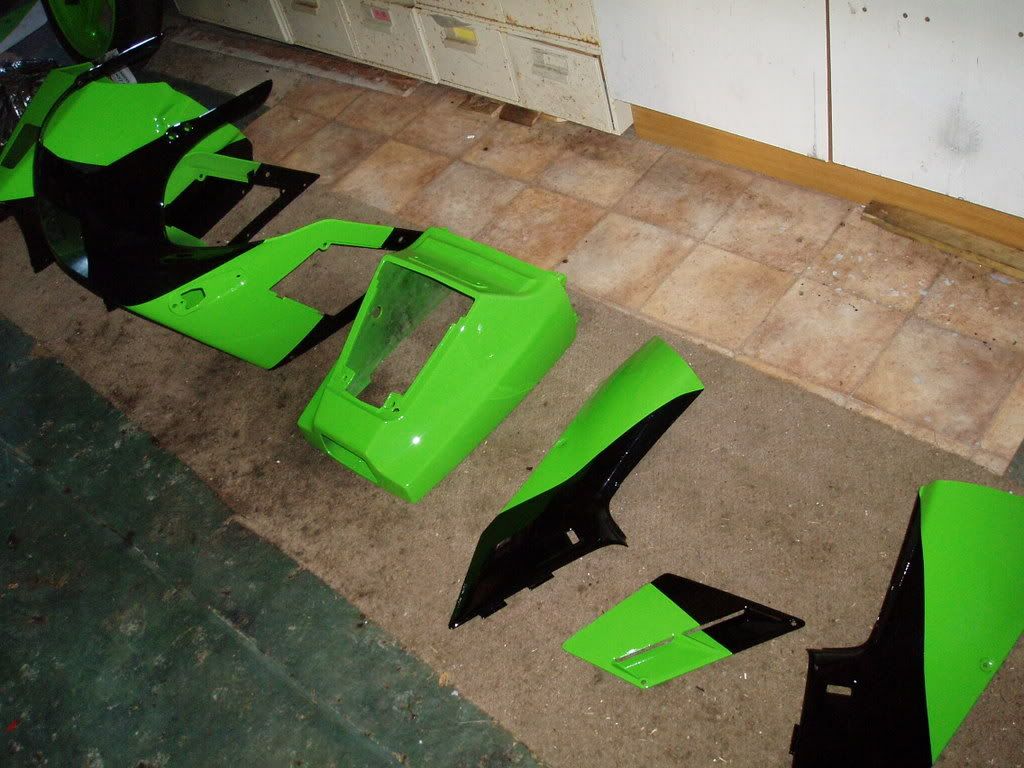
Mmmmmm, this week I have mainly been plastic welding, sanding, rubbing down and helping my Uncle spray the fairings... However... The result looks rather good...
Just need to pluck the courage up to slap the stickers back on
More pics to follow when I get around to taking them...
Nate
Posted: Fri Oct 05, 2007 3:06 pm
by Red Devil 777
That looks good, coming along nicely now. Have you got all the stickers sorted?