Page 1 of 2
winter refresh
Posted: Sun Feb 03, 2013 9:18 pm
by boggy
Posted: Sun Feb 03, 2013 9:26 pm
by Luders
Who did your frame painting Rich? Looks good
Posted: Sun Feb 03, 2013 9:54 pm
by boggy
A company called reality motorworks.They did a very good job on the wheels,however i had to get the frame redone as there was some contamination around the headstock and they forgot to mask off the frame number.

Posted: Fri Feb 08, 2013 10:02 pm
by boggy
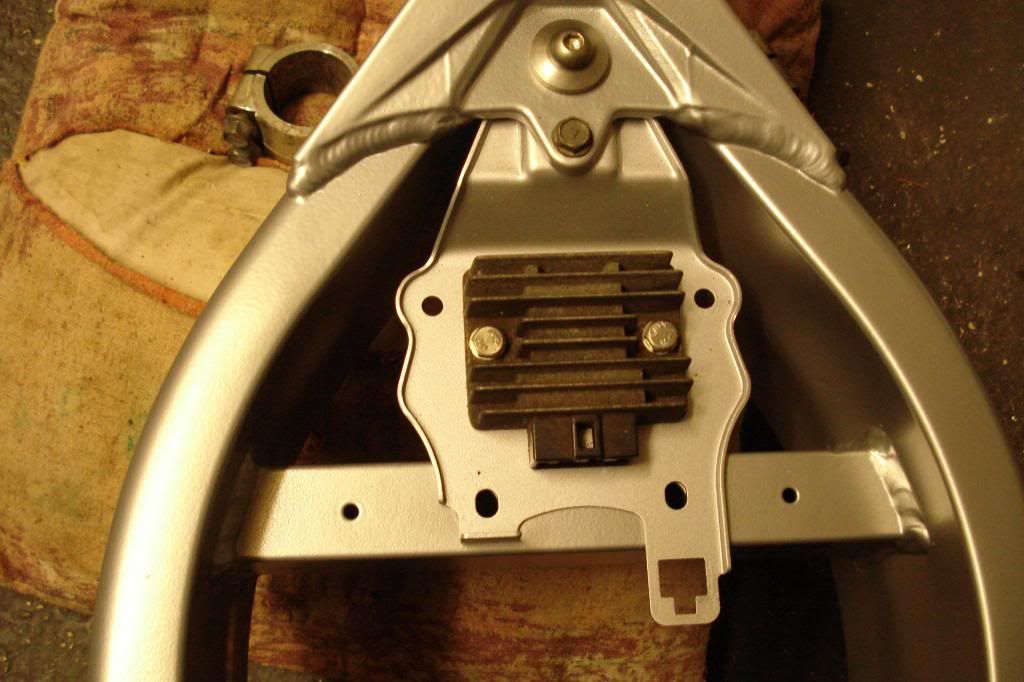
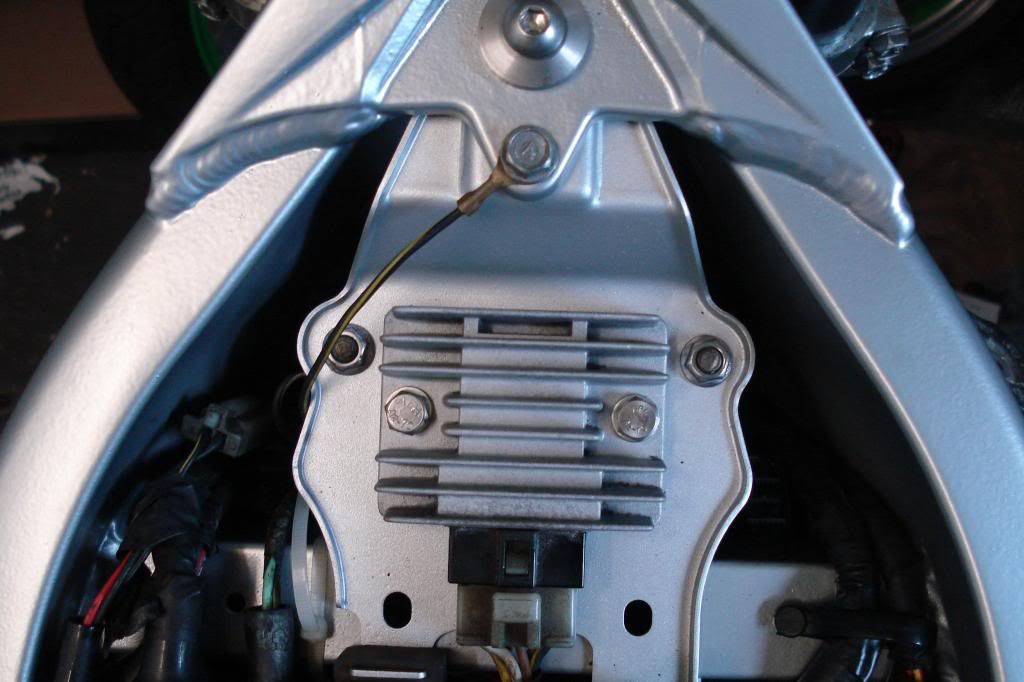
Rectifier cleaned
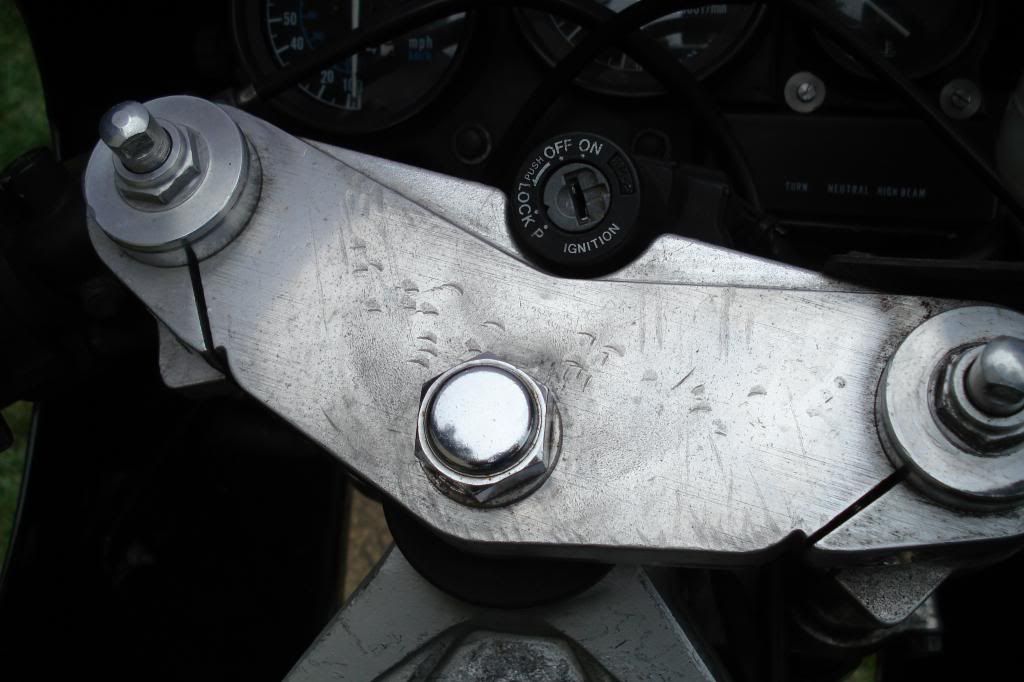
top yoke,looked like previous owner was frustrated and hit the hell out of it!
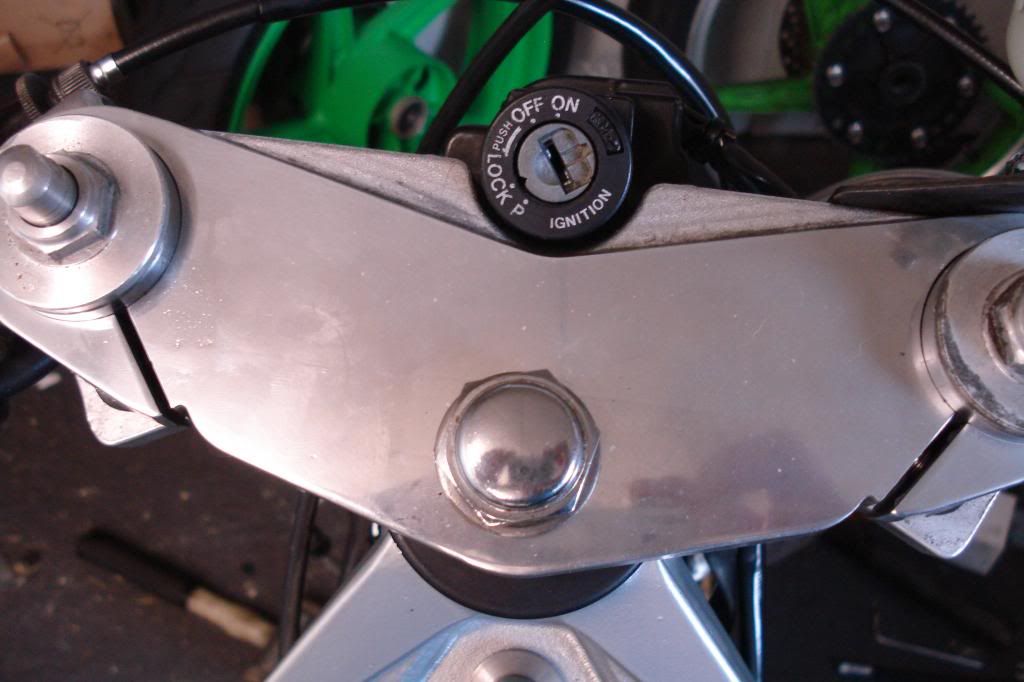
Now skimmed and polished
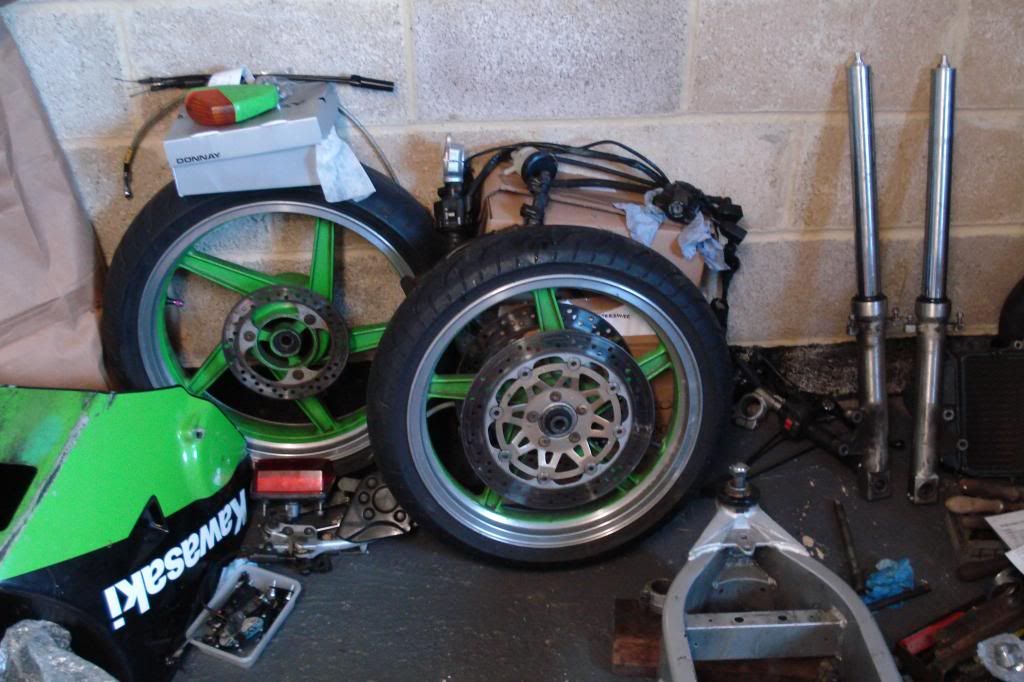
Wheels before powdercoat
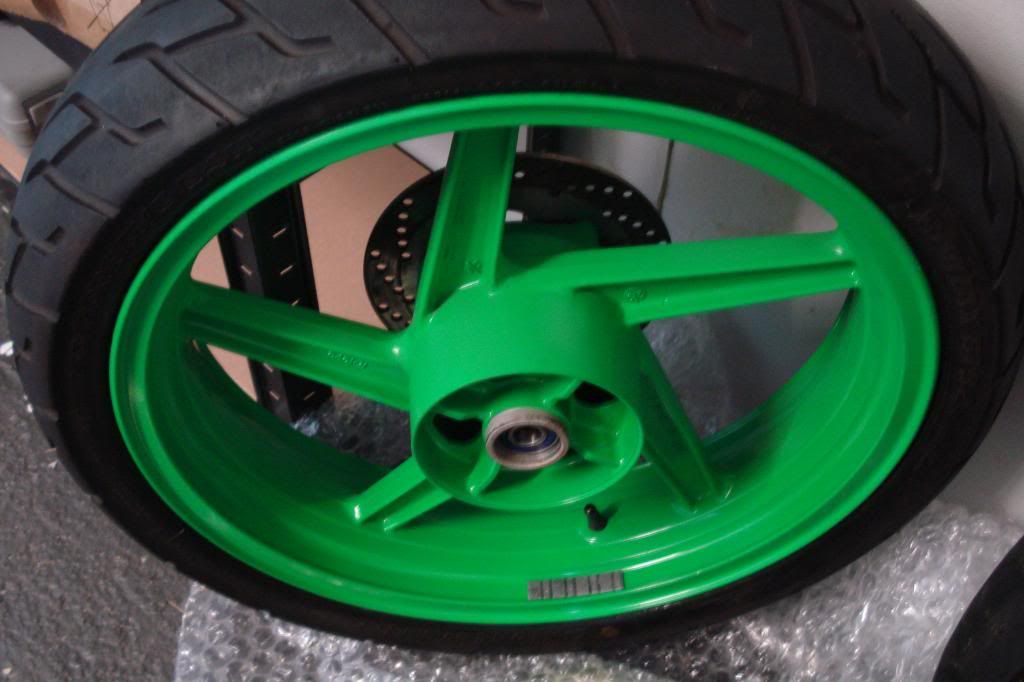
And after

Will add some more pics very soon,it's quite time consuming so i hope you all enjoy the results so far!

Posted: Fri Feb 08, 2013 11:03 pm
by 500bernie
Looking good Rich
top bannana
Posted: Sat Feb 09, 2013 7:15 am
by geezos
on the wheels is this powder coat ?
gotta say im abit behind you ive just taken the motor out , ready for the main man to work his magic on
its getting time ay...........
anyhoo looking good m8
regards geezos =D>
Posted: Sat Feb 09, 2013 3:36 pm
by boggy
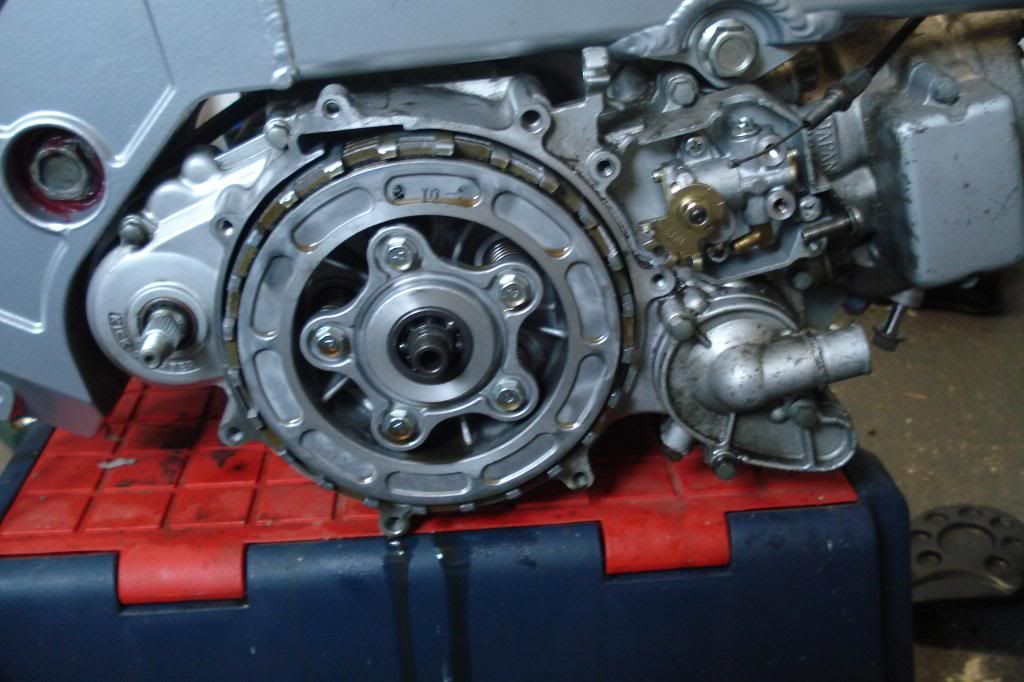
Yes,the wheels have been powder coated.Don't worry,i've put my spare engine in which looks crap against the nice and shiny frame!
Posted: Sat Feb 09, 2013 9:47 pm
by boggy
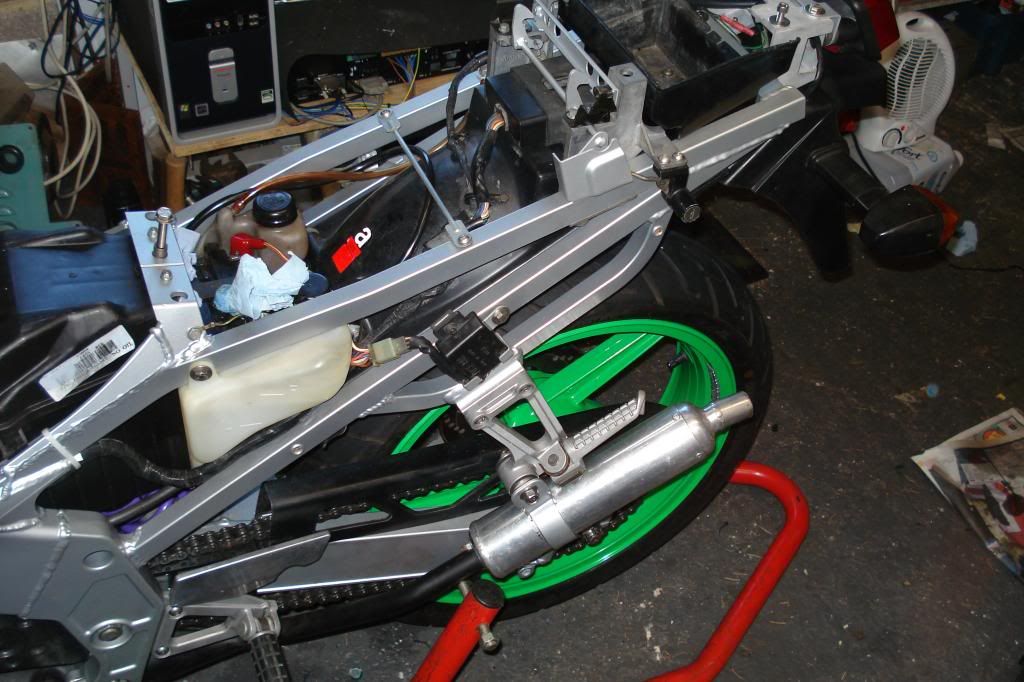
Spare engine in,oil pump refitted
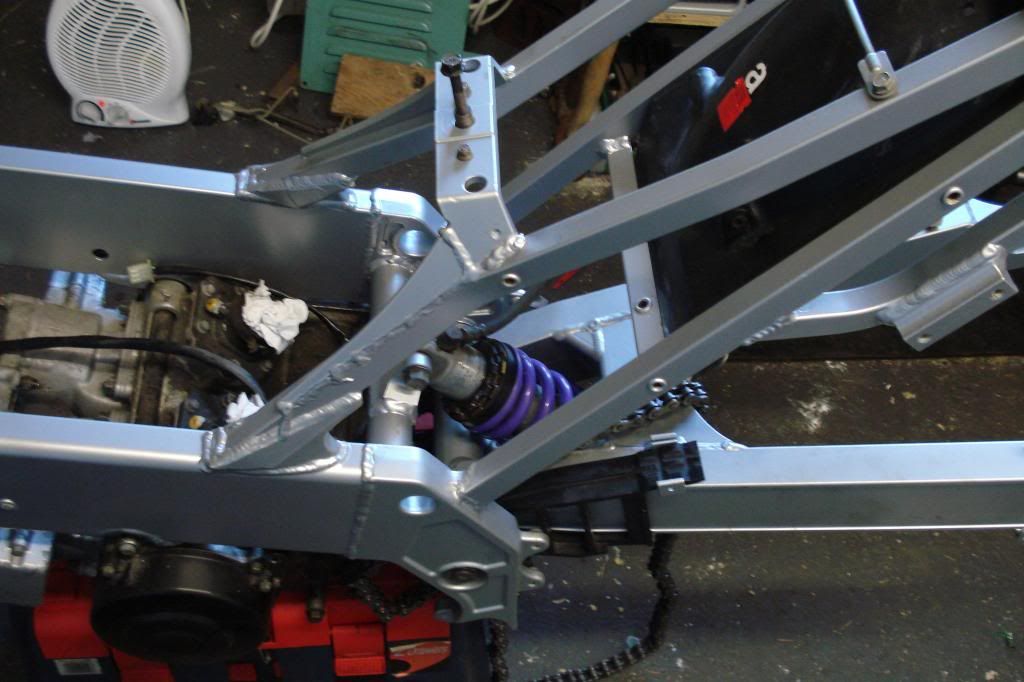
Swing arm and shocker fitted
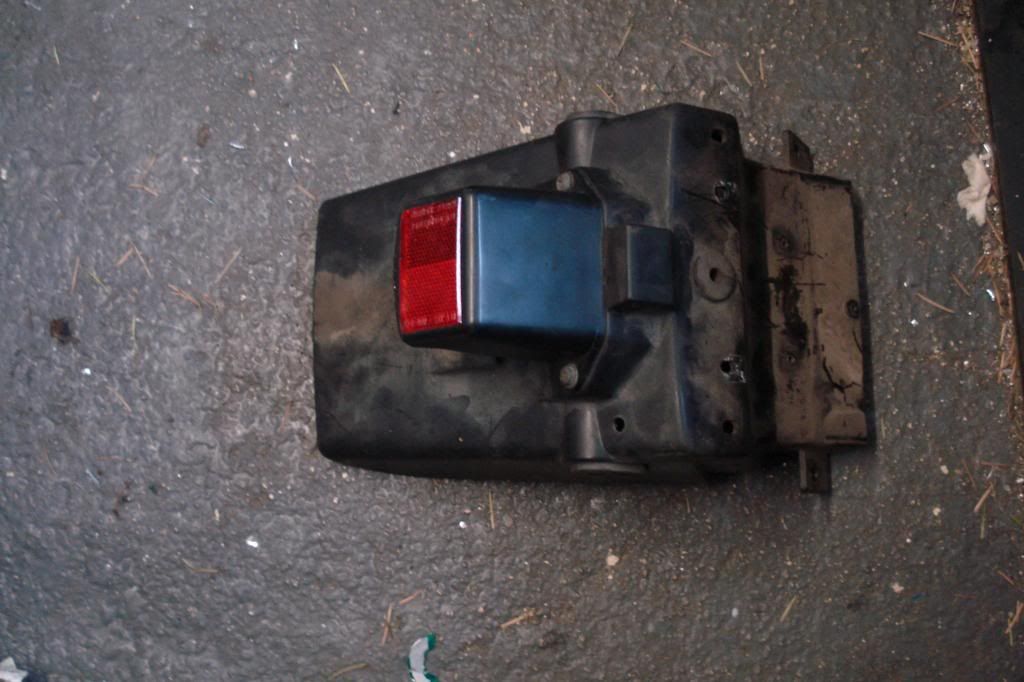
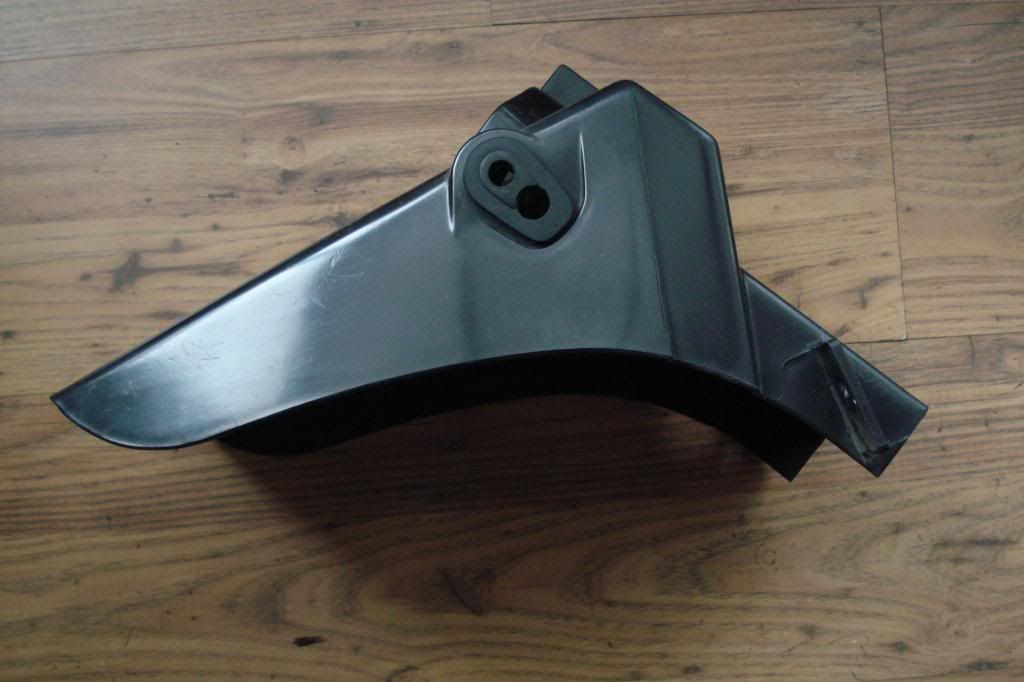
Rear mudguard installed
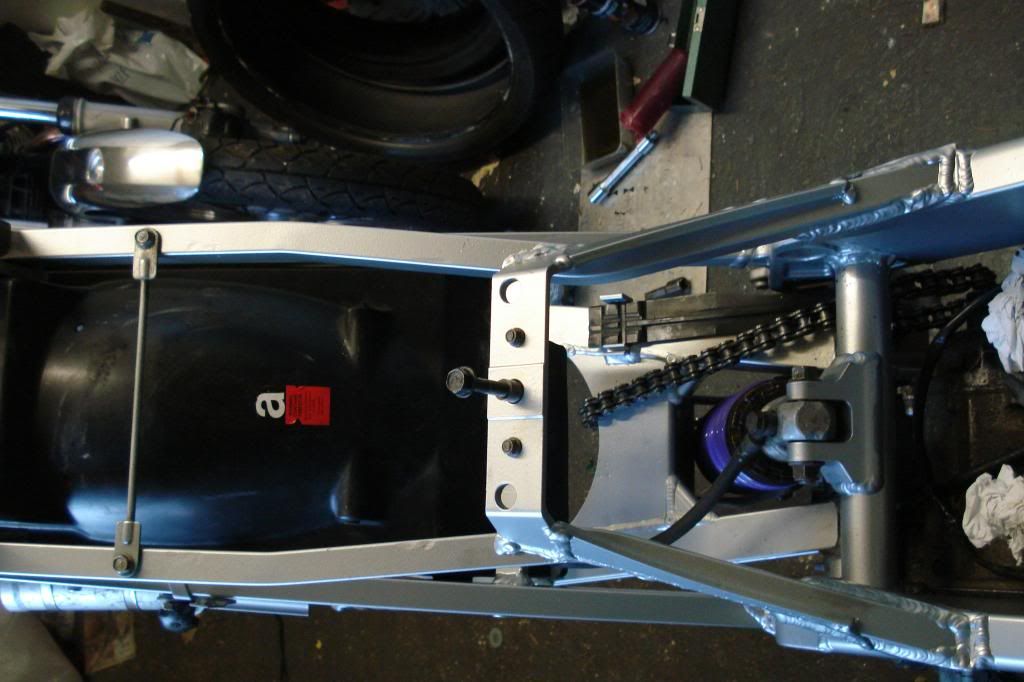
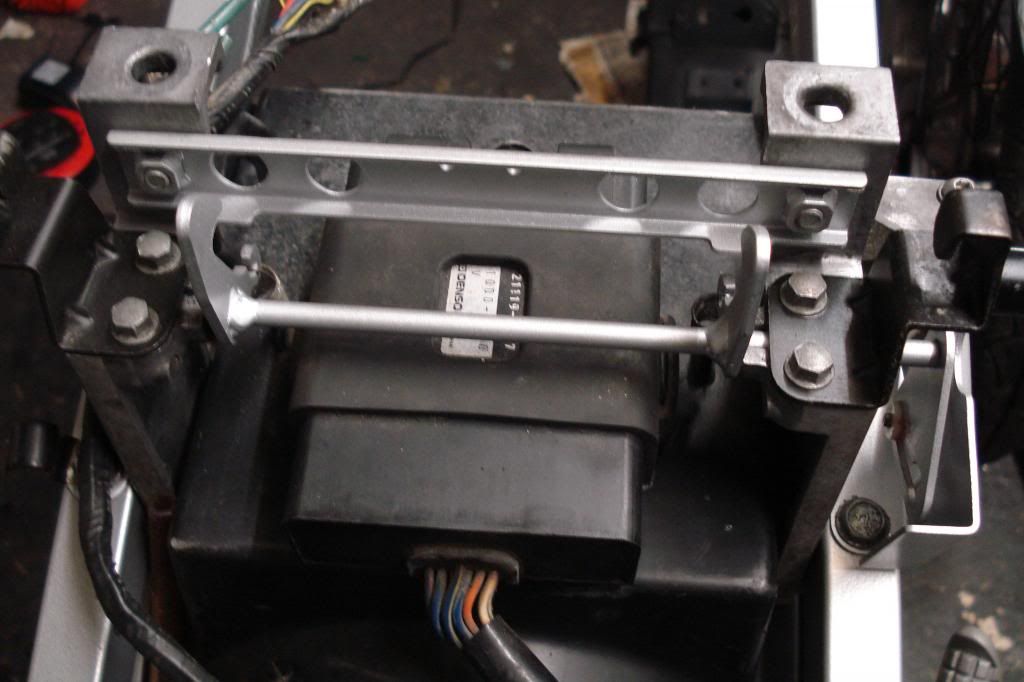
Rear seat mechanism fitted,but decided it looked crap.Took it all off and re furbed most of it.Probably could do more,but i may re visit at a later date.
Air box (notice stronger one off air filter support grill)and coolant resevoir tank fitted + foot rests.

Rear mudguard before and after cleaning
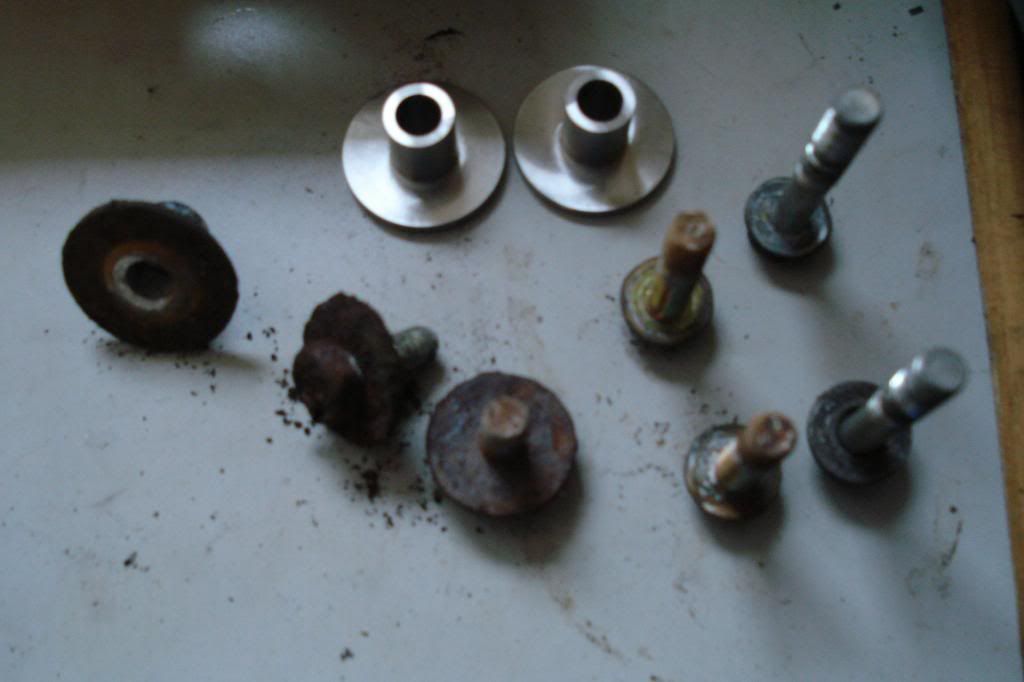
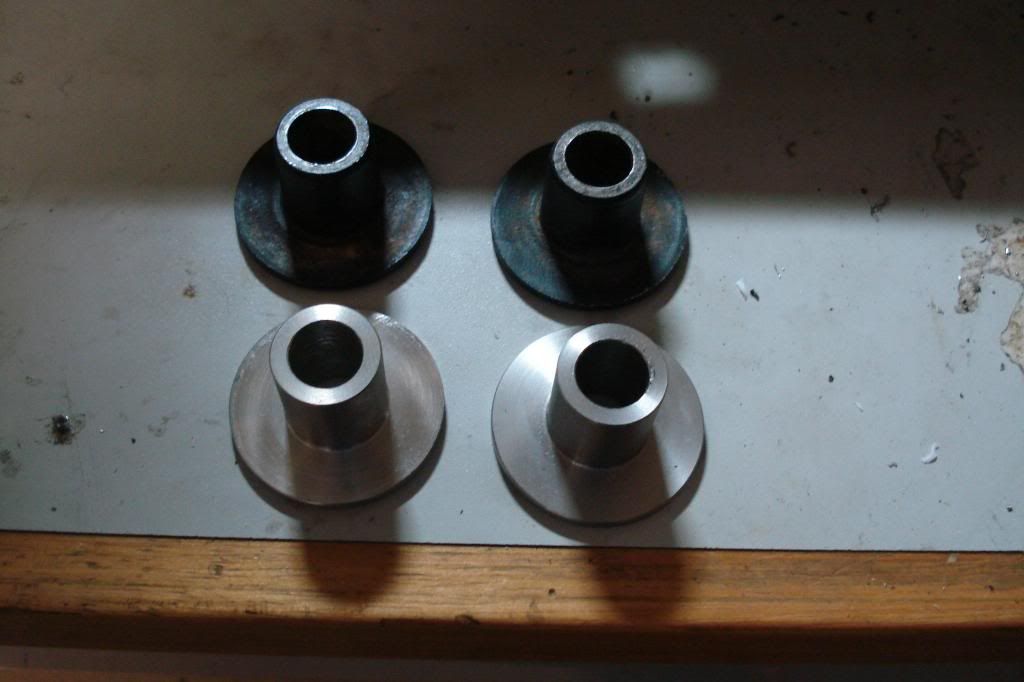
Stainless top hats i made to replace rusty old ones + changed fasteners to stainless steel
If the crap weather continues,more photos will follow
PS Hope you like these Bernie

Posted: Sun Feb 10, 2013 8:36 pm
by boggy
Today i made some stainless spacers to replace dull/rusty ones that go into rear footrests for exhaust silencer hanger brackets(one of the spacers is scuffed,i remade it)
Posted: Sun Feb 10, 2013 9:08 pm
by KFOR
Coming on nicely =D>
Posted: Sun Feb 10, 2013 9:11 pm
by boggy
Thanks!I should be able to get more done this coming week as i'm on early shift and the weather forcast is yet more rain!
Posted: Wed Feb 13, 2013 9:20 pm
by boggy
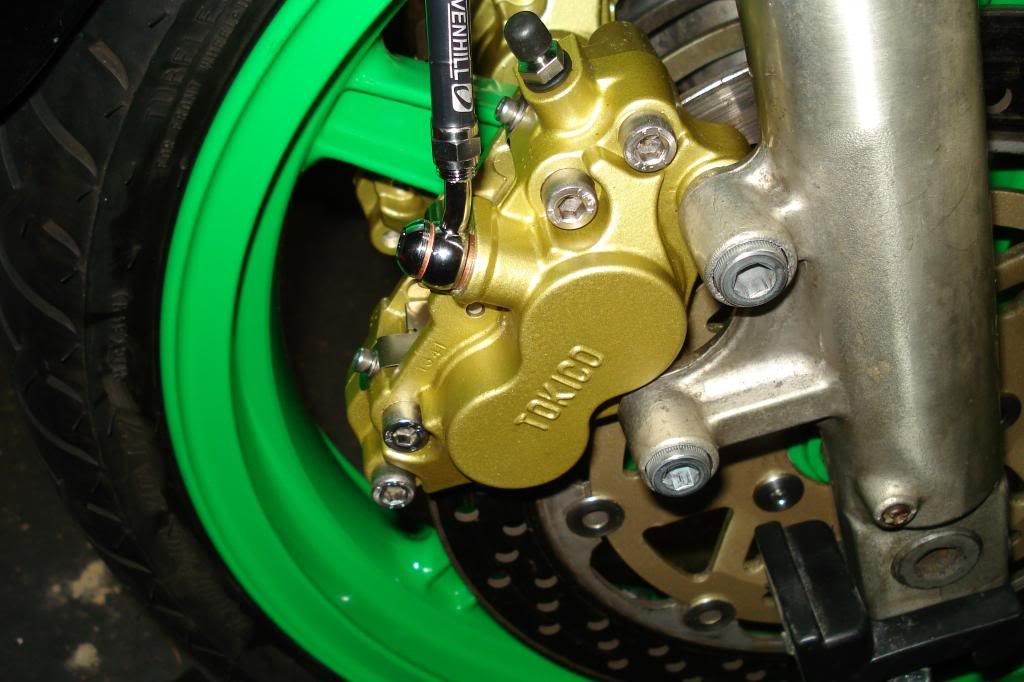
This week a bit more progress,front wheel in and brakes + braided lines(not bled yet)
Pic before
And after
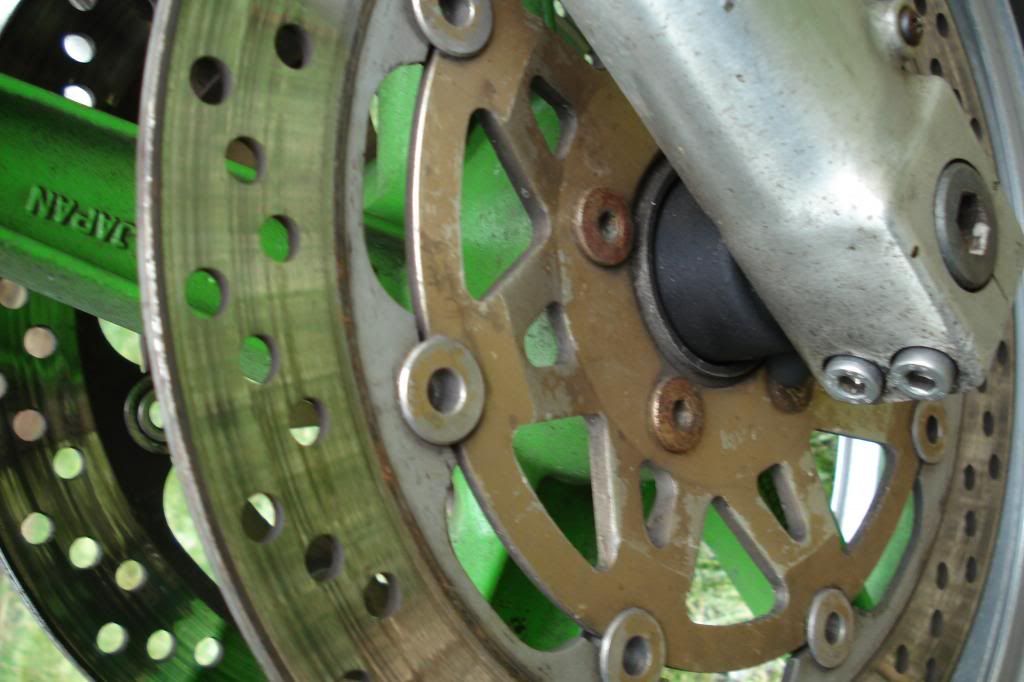
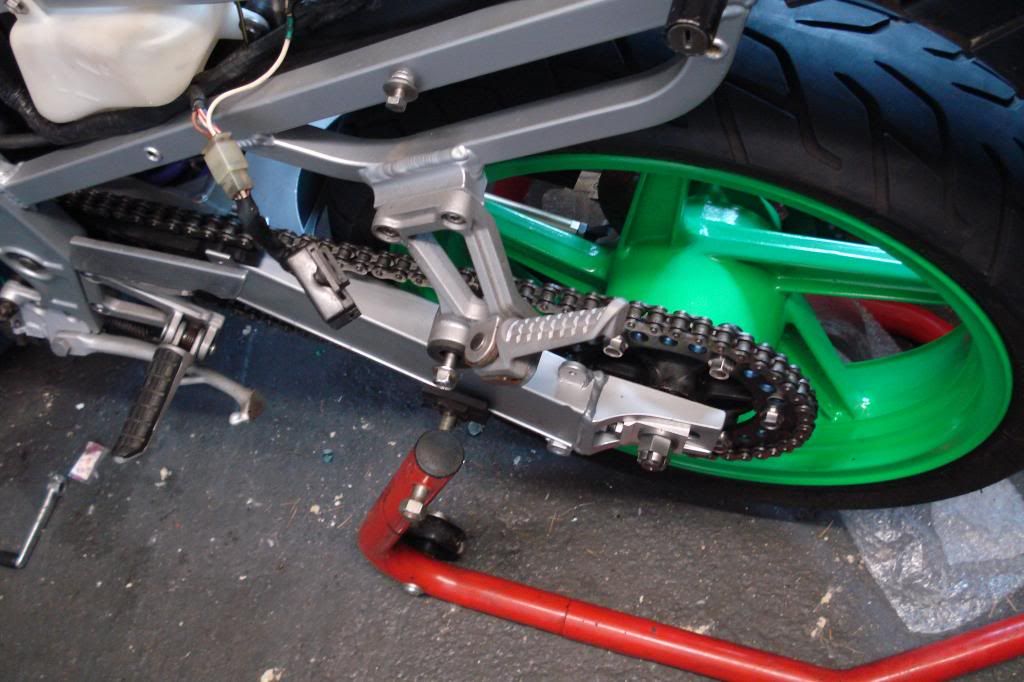
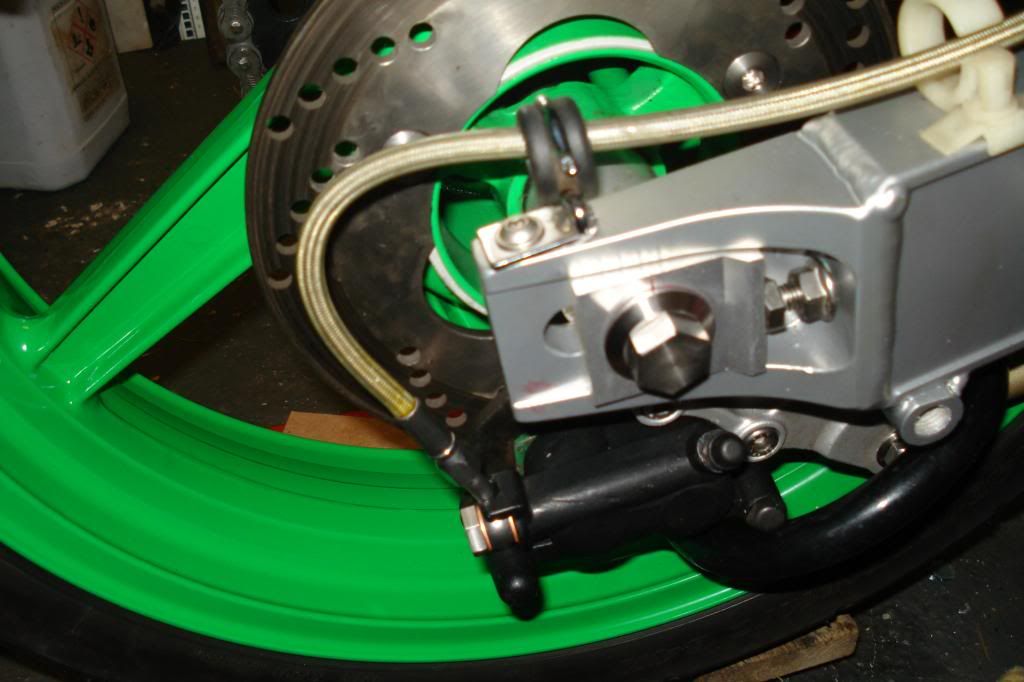
Rear wheel + brake fitted(before and after pics)
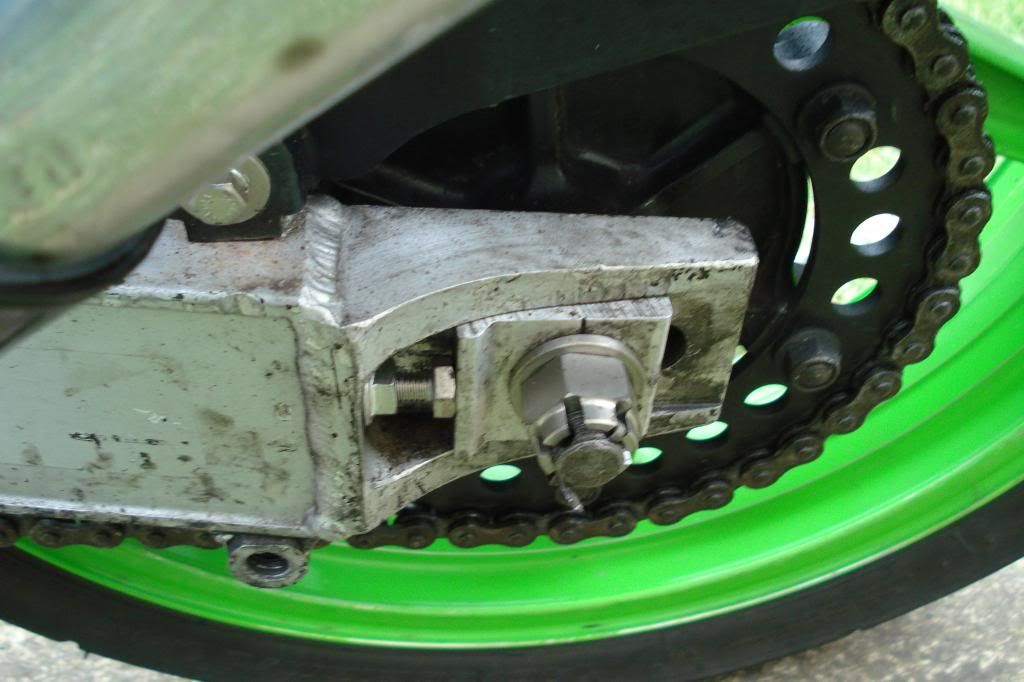
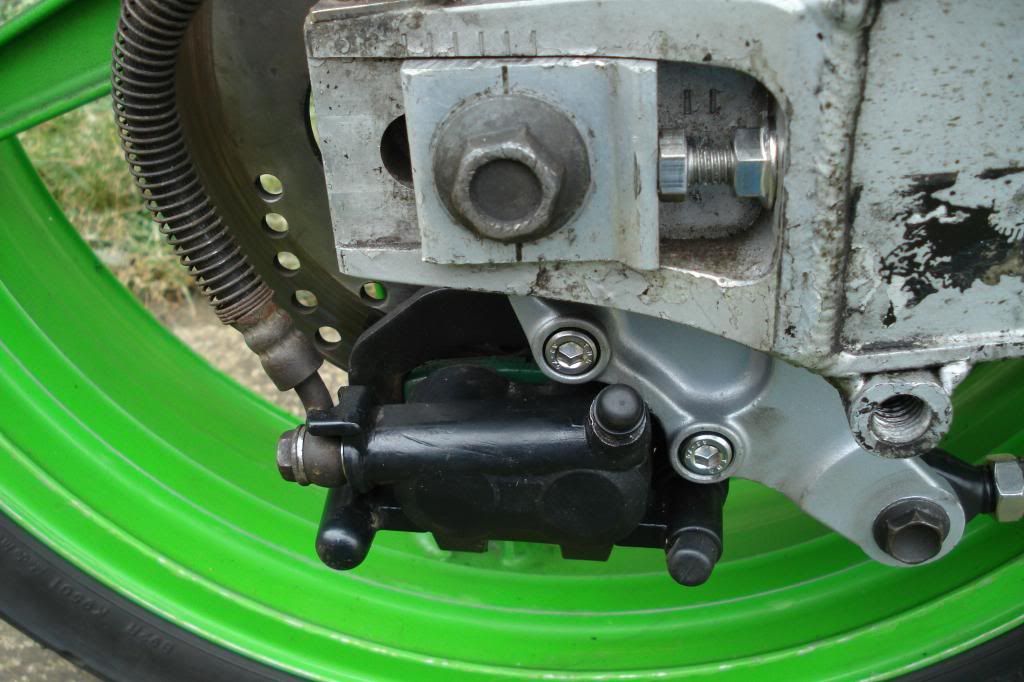
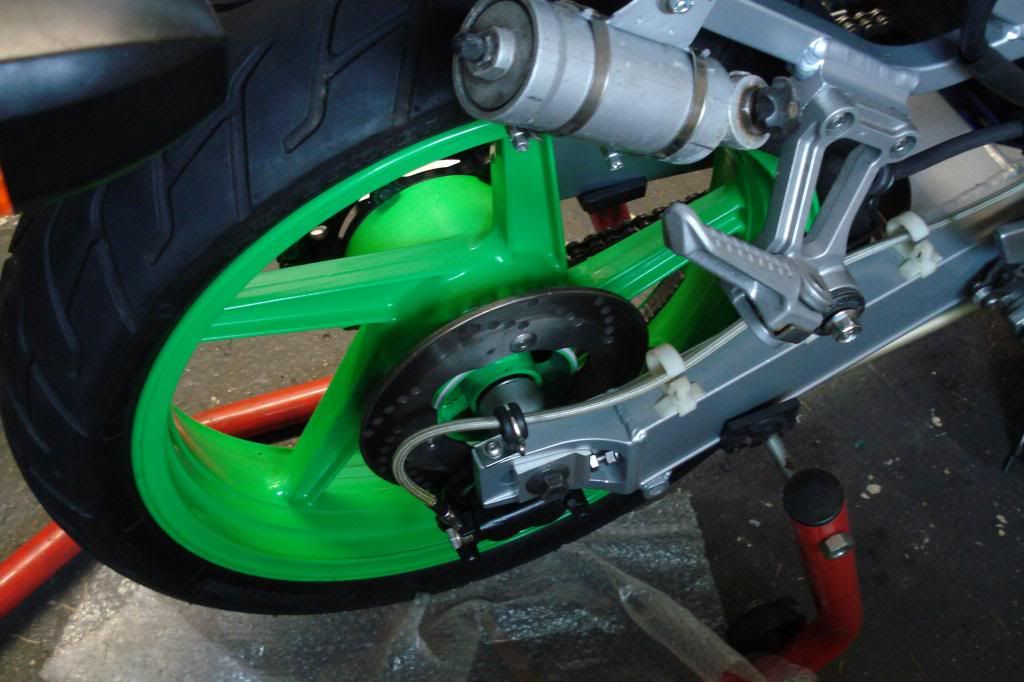
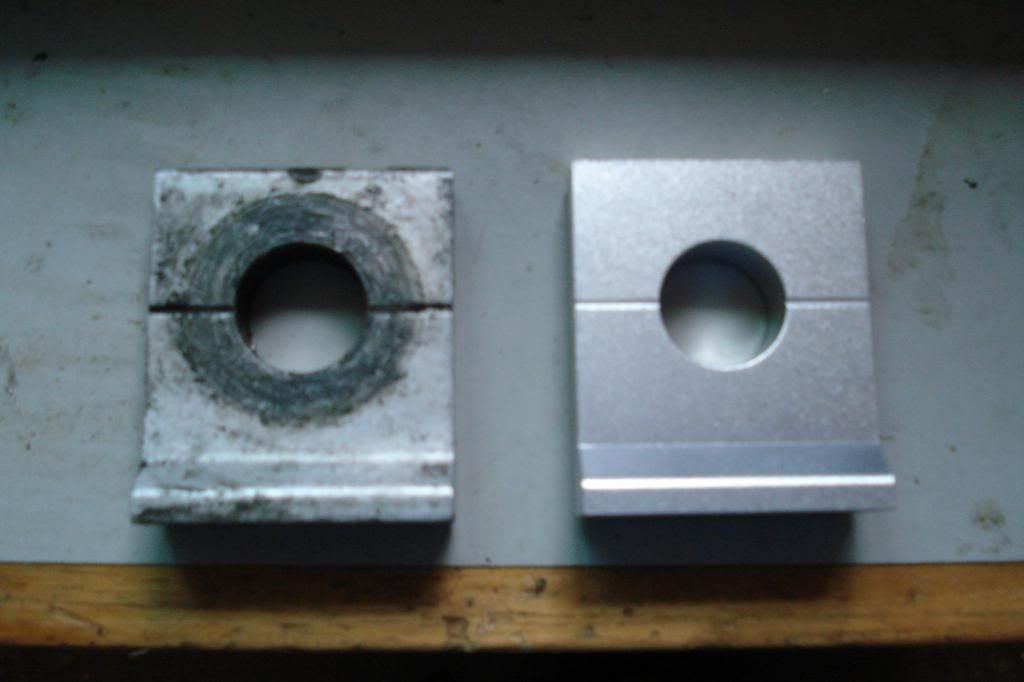
New chain adjuster blocks
Posted: Sat Feb 23, 2013 5:10 pm
by boggy
This week i have fitted the exhausts and rear mudguard
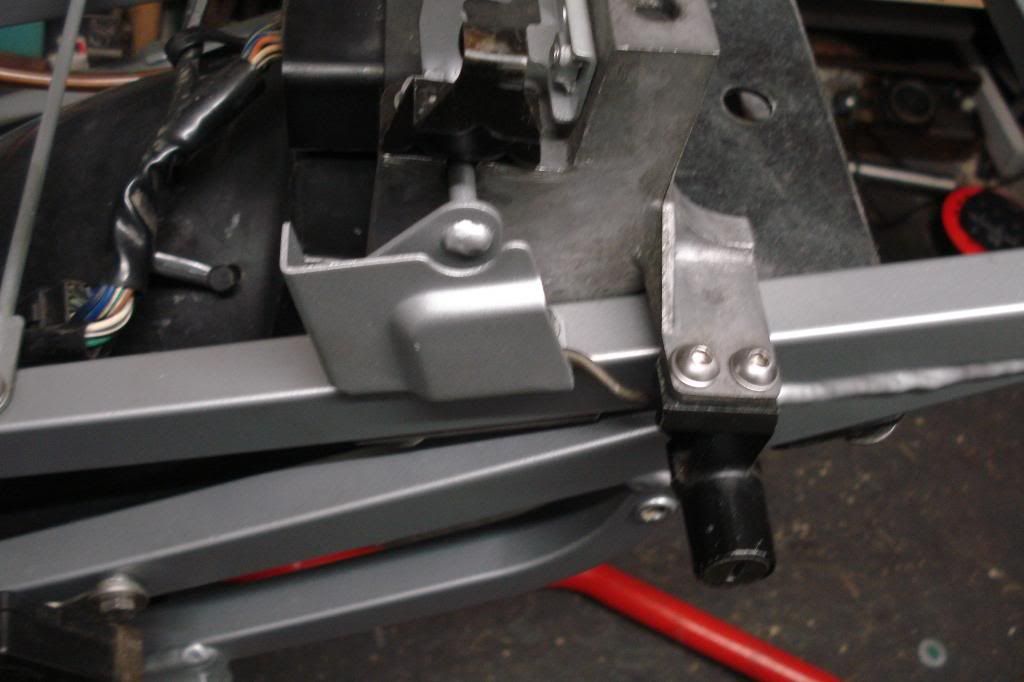
Have fitted seat pod to suss out lug repair
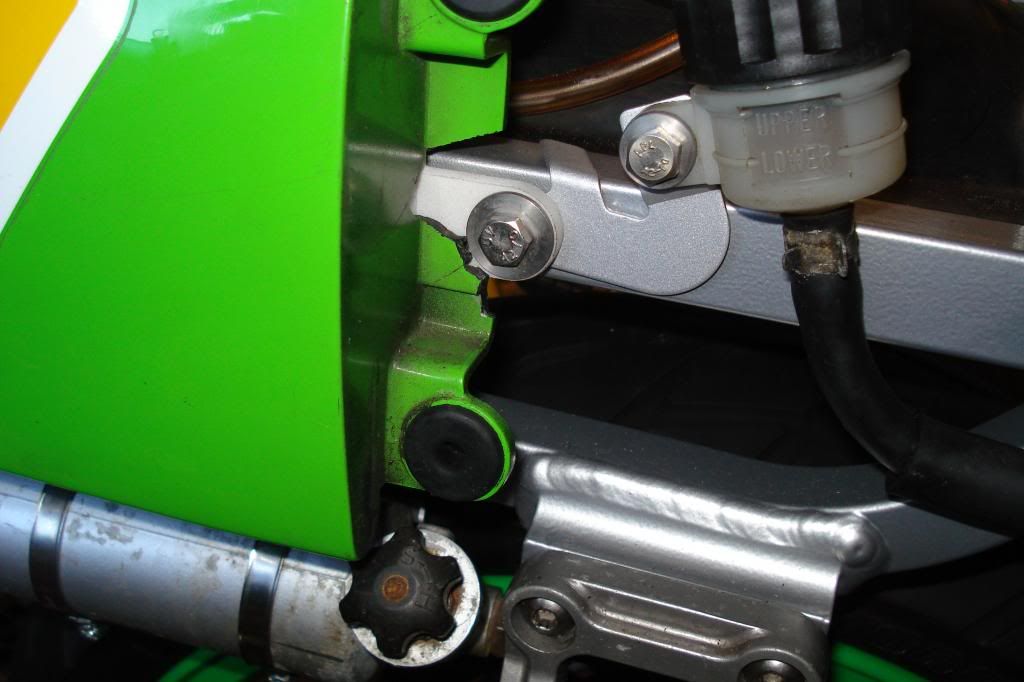
Also made a clip on to replace damaged one

Now i have to wait for the fairing bracket to come back from the powder coaters.
Posted: Wed Apr 17, 2013 12:41 pm
by boggy
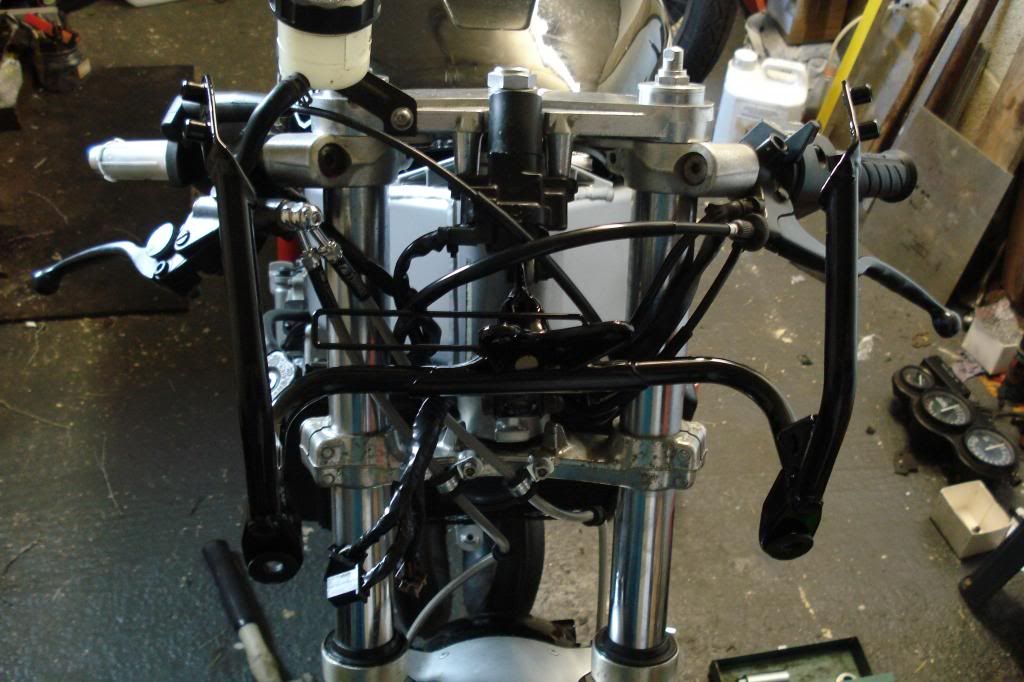
Some recent work done,Fairing bracket powder coated
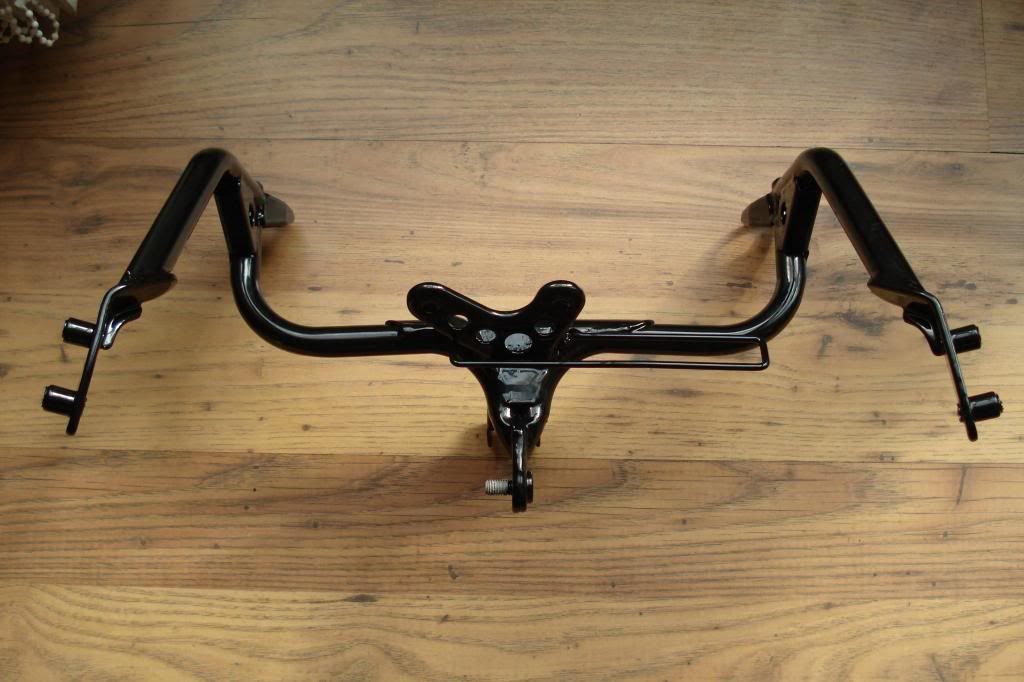
and fitted
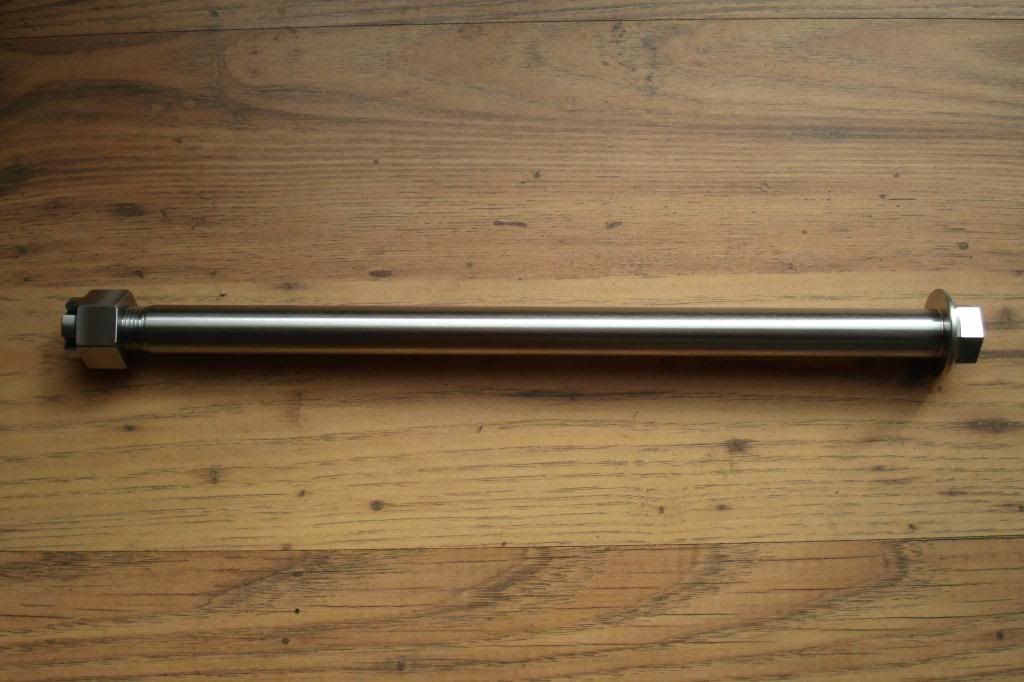
New wheel spindle + nut
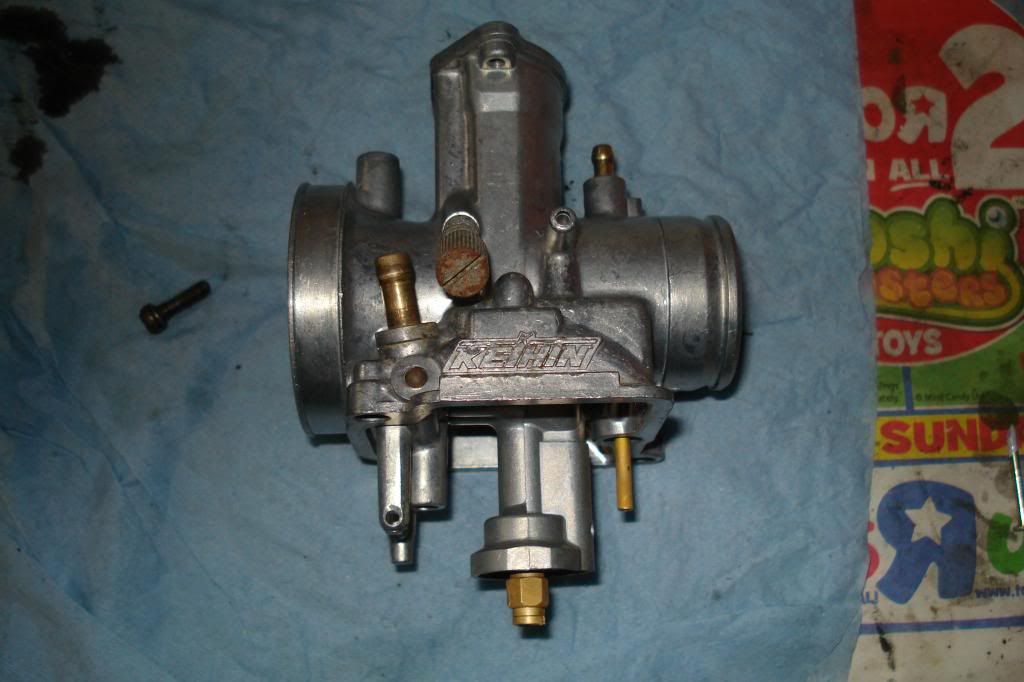
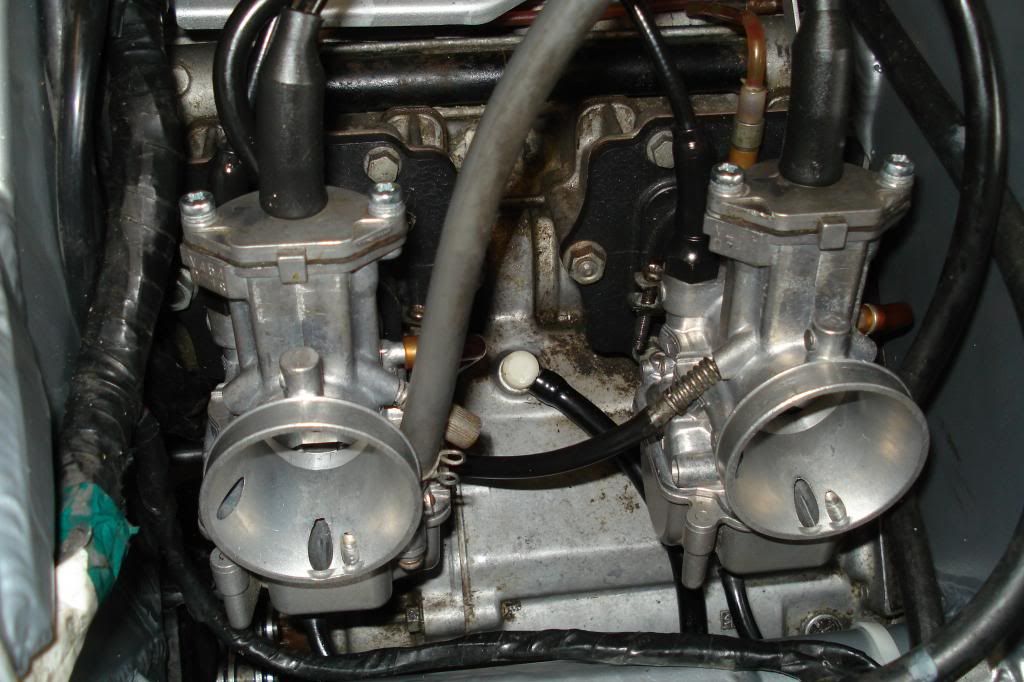
Carbs cleaned and re fitted along with a differnt throttle cable to try and cure starting issues!!
Posted: Wed Apr 17, 2013 2:44 pm
by 500bernie
Hi Rich,
Nice progress =D>
The stainless steel rear spindle and nut look nice (your own work?) as well as the clipon

Cheers,
Bernie