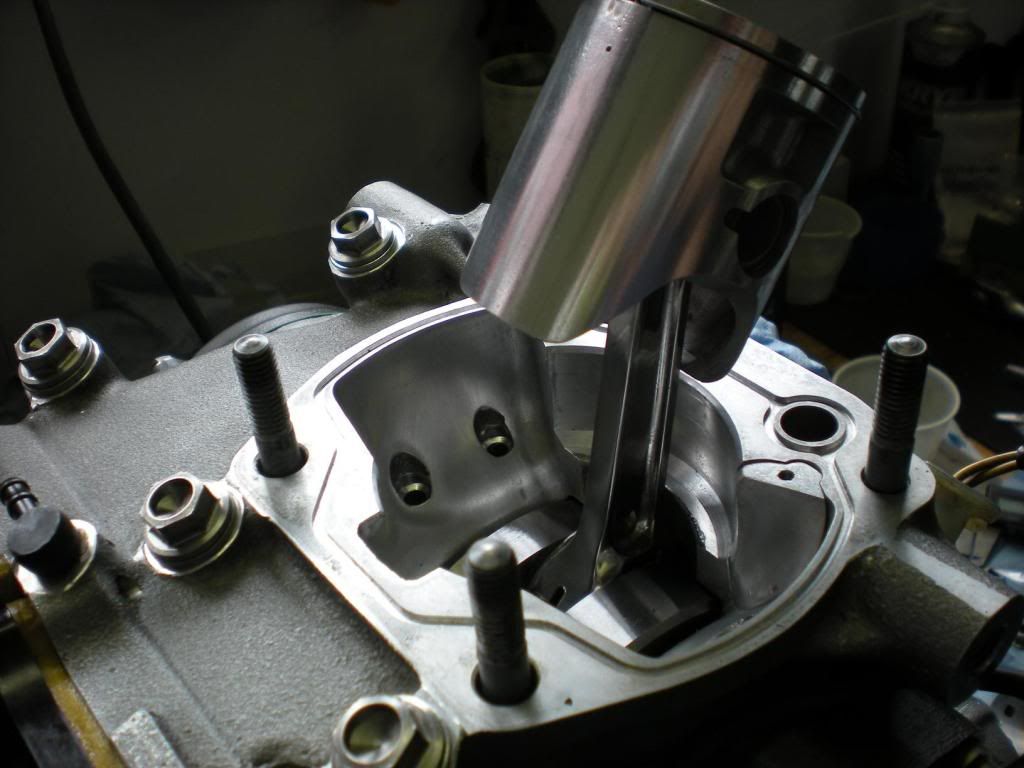
I'll be taking some pictures of the areas to fill on the crank cases and I've started today on the upper inlet section.
Once you've stripped your crankcases down, you'll just need to sand the key areas you'll be working on with a coarse grit, to take the smoothness of the surface off and give these areas a good clean and degrease.
Next you'll need some metal filler. I went into Halfrauds this afternoon and bought some of this evo-stik metal putty.
It comes in a stick with two compounds. Simply cut off the amount you require and using your hands, mix the two together so the colour is all the same.

Work it into the areas and go quickly as it doesn't take long to go off and after 10 minutes is too solid to manipulate. Whilst it's still maluable, you can smooth it over with a wet cloth to get a nice finish.
In these pictures, I have done the left hand side inlet only, so you can compare the two and see what they are like before and after.

Non filled right side

Filled left side

Looking at the areas from the inside of the crankcase, notice the difference between the two side

Notice in this next picture, I've tried to follow the contour of the crank when shaping the infills

Finally, (you can feel this ridge if you remove your carbs and reed valves and place your finger on the upper side of the inlet) I have ground down the casing and put a radius on that edge in the pictures below.
Standard, notice how sharp the edge is.

Flowed, notice the radius

If you comapare the two sides, you can see how the left side has been flowed nicely, allowing the air/fuel mixture to flow through the crankcase and up the transfer ports on the barrels.

non-flowed

Flowed

This is the view from the inlet side on the finished case


On the bottom half of the crank case, there are 4 areas which require filling. Note the holes, these are to allow the oil to pass through, so after preparing the surface, I've inserted drinking straws so that the putty can be applied, without causing blockage and having to drill them afterwards.


Once you have filled in and let the putty go off, remove the straws


Let the putty set and dress later, once you've done all that, you're done and can start to reassemble.


 [/img]