
Good, glad we got that out of the way.
Before you start powder coating (pc) you will need the following:
A compressor, set to about 55psi(it doesn't have to be an all singing all dancing model)
An oven set to about 180c(not the one you cook in, a good second hand one will do)
Basic safety equiptment (a good mask, heat proof glove etc)
And the most important thing, the powder coating (pc) gun itself.
 [/img]
Here you will see the very basic pc gun. In the pic you will see:
The gun itself.
The electric unit thingy.
A foot pedal (you guitarists will be familiar with this)
And an earthing clip.
Before you connect the pc gun to the compressor you will need one of these
 [/img]
This little bugger takes all the moisture out of the air supplied by the compressor, this is very very vital because we are using a powder!!!
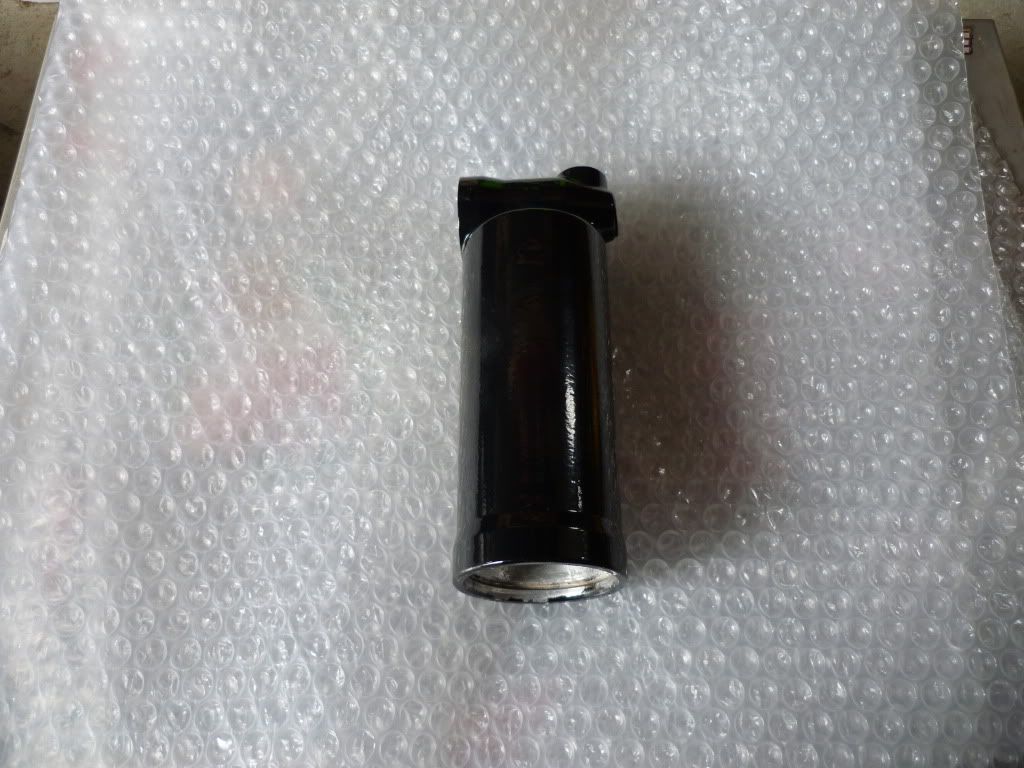
Ok, the part I have prepared for this is the rear shock reservoir.
This has been shot blasted (yes I know, but I don't have an aqua blasting set up to hand but I do have a shot blasting cabinet!)
Once cleaned (remember to degrease etc), remove all dust residue by what ever means you have available, I used a power washer
Now because this is a cast item you need to pre-heat it to remove all the crap, I won't show you any pics, because it's boring. Just stick it in the oven at 200c for about ooh 30 mins or so.
Once it has cooled, rub any stains, crud etc off with a clean rag.
Here we are
 [/img]
The bungs are used purely to stop the powder going where I don't want it to. Note the earthing clip.

Once you are ready, press the foot pedal down & slowly coat the part with powder, it will go everywhere.
You should have something that looks like this once finished
 [/img]
Make sure it has been fully coated, just like spray painting, try not to get too much in one place.
It doesn't run like sprayed paint, it just makes it uneven.
Now if you're a bit of a penny pincher like me, you want to coat as much as possible before switching the oven on, so make sure you have a rack to pop the lot onto

Now using that glove I mentioned, carefully pop the thing into the oven (just remember we are using a dust paint, so if you touch it, its back to square one)
Try to get as much as you can into the oven at one time

But unlike me, try to keep all the parts about the same size
Bigger parts take longer to cure........
Give it 10 to 15 mins, keep checking inbetween too.
And this is what you should end up with
[/img]
It will do,
And a few other bits too

Remember to clean up all threads etc.
Remember to wear a mask to protect your lungs from nasty dust stuff
Remember to remove the mask when you go for a cig.
Please feel free to add to this thread.
Undoubtably I will learn new techniques etc the more I do, so I will post updates. But most importantly, give it a go.


